In the Account Portal you find Advanced Settings in the chapters Account Settings, Buyer Side Settings and Integration & Workflow Settings.
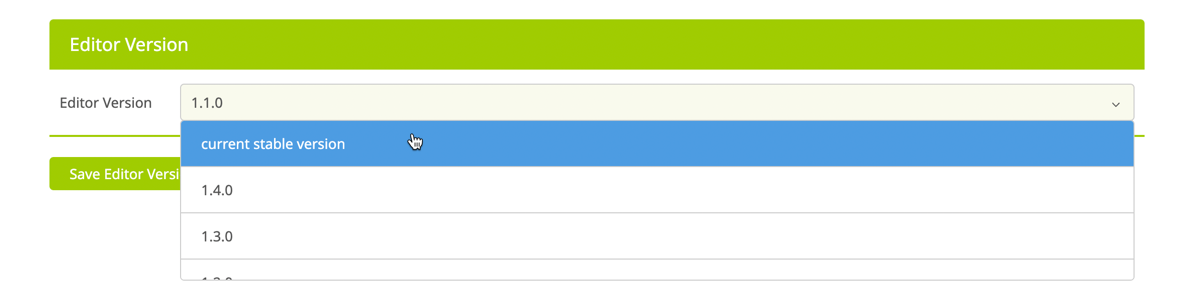
This lets you set an Editor version that you want your Templates to be built on. This setting prevents your work from being corrupted between Printess versions, as loading Templates back and forth between various versions can potentially destroy them.
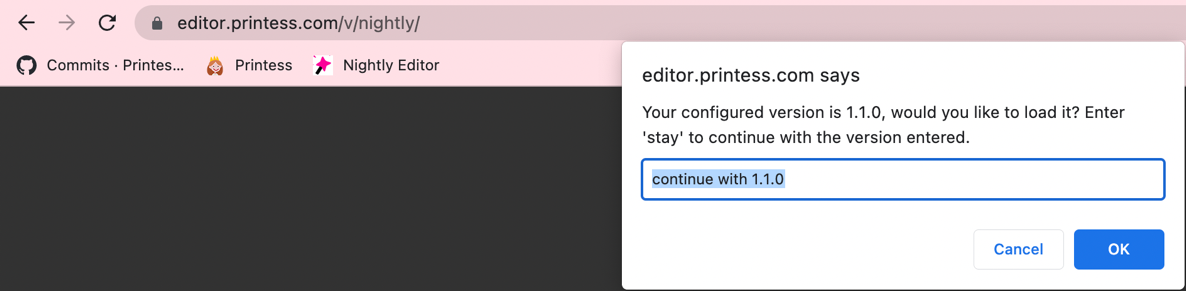
To be 100% sure that no changes occur to your perfect Templates, simply select the Printess version to pin. Now whenever someone on your team tries to open a Template in a different version, a warning will be displayed which will conveniently redirect the user to the pinned version:
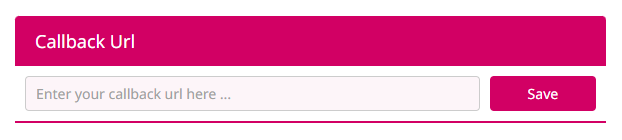
Here you can provide a event callback URL that fires whenever Templates are saved, published, deleted, or unpublished.
PiktID is a company which offers AI based images. If you do have a PiktID account you can integrate it here into the Printess Editor.
Here you can provide the default saveToken settings. How long are resources uploaded by the users kept, the resources you upload within the full editor when designing are not affected at all and handled differently. You can define the days for creation and production. Created Days are used when the customer hits add to basket or any other mechanism creating saveTokens. Production days apply to any produced (via production/produce or dropship/produce) saveToken.

Atomxy will fully check your PDF file based on the parameters you have set. You can create your own preflight (quality control) rules or use any of the predefined profiles that come with the software. Many of those predefined profiles are based on international standards, so you are sure that the file is ready for print in the end.
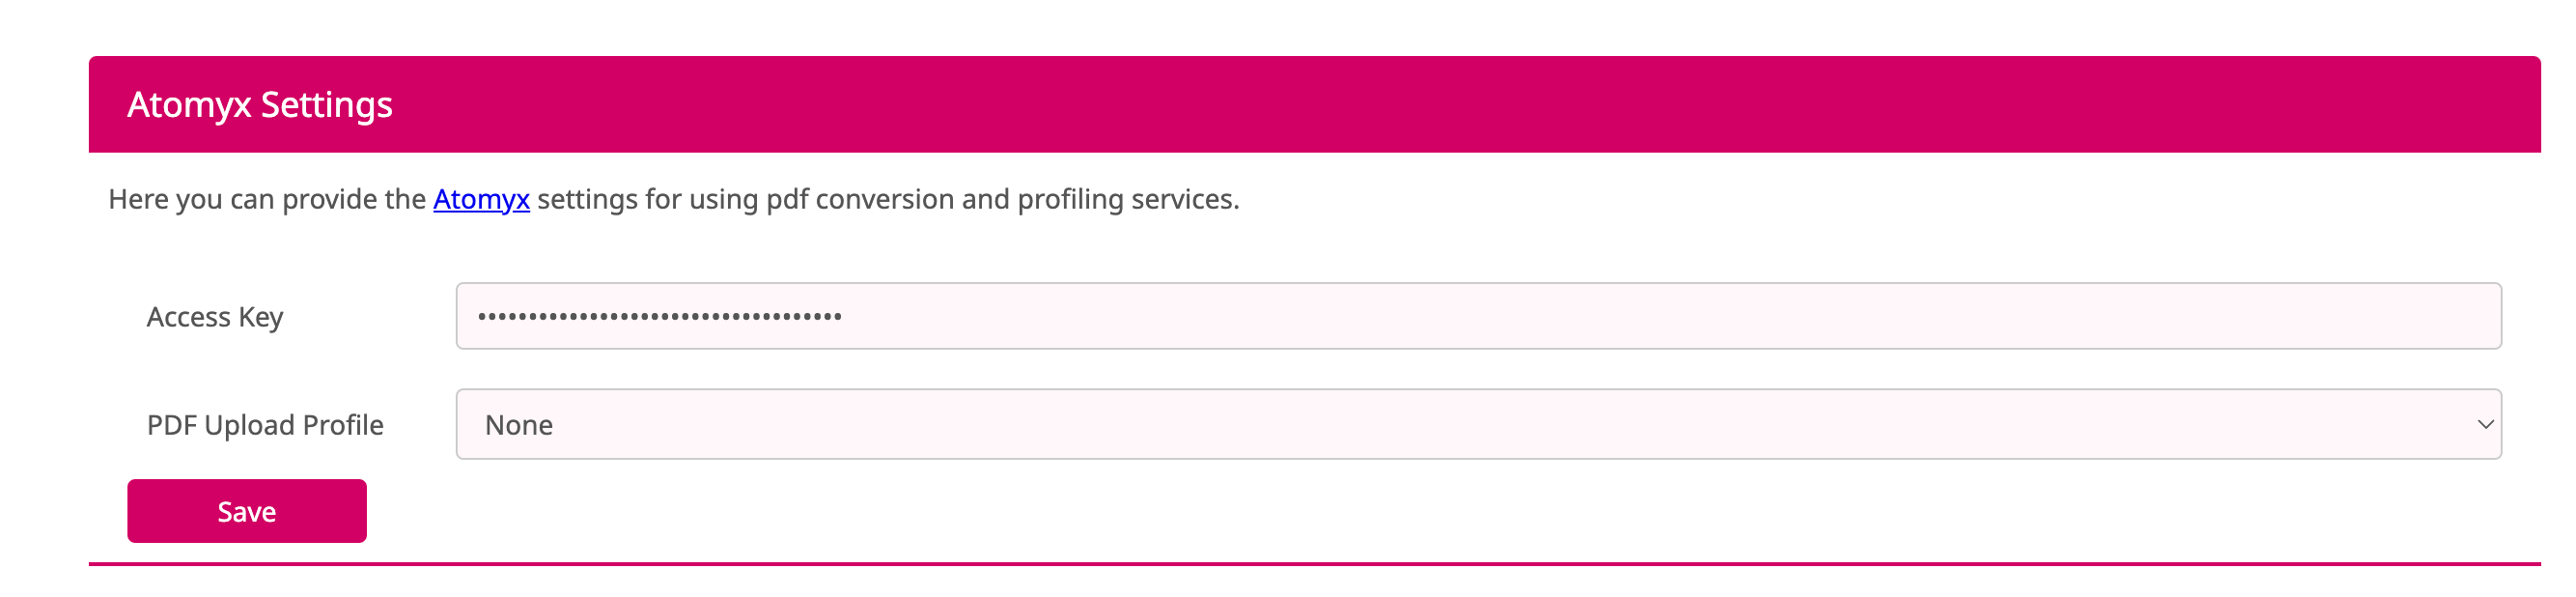
Here you can assign your Atomyx Key to click on Save. Then you can select a PDF Profile to preflight the uploaded PDFs from the Buyer Side.
Here you can assign your CutOutPro Key to use this technology for face segmentation.
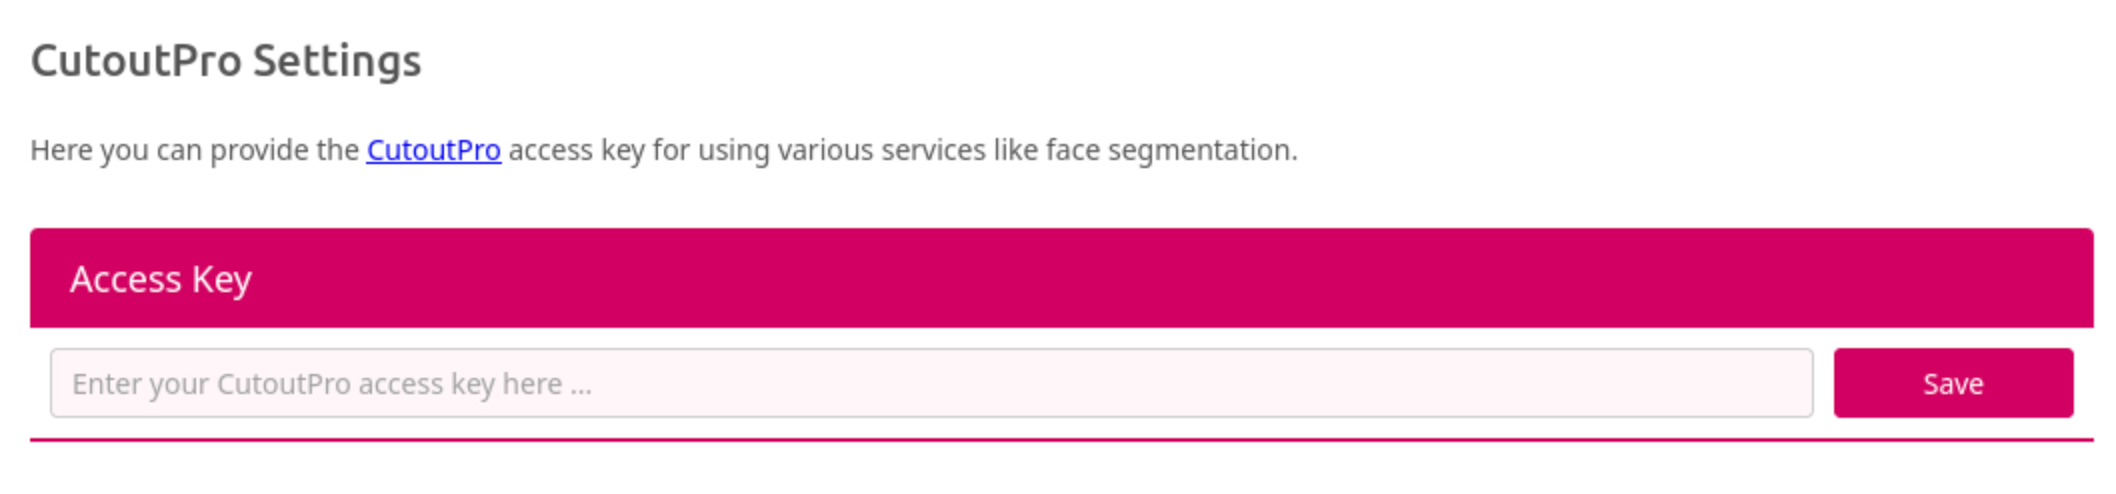
Learn more about AI Segment Face
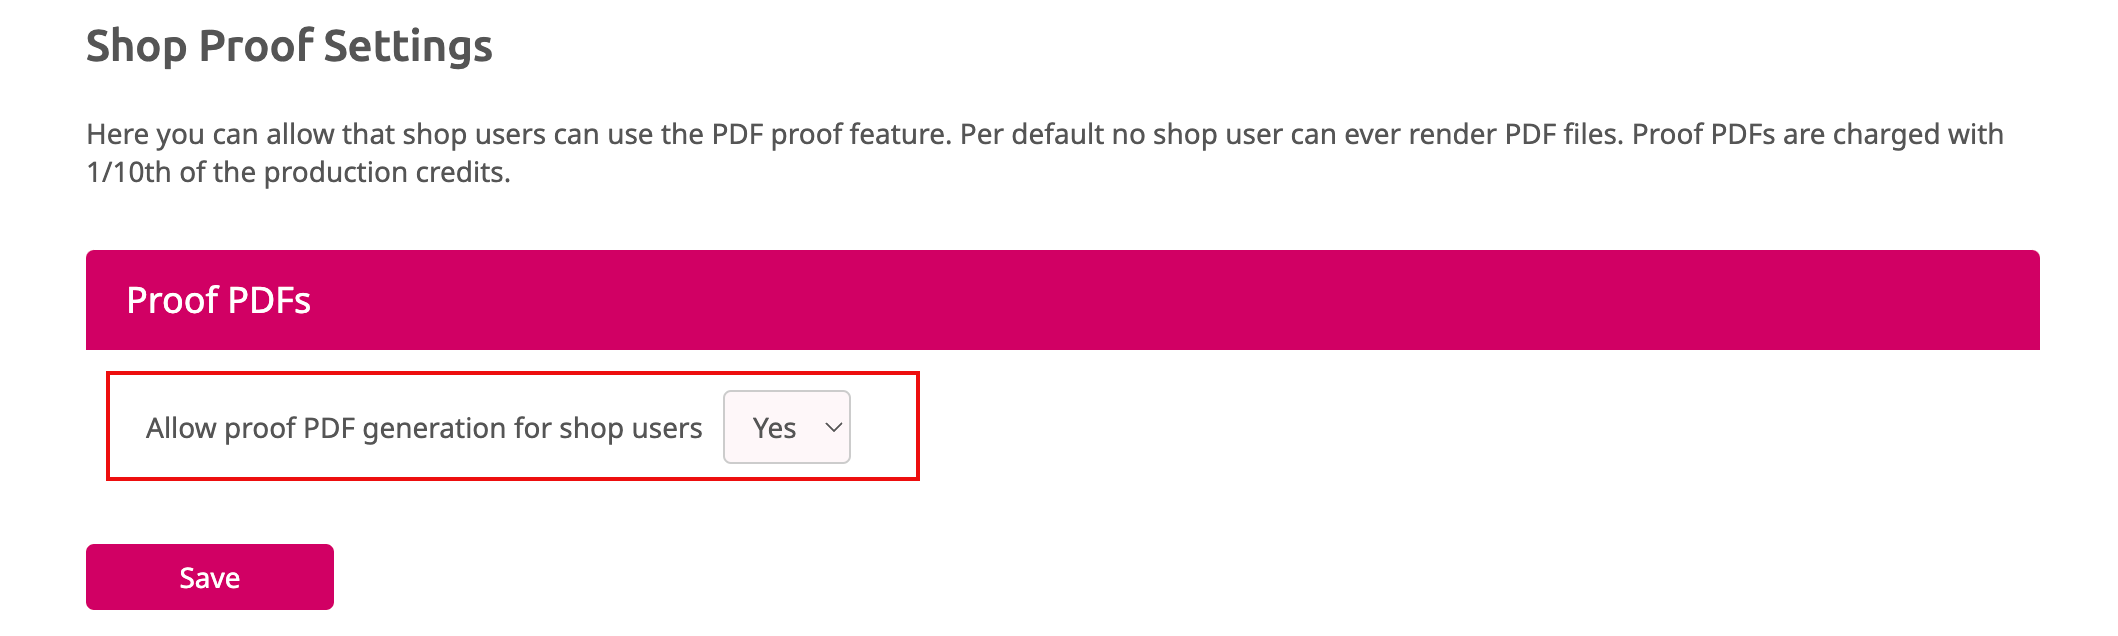
Caution: Proof PDFs are charged with 1/10th of the production credits.
Allow the shop users to generate a proof PDF. Just set Allow proof PDF generation for shop users to Yes and click “Save”.
Now you can display the Proof-Button at the Buyer Side. Therefore you have to activate it in the Buyer View Appearance Settings of your Printess Template. You will find this setting at the Other Settings Tab.