Here you can set up Photobook Themes to assign them to your Magic Photobook Templates. For testing you can assign them at the Designers Side.
How to assign Photobook Themes for testing
Later you will assign them through the API to add the Attach Parameter “PHOTOBOOK_THEME=themename” to the call.
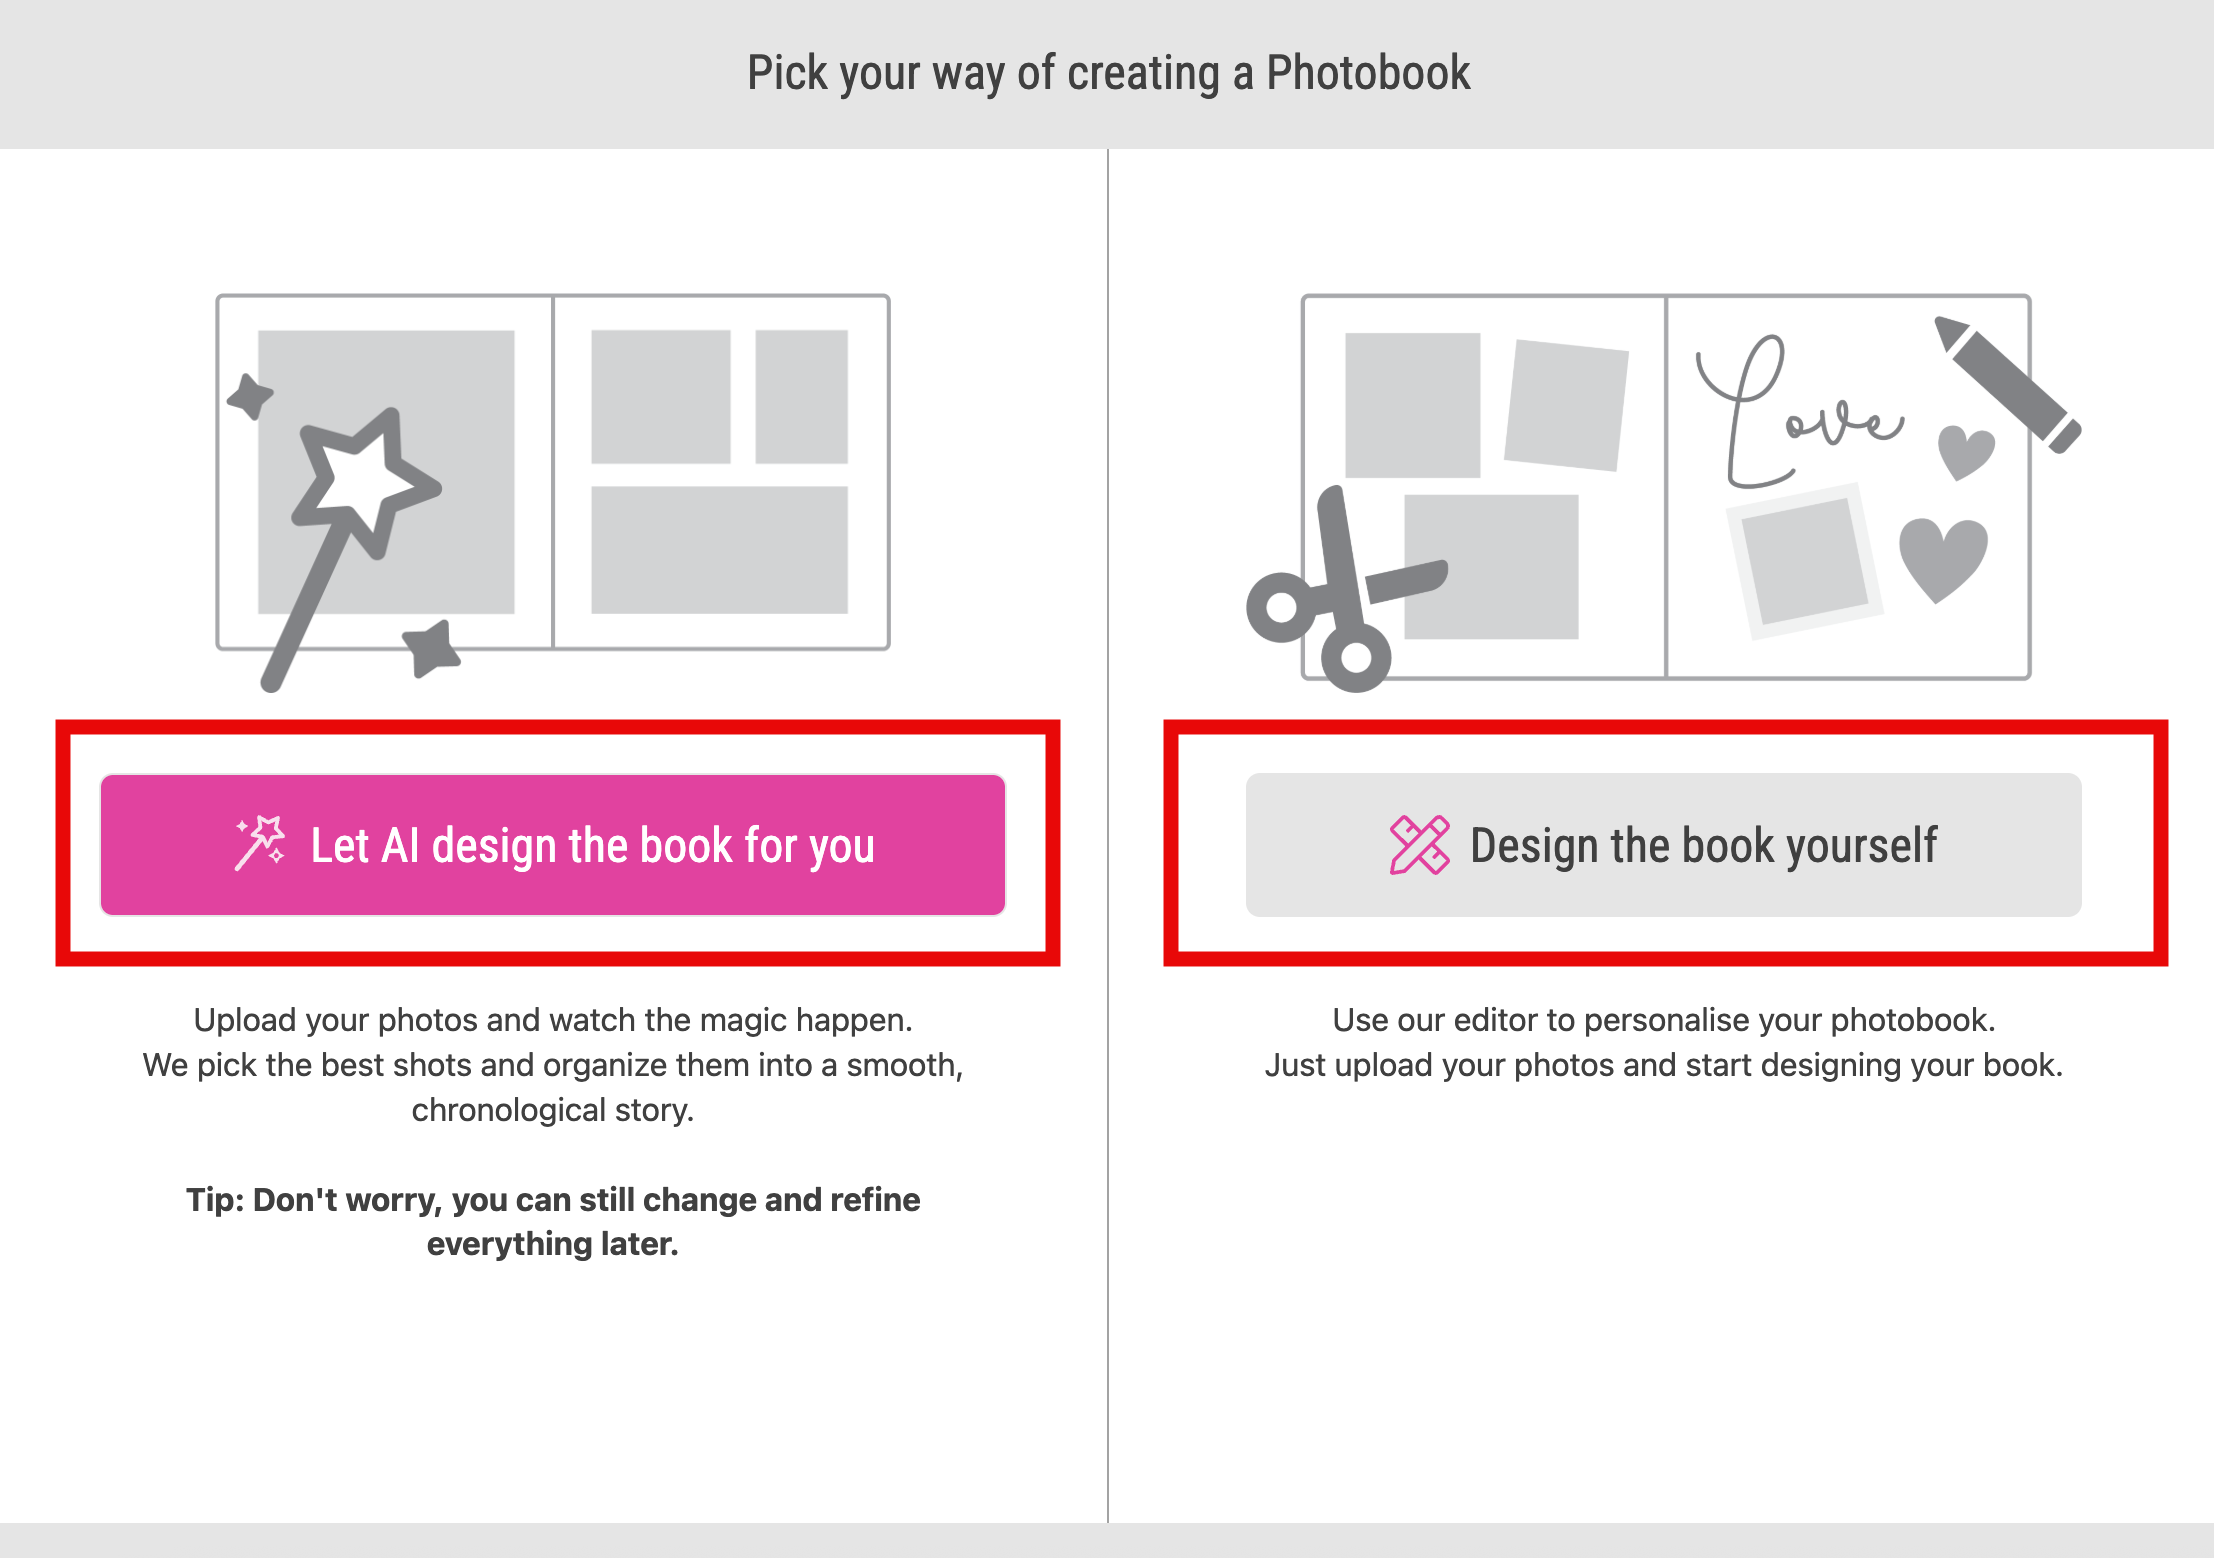
You can define two different types of Photobook Themes. One is used for the AI based Creation of a Magic Photobook where the uploaded images will be distributed automatically to the images frames of all pages. The other one is the so called “Freestyle” Photobook where the images will not be distributed automatically. The initial “Freestyle” Photobook got a fixed number of pages and fixed Layout Snippets for each page/ spread.
If you allow both types of Photobooks the Buyer will be asked for which one to start with.
Note: Please set up only ONE Universal Theme for your Printess Account!
A Universal Theme is very special. So please:
But if you create your own Layout Library make sure that:
Note: If you are using your own Layout Library with your own Tag to create a Universal Theme make sure that you are using the same Tag for the Basic Collage Tag!
Learn more about the Basic Collage Tag
Learn more about Theme Keywords
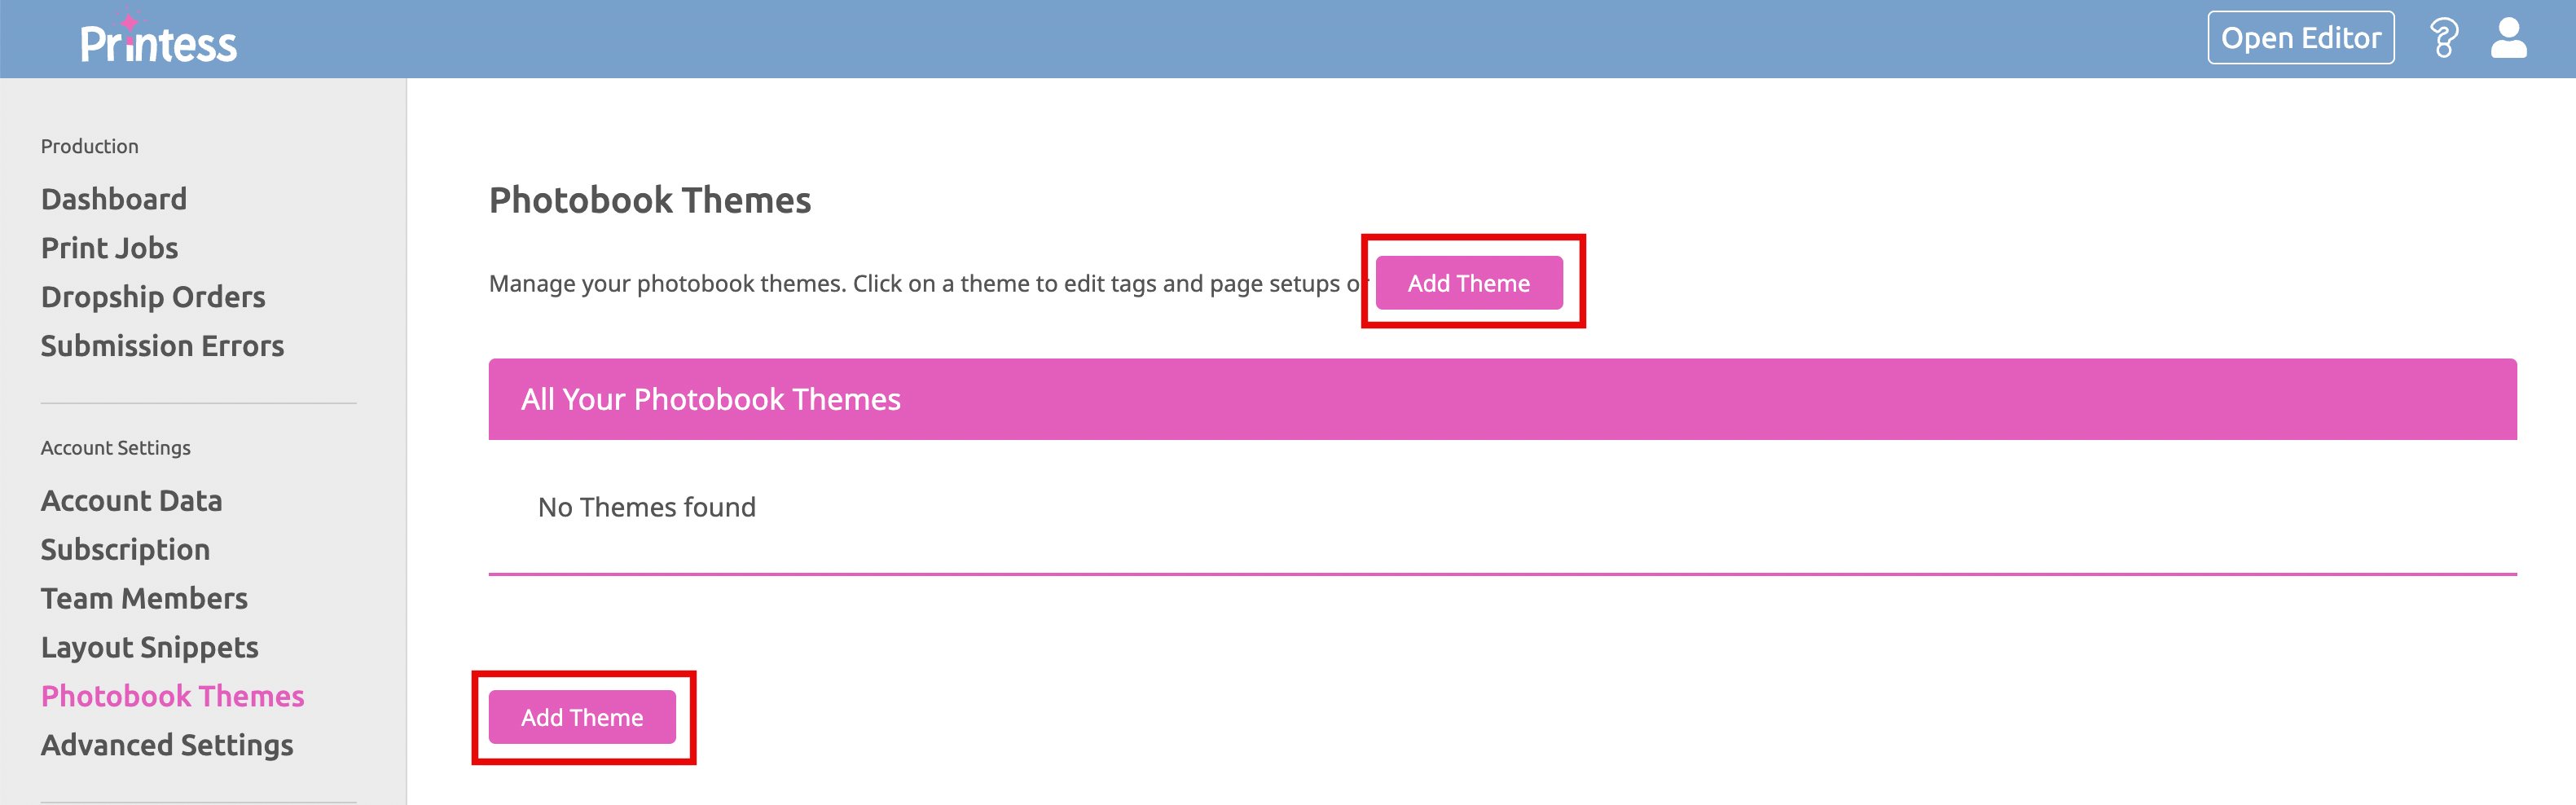
If you press “Add Theme” a popup window will ask you to define a name for the new Theme. The default text is “universal” because this is the base for any Photobook. A Universal Theme only includes Layout Snippets with the Keyword “basic”. They include Splitters to match any number of images the Buyer would like to place on a page.
Learn more about the Keyword “basic”
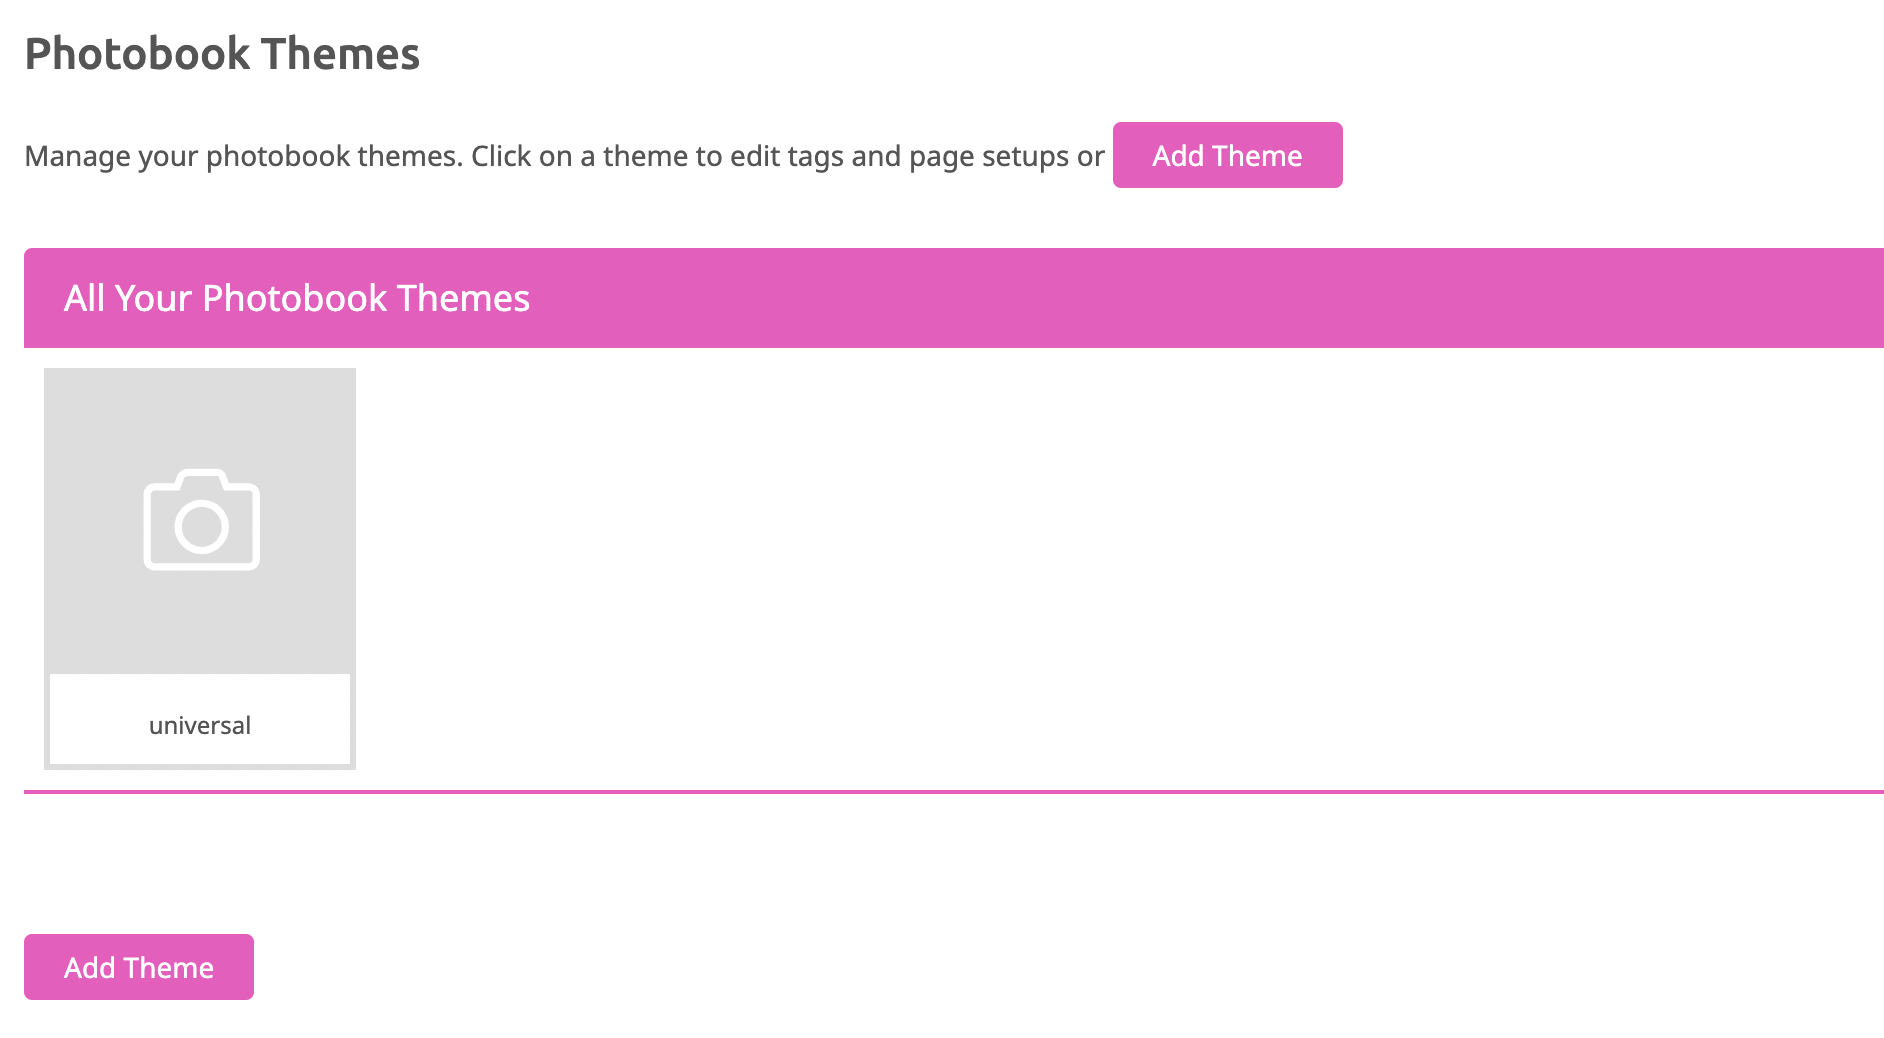
They don’t have any backgrounds and no other than image and text frames included. So the first Photobook Theme you have to create is the Universal Theme. Because it is essential for any Magic Photobook. So stay with the name “universal” and press ok. The new Theme will be displayed now at the Theme List.
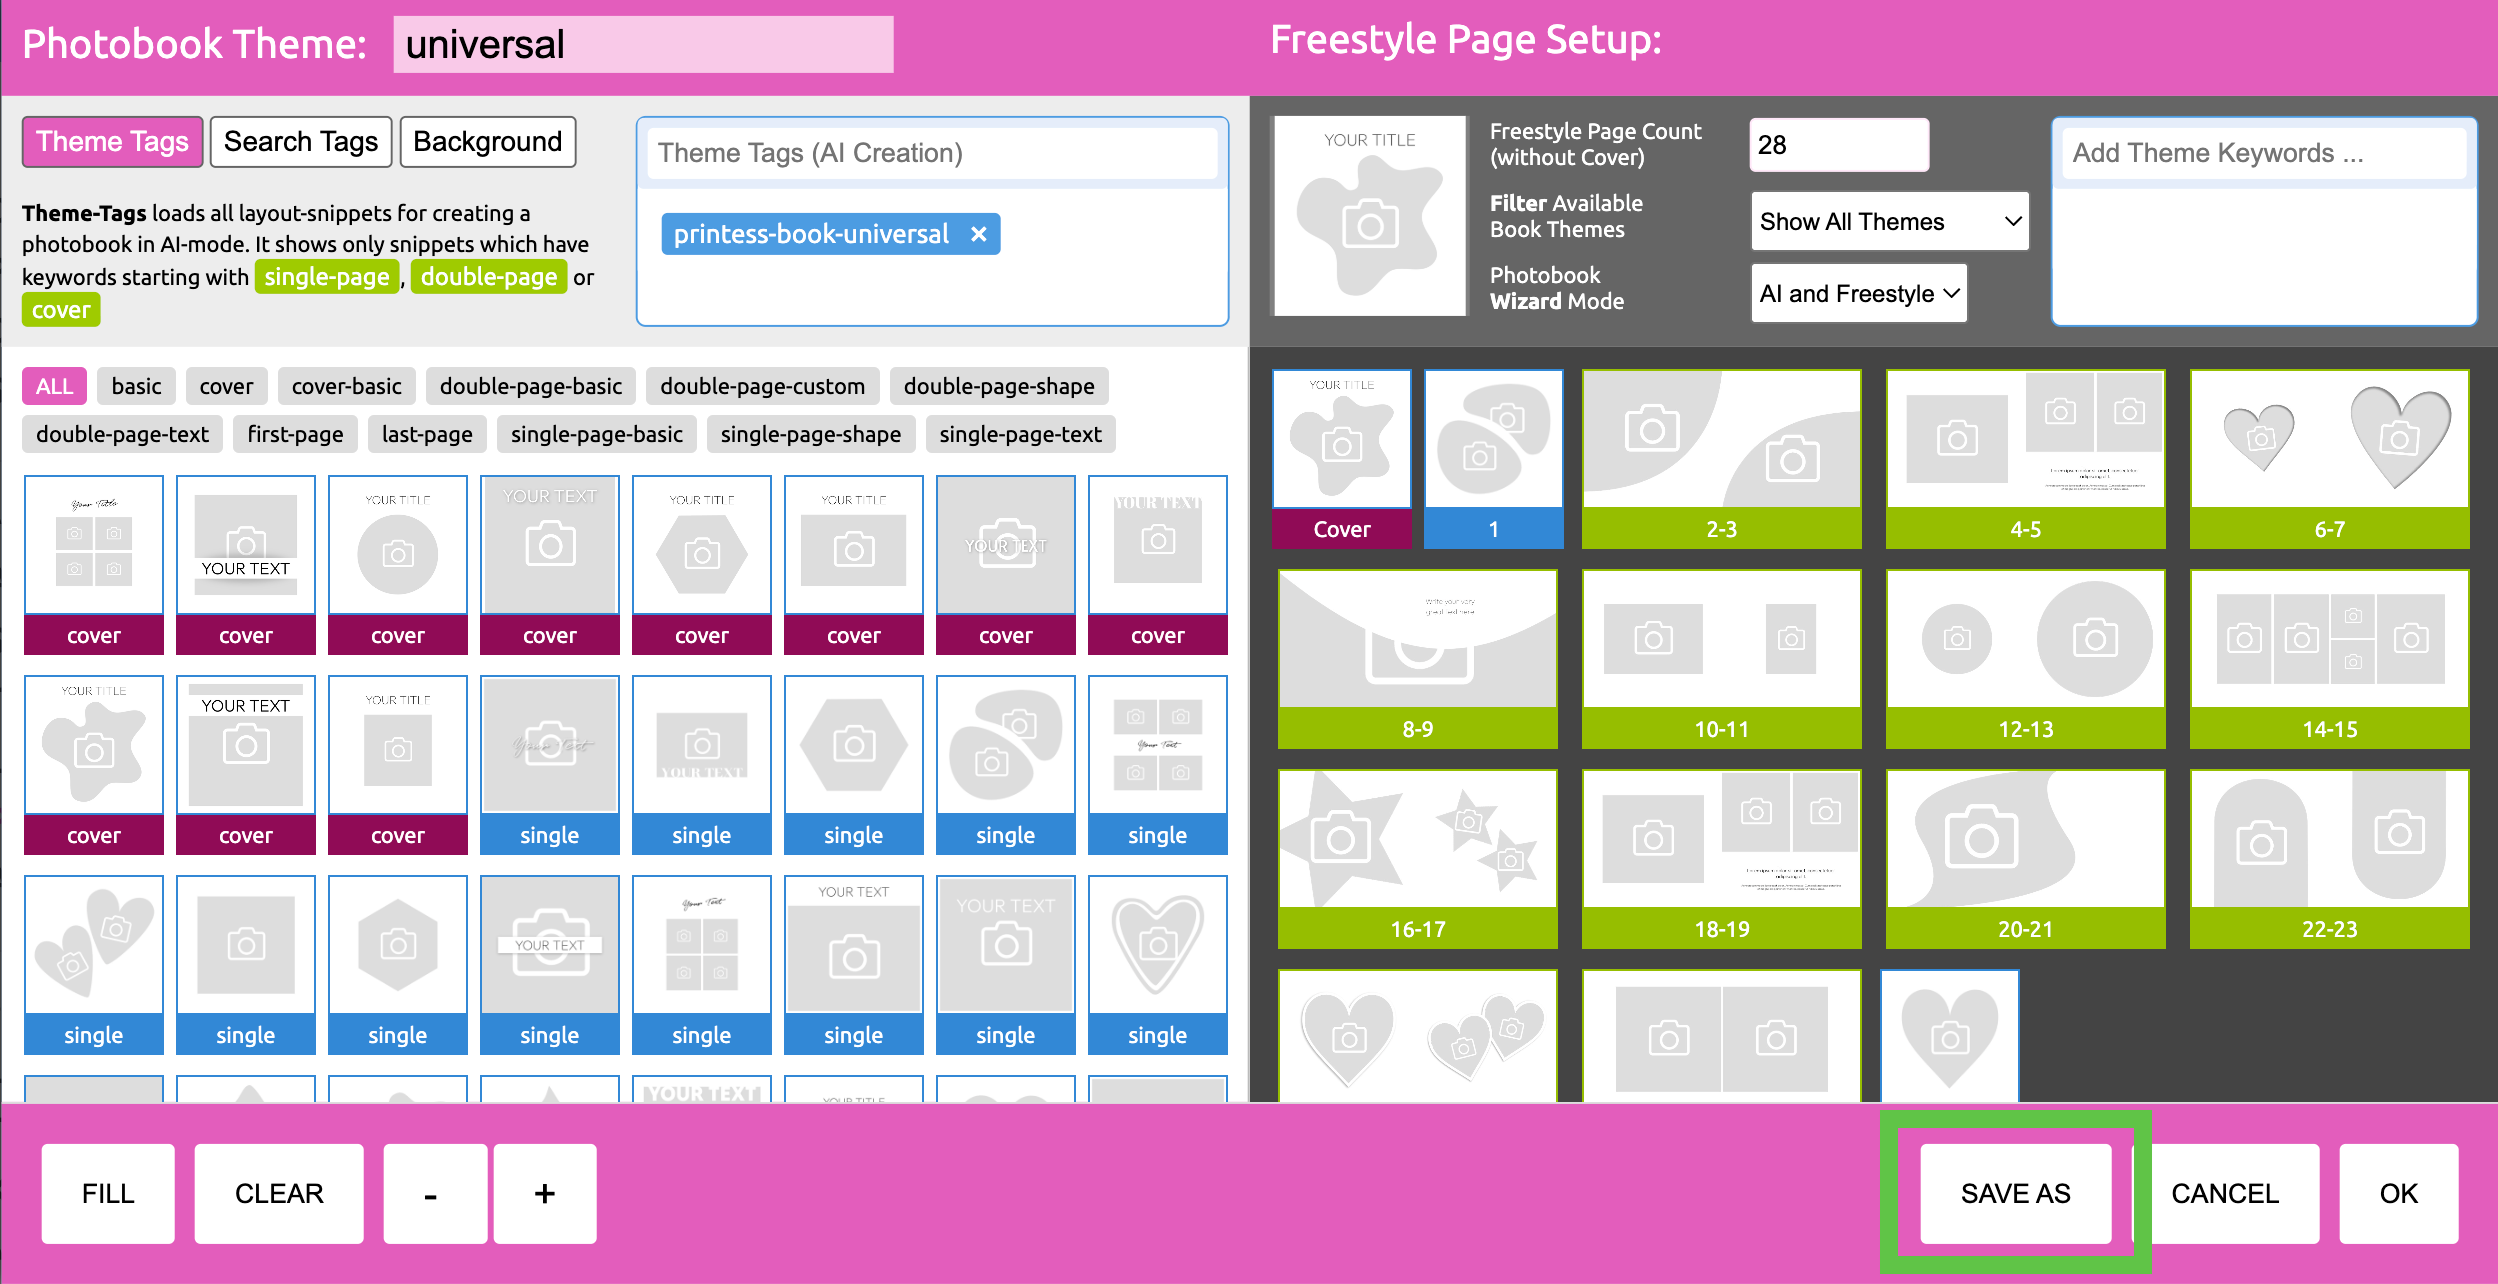
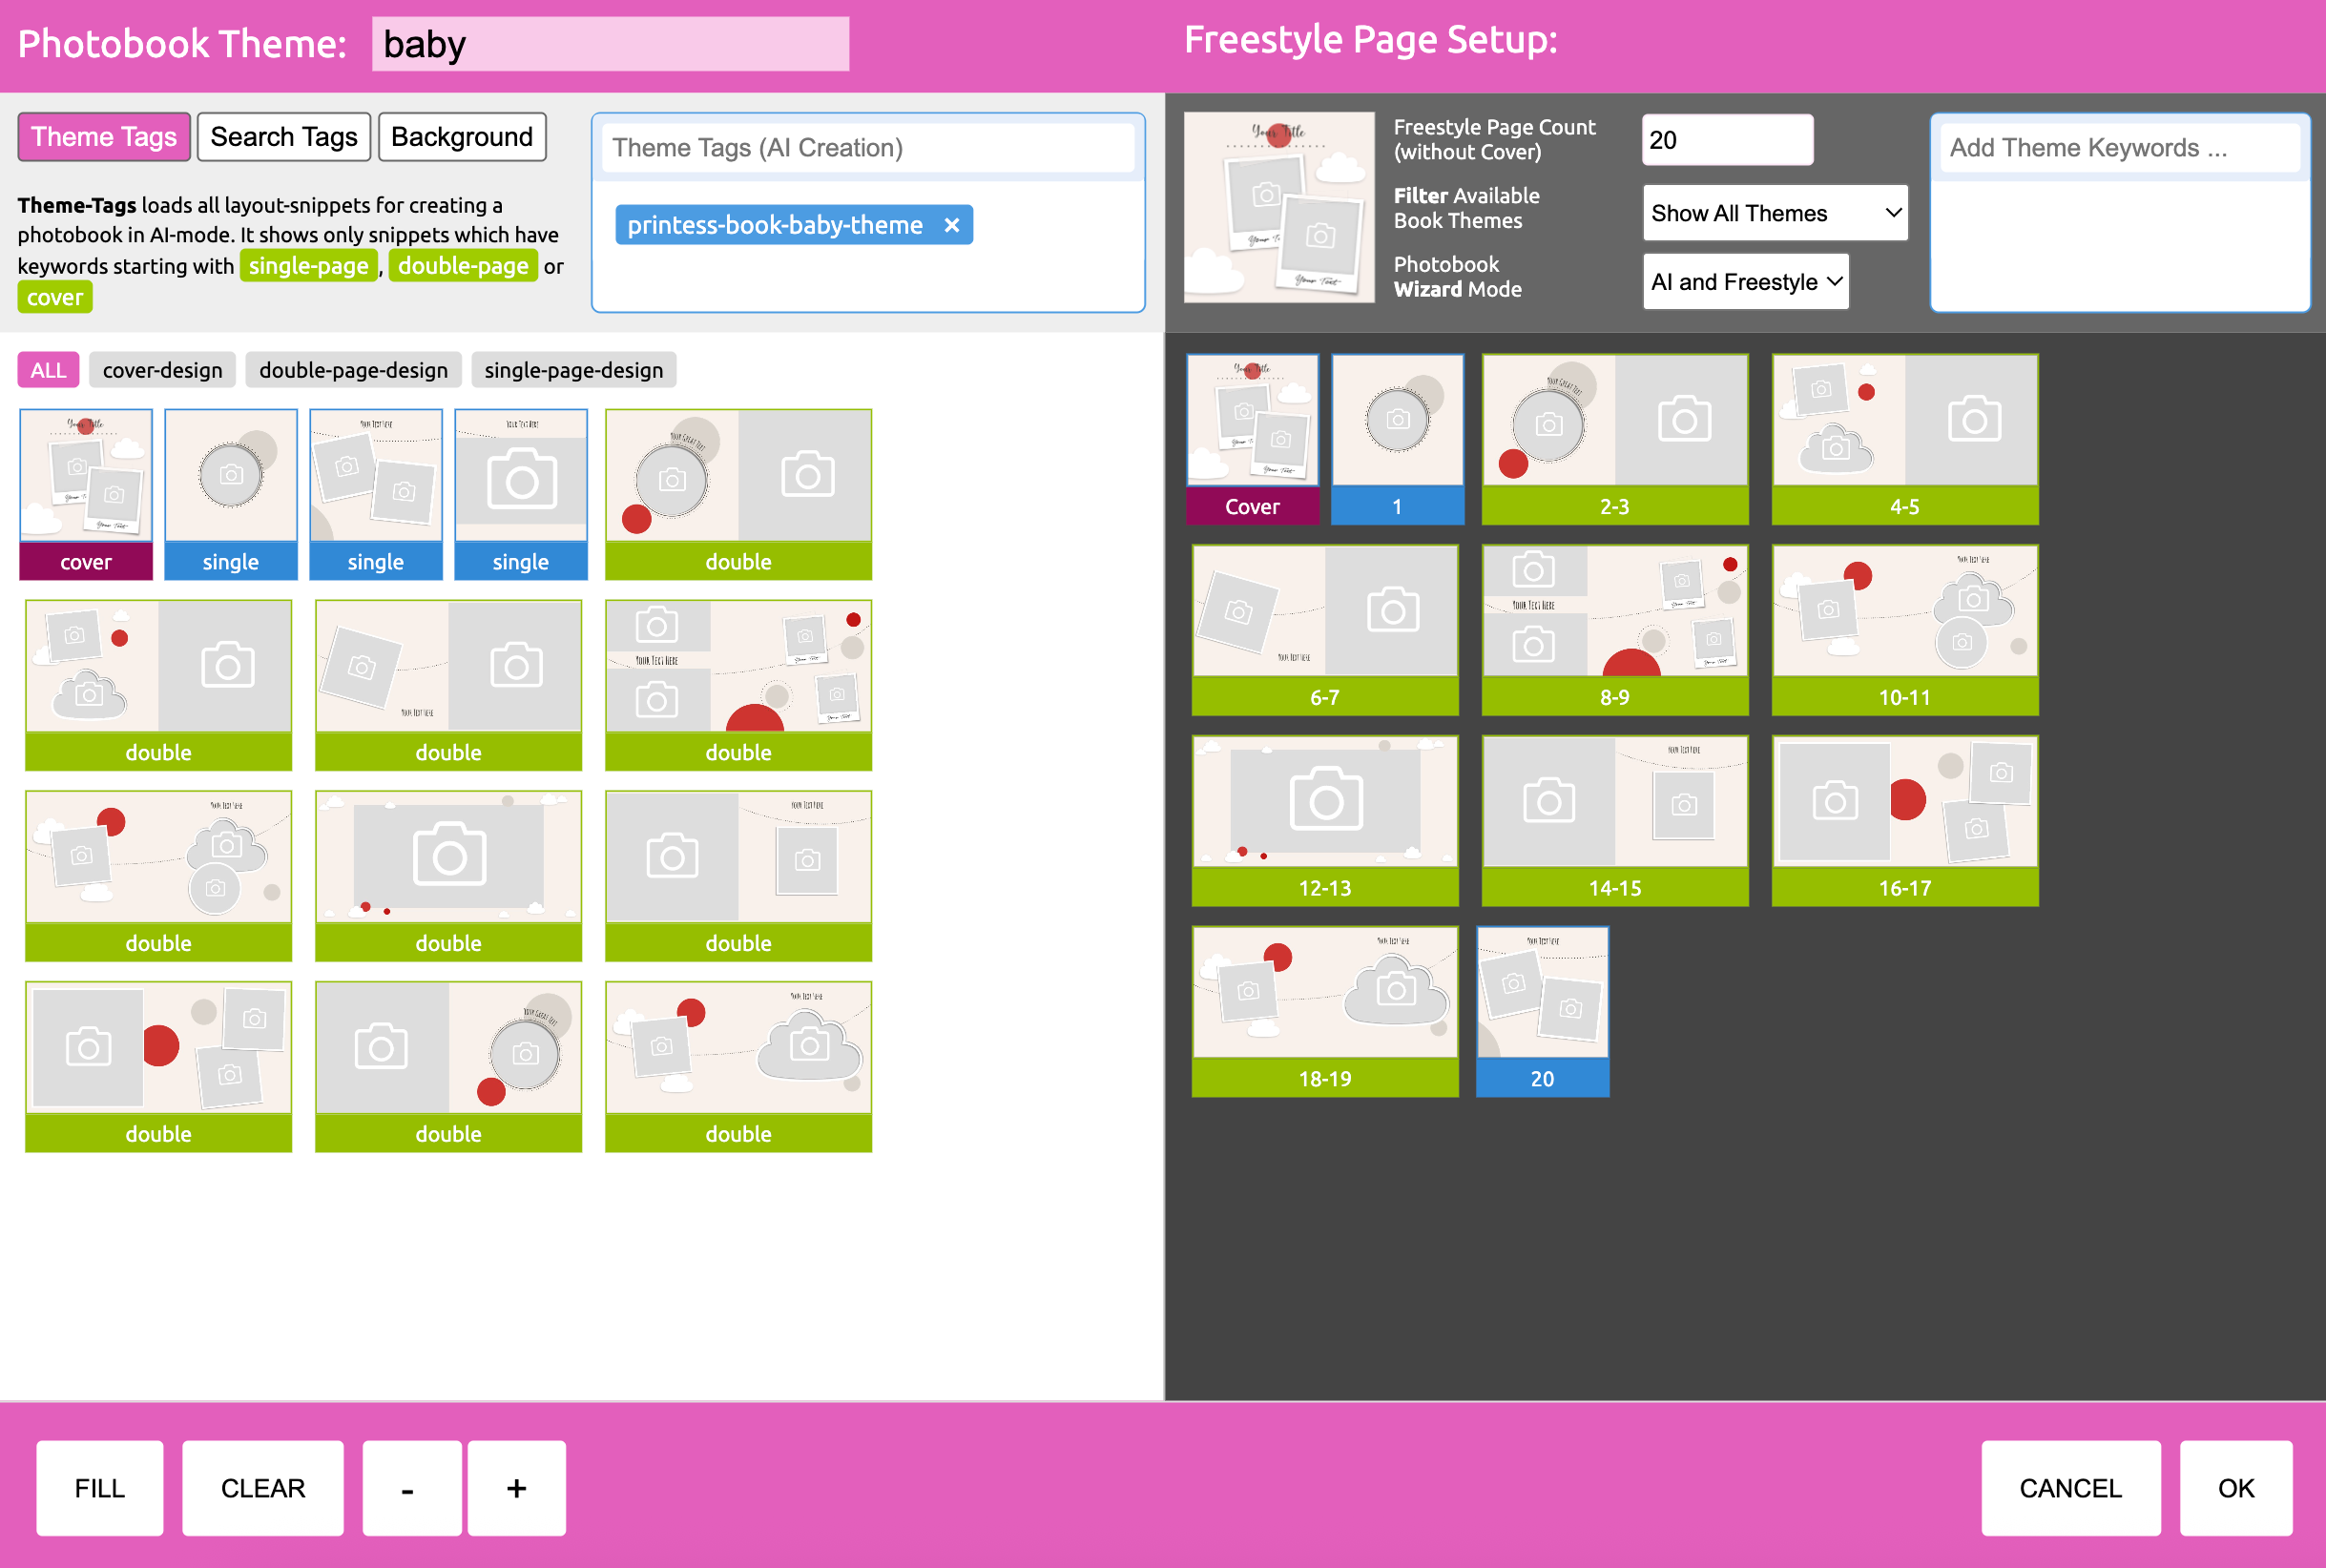
If you click on the Theme icon a new dialog will open. At the Theme Tags Tab the Printess Tag “printess-book-universal” is assigned by default. Below all Layout Snippets available under this Tag are displayed. You can now choose from the existing Layout Snippets to drag them and drop them at the right hand side to define your “universal” Photobook Theme. Each Layout Snippet shows you if it is made for the cover, a single page or a double page.
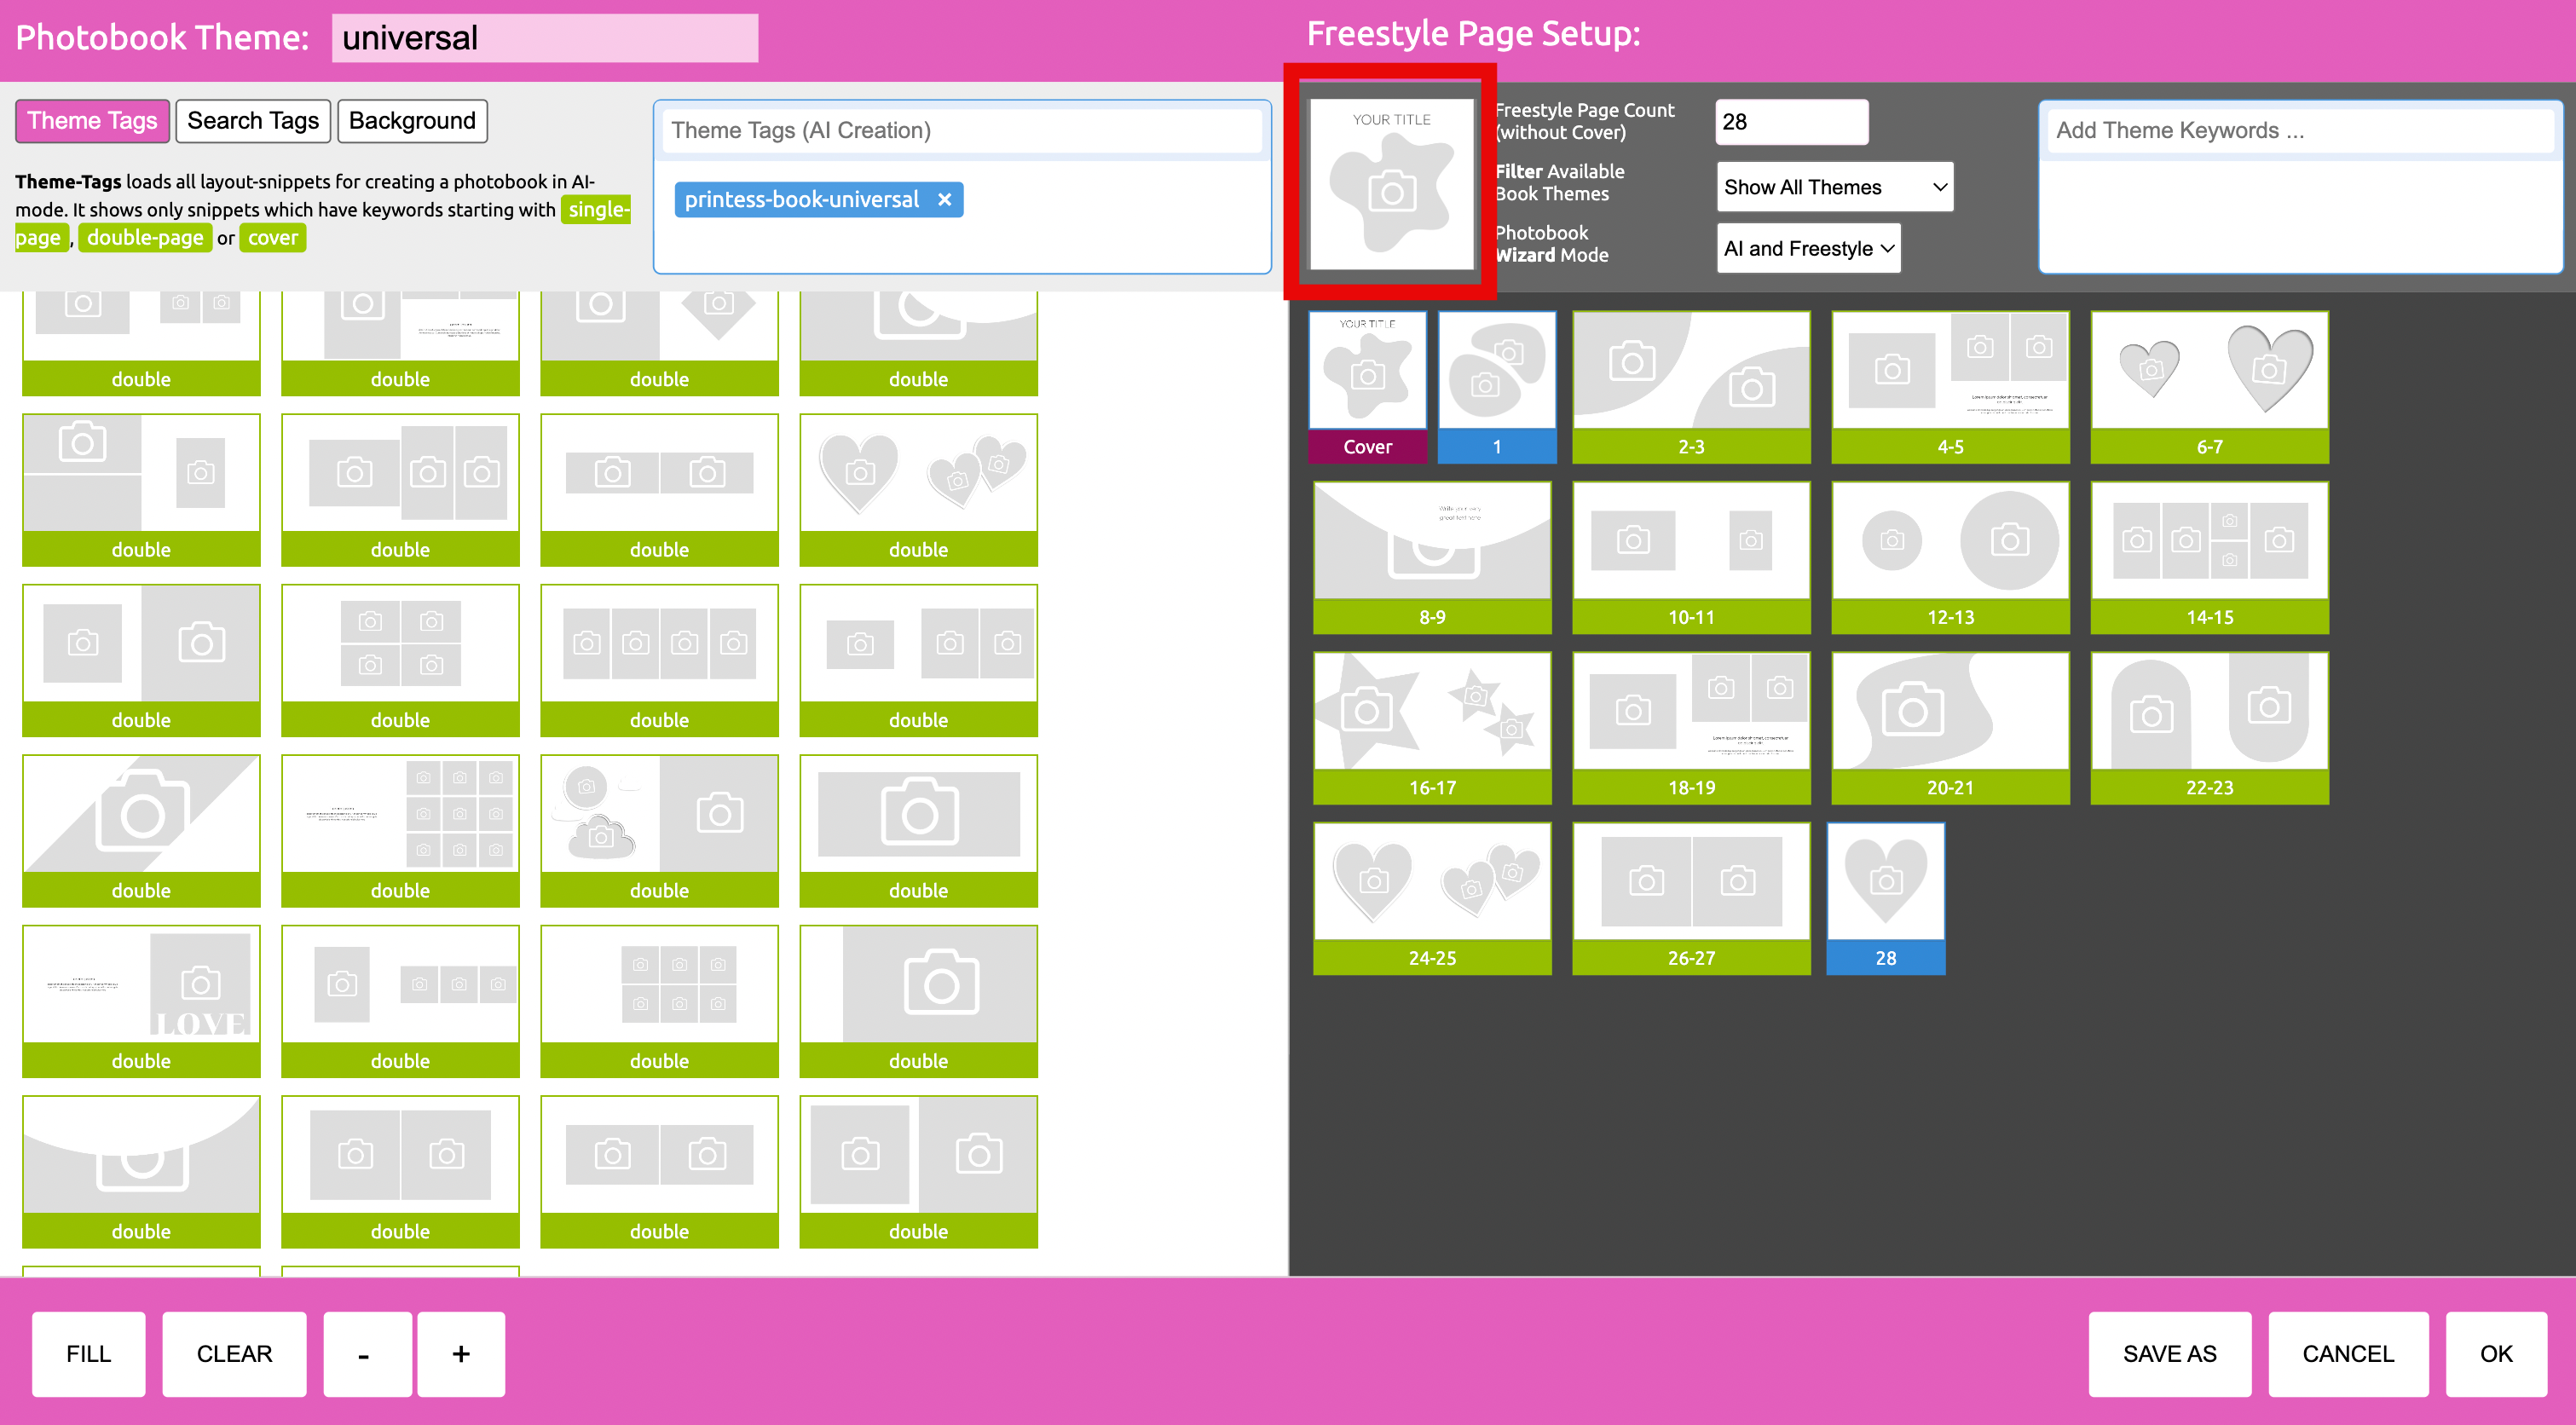
On the upper left of the “Freestyle Page Setup” area you can drag and drop a Layout Snippet to define the thumbnail of the Theme or you can just click on that area to upload any image instead.
If your configuration is done you just click “ok” to save your “universal” Theme.
You can now go to your Printess Photobook Template to assign your “universal” Theme at the Buyer View Appearance Settings.
How to assign Photobook Themes for testing
Your first Magic Photobook is done! This setup could be used for most of the Photobooks.
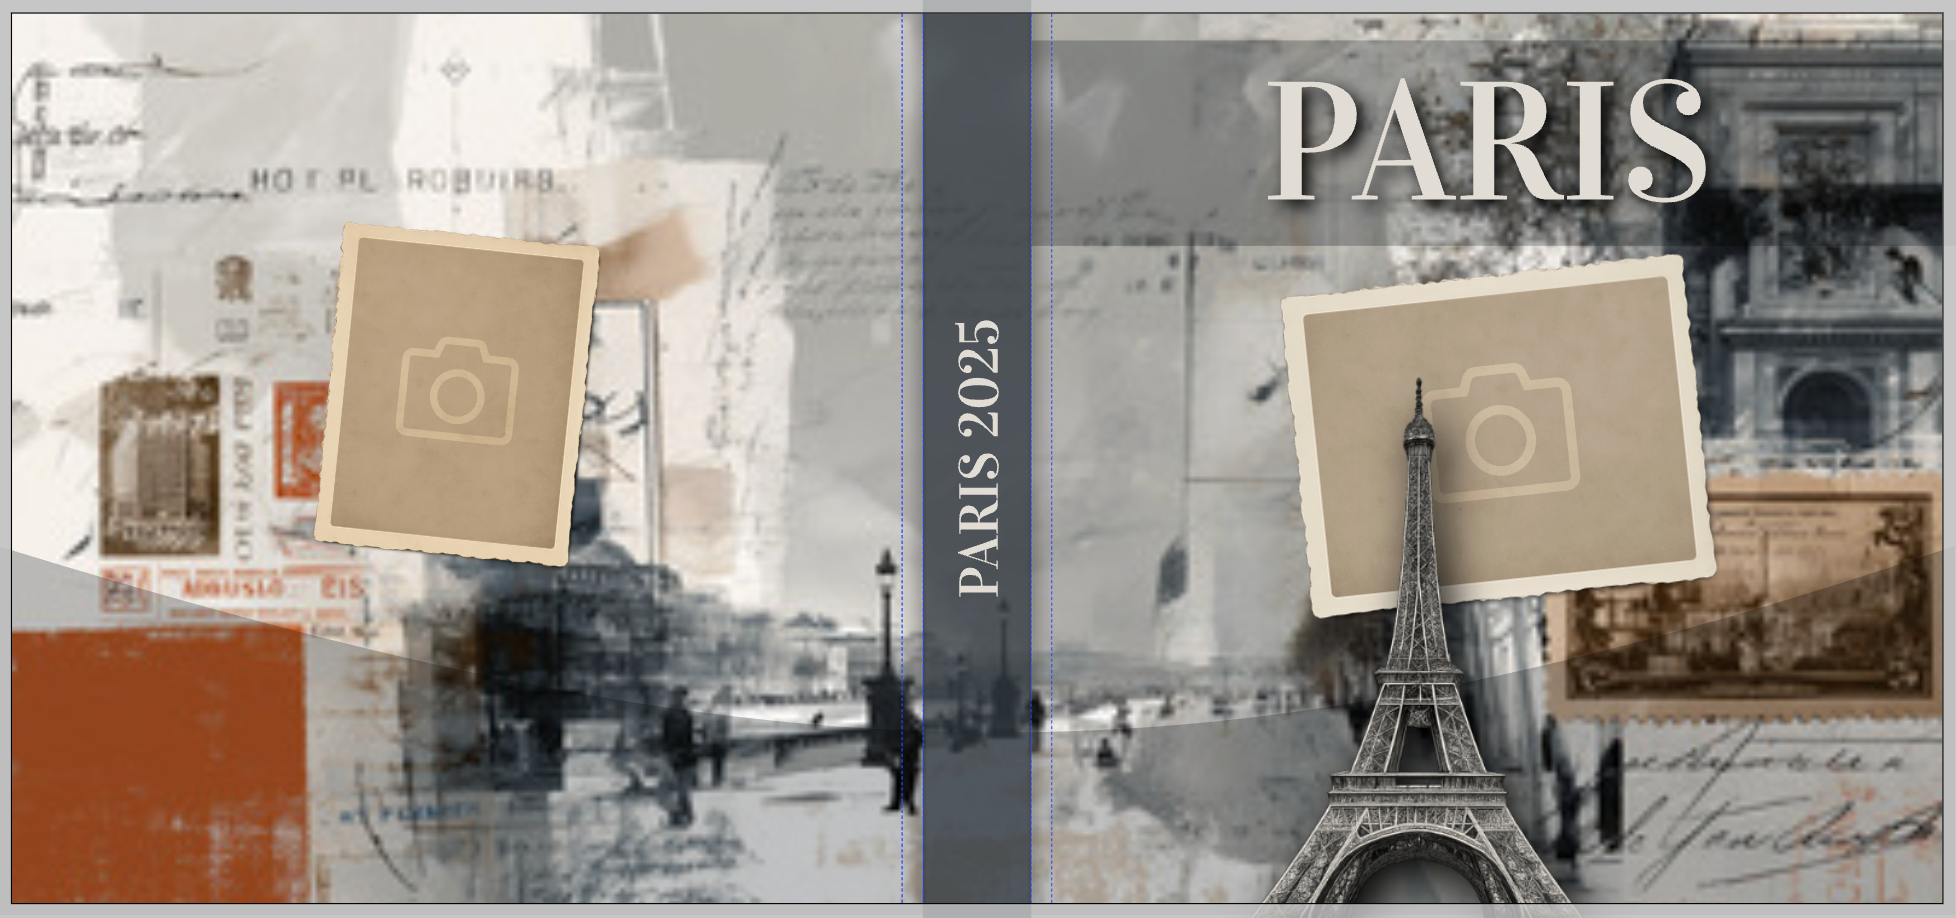
In addition to your Universal Theme you can add a unique Cover and Background. Because a lot of Photobooks include the same Inner Pages and only differs in the Cover and the Background. A good example are the Printess Travel Themes.
They all use the same Layout Snippets for the Inner Pages, First Page and Last Page - the same used for the Universal Theme. But they got different Covers and Backgrounds for Paris, Rome and London etc.
So open your Universal Theme and press the button SAVE AS on the bottom right of the window.
A popup window will open where you can type in the name “Paris”.

Now you have got two Themes displayed in your Theme List.

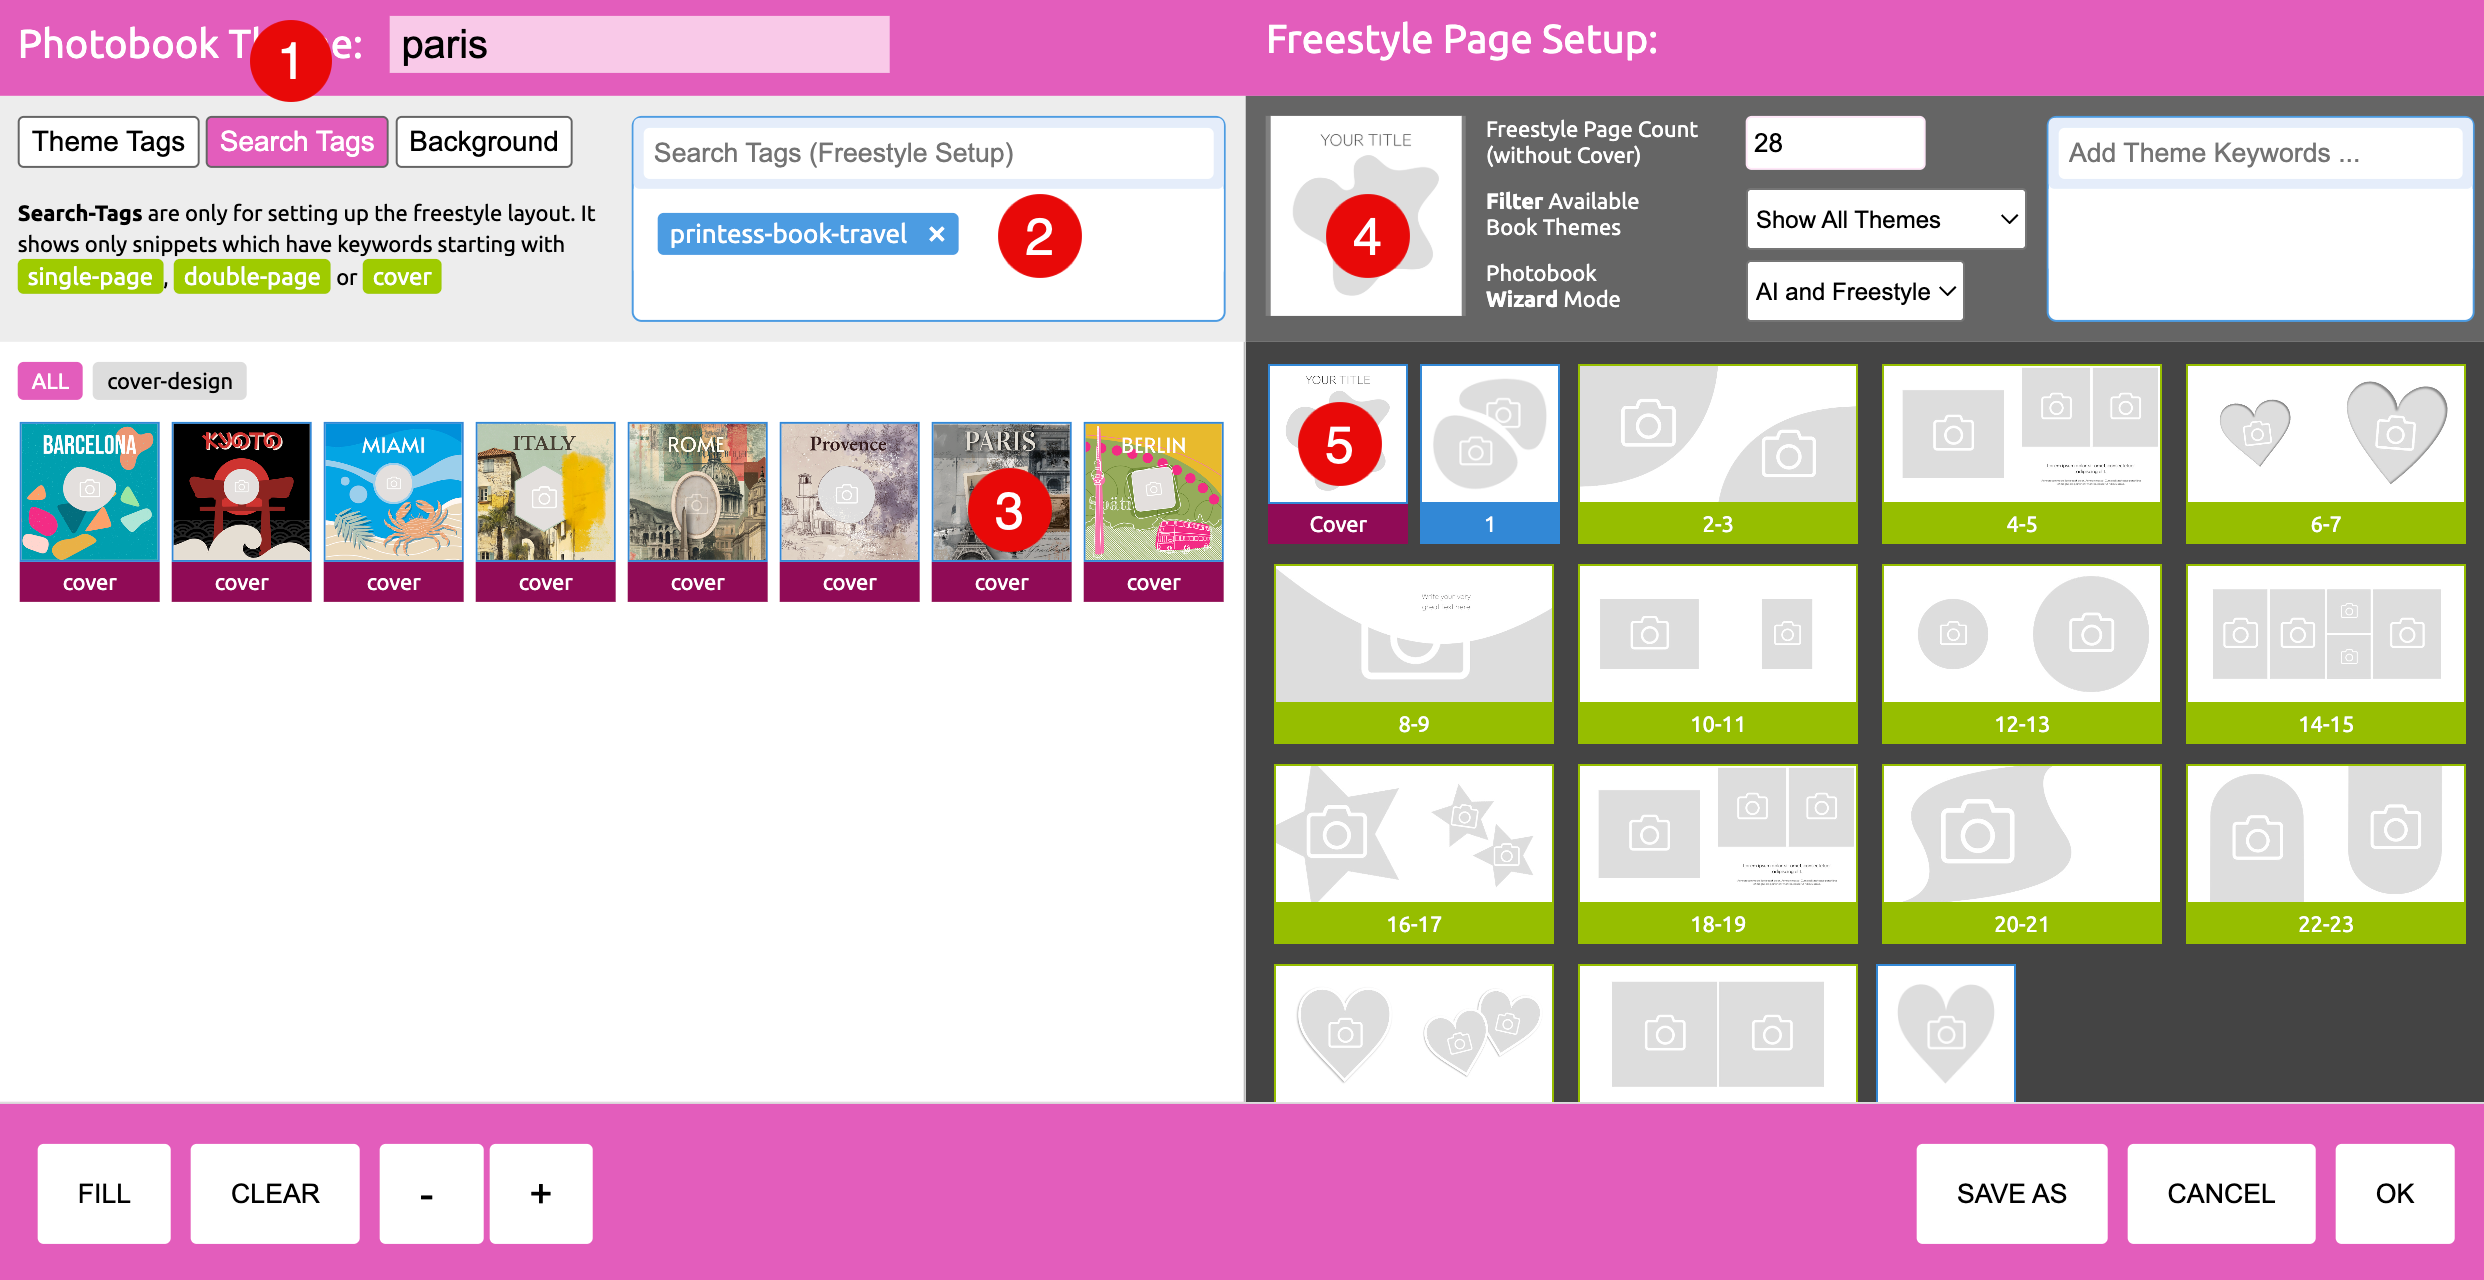
Click on your “Paris” Theme to reopen the Photobook Theme Creator.
Now go to the Tab background.
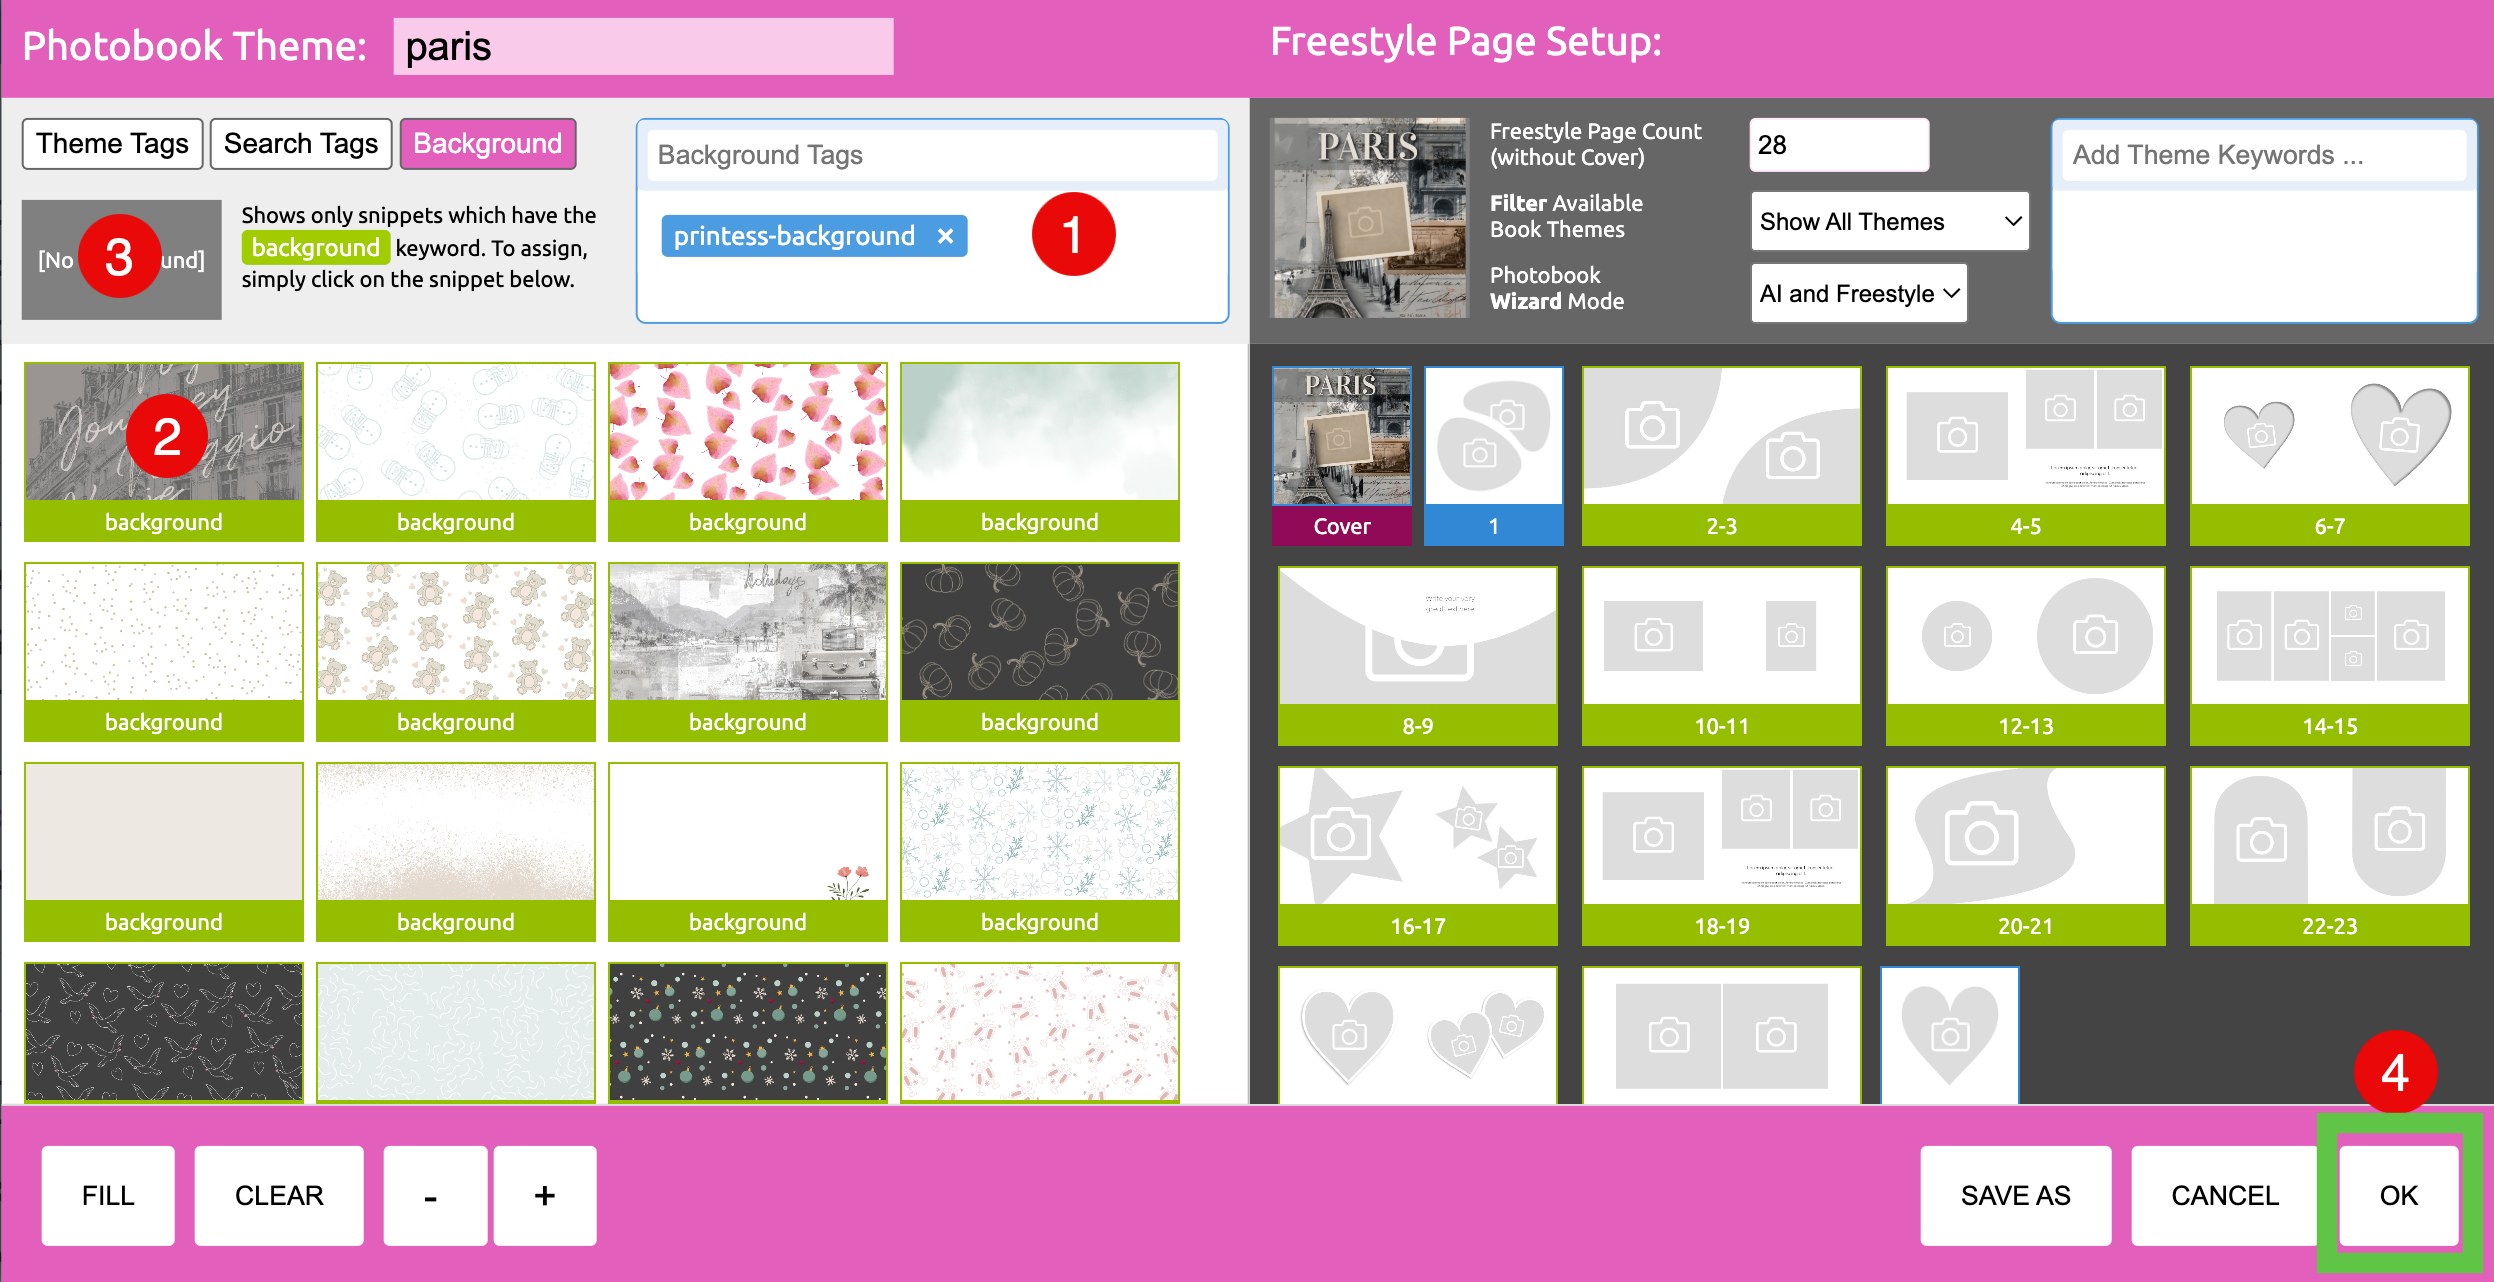
Now you have set up the Paris Theme to have two different Themes displayed in your Theme List.
In difference to a Universal Theme this type of Theme includes tailor made designs and backgrounds. They are designed for a special occasion like birthdays, weddings, or vacations. Consequently, a static number of images may be needed to meet the design requirements - like in our example.
These three images frames of the Layout Snippet above do not have the Splitter option activated because of their shapes and designs. This makes this Layout Snippet look very nice but it could only be used for a Double-Page with three images.
But the Magic of each Photobook comes from the automated split of image frames to match different numbers of images for the different Double-Pages. That’s why you have to add Double- and Single-Pages which includes Splitters to your Layout Library - like this example.
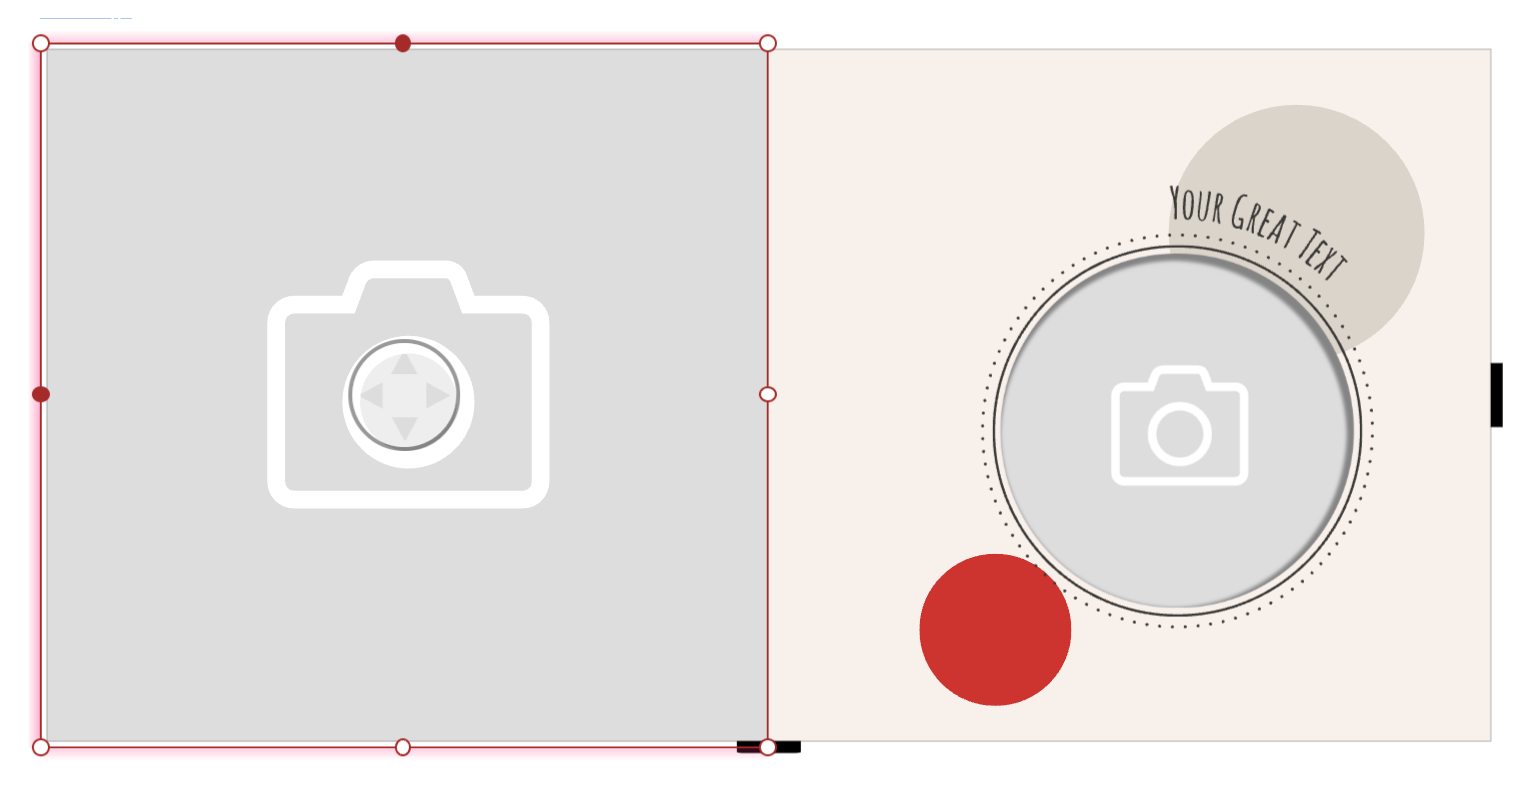
The red aura indicates that this frame is set to Splitter. So this image frame can automatically be splitted - depending on the number of images which has to be placed.
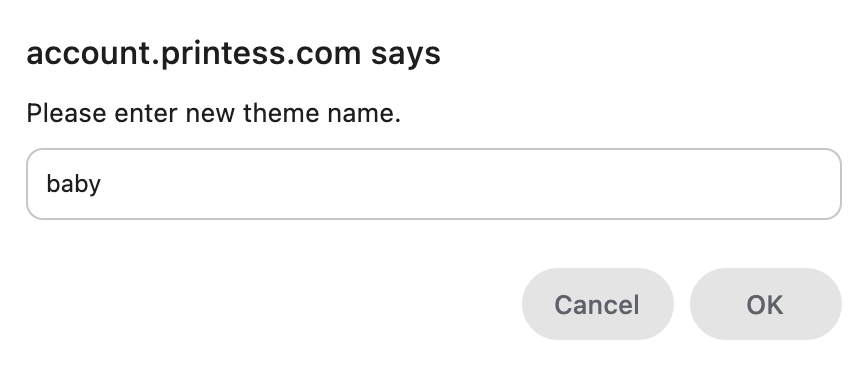
Press the button “Add Theme” and type in the name “baby” in the popup window to press “OK” to save it.
Now remove the Tag “printess-book-universal” from the Theme Tags Tab.

Your Theme should now look like that:
Now go to the Background Tag and remove the Tag “printess-background”.
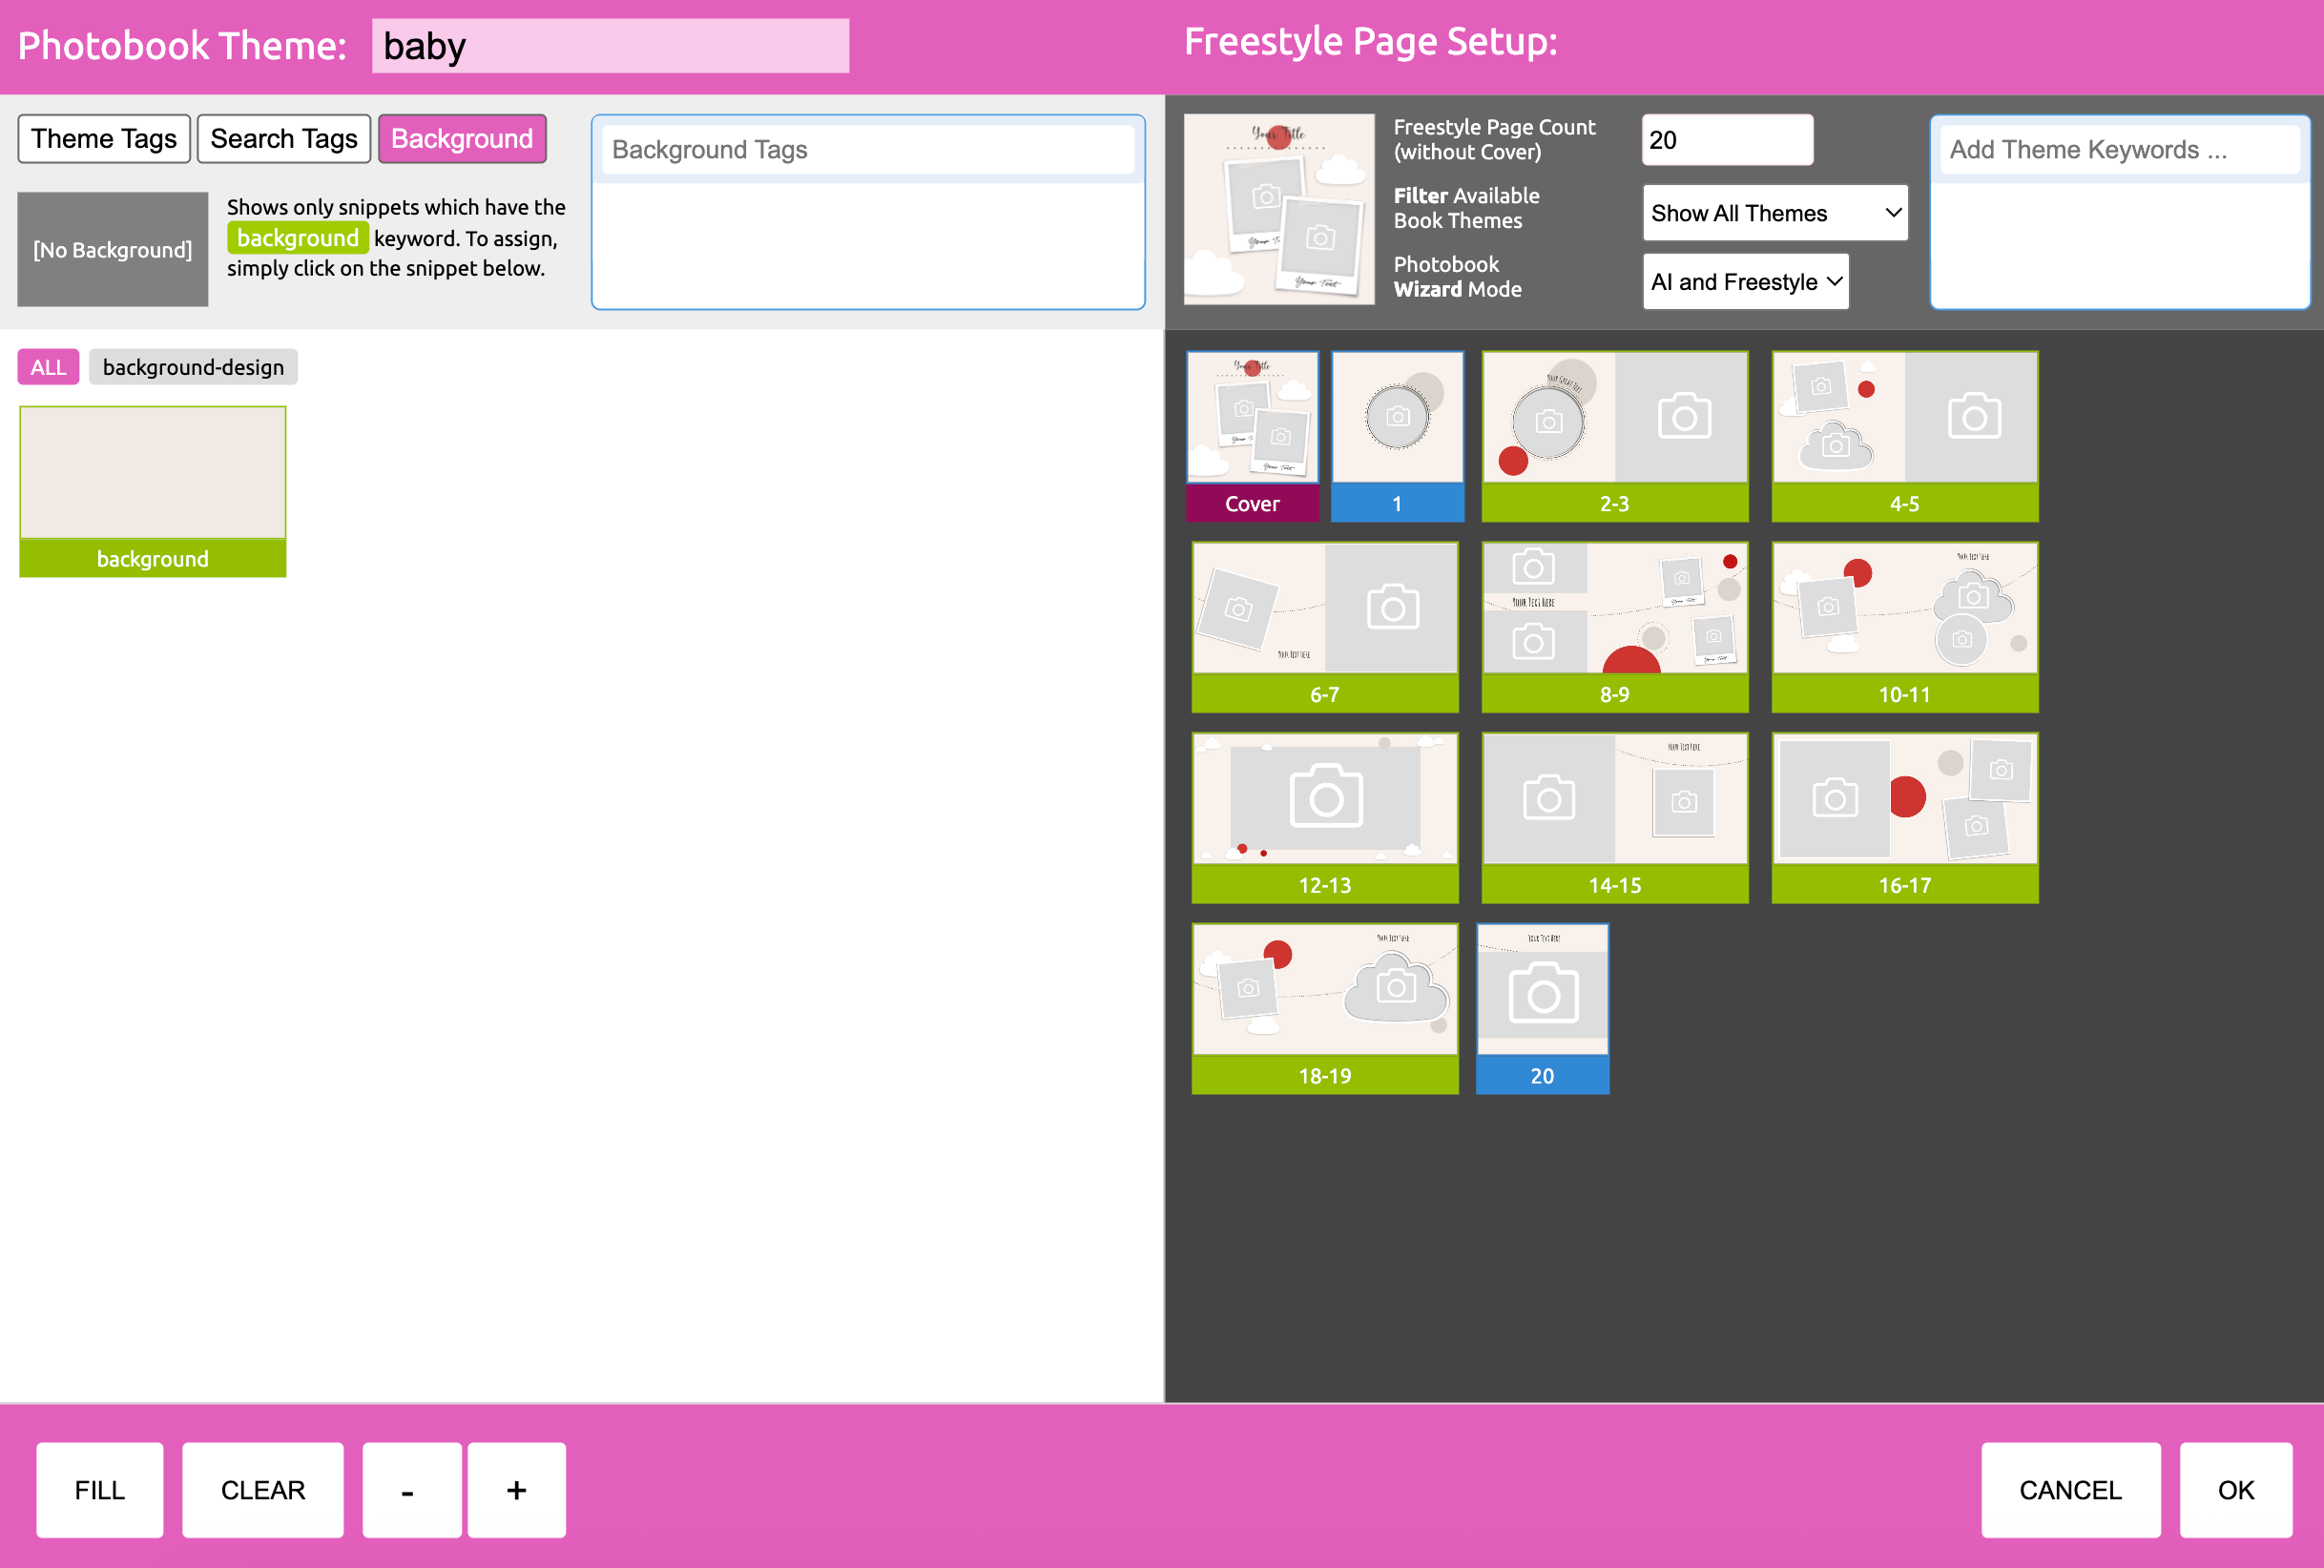
The background Layout Snippets are now automatically assigned to the Photobook Theme because the Layout Library used for the setup includes a backgrounds Document with the Keyword “background-design”. So you only have to press “OK” to save that Photobook Theme.
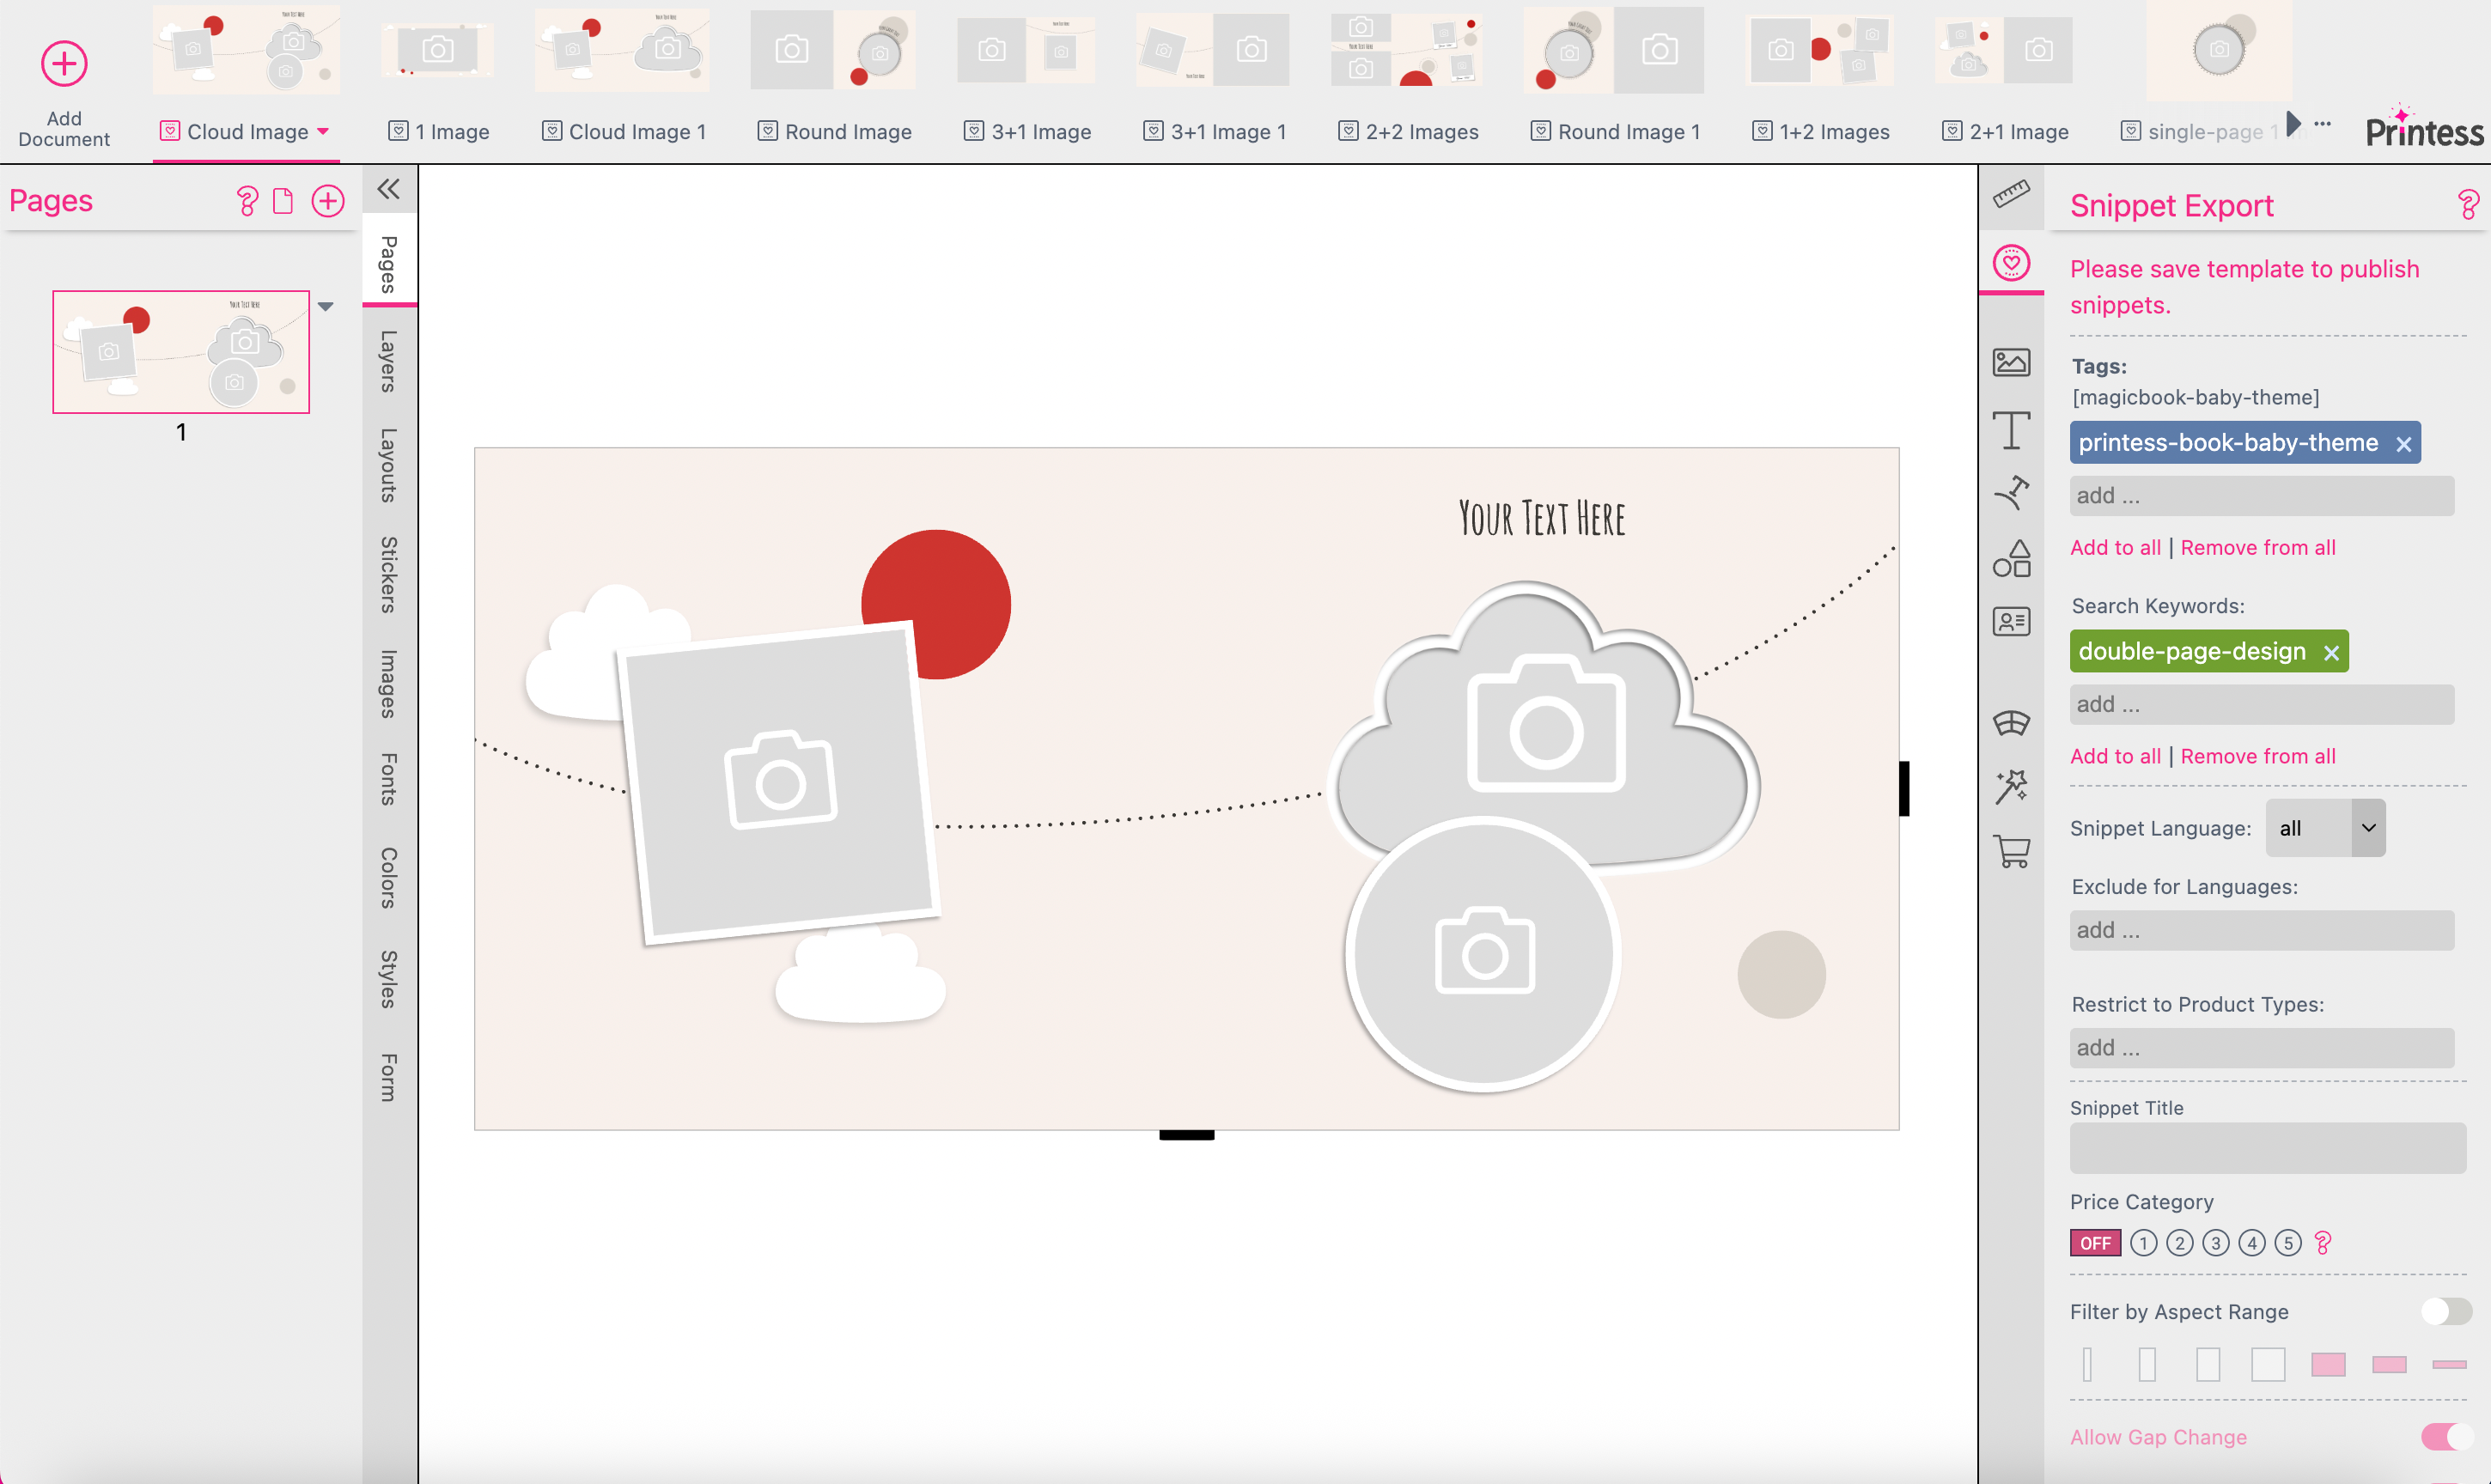
To set up a Photobook Theme you can use different Layout Snippets Tags to assign them as different Resources.
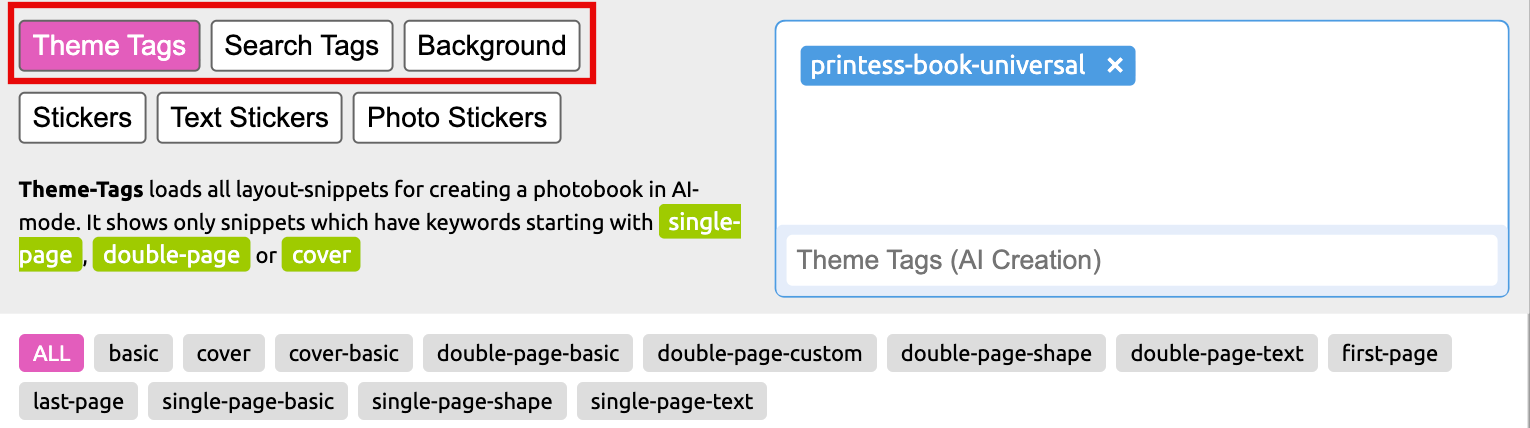
Any Layout Snippet of any Tag you are assigning here will be used for the AI generated Photobook and for the Layout Tab at the Buyer Side where the Buyer can choose from. On the right hand side is a corresponding search option to assign a Tags.
Any Layout Snippet of any Tag you are assigning here could be used for the setup of the Freestyle Photobook version. On the right hand side is a corresponding search option to assign a Tags.
Any Layout Snippet of any Tag you are assigning here could be used as the initial background for the Photobook. On the right hand side is a corresponding search option to assign a Tags.
You can filter the assigned Layout Snippets by their Keywords.

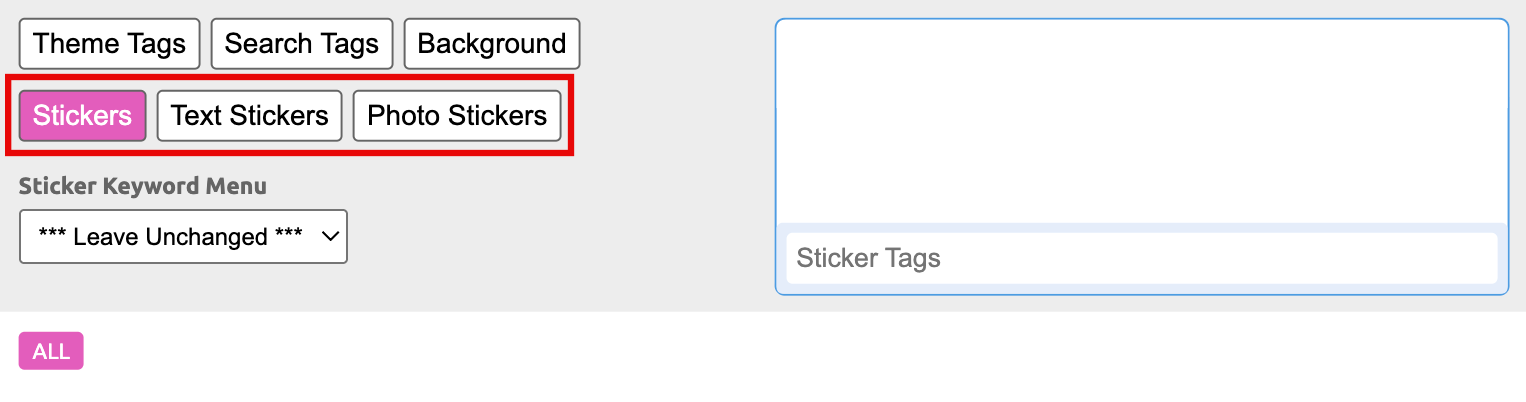
Here you can add Sticker Snippets Tags to your Photobook Theme. It will overwrite the existing Sticker Groups in your Photobook Master.
So you have to make sure that the Sticker Group which you would like to overwrite does exist in your Photobook Master!
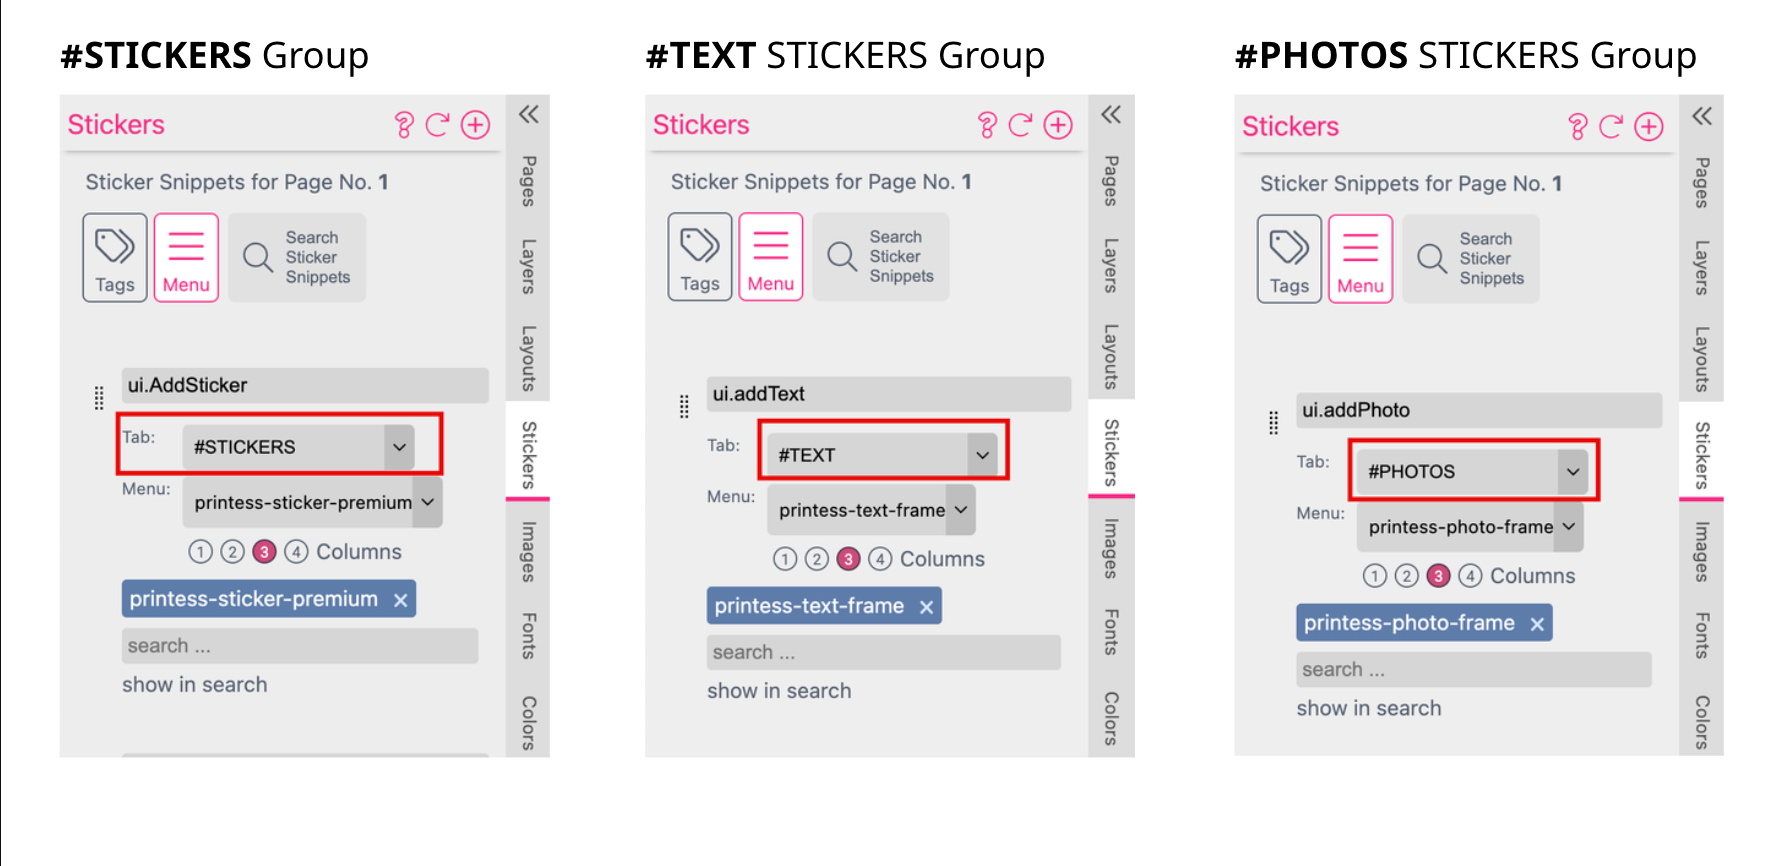
You set them up at the Stickers Tab of the Resources Panel.
Learn more about Sticker Snippets Assignment
Here you assign the Tags of the Stickers you would like to use to overwrite the #STICKERS Group in your Photobook Master.
Here you assign the Tags of the Stickers you would like to use to overwrite the #TEXT Stickers Group Photobook Master.
Here you assign the Tags of the Stickers you would like to use to overwrite the #PHOTOS Stickers Group Photobook Master.
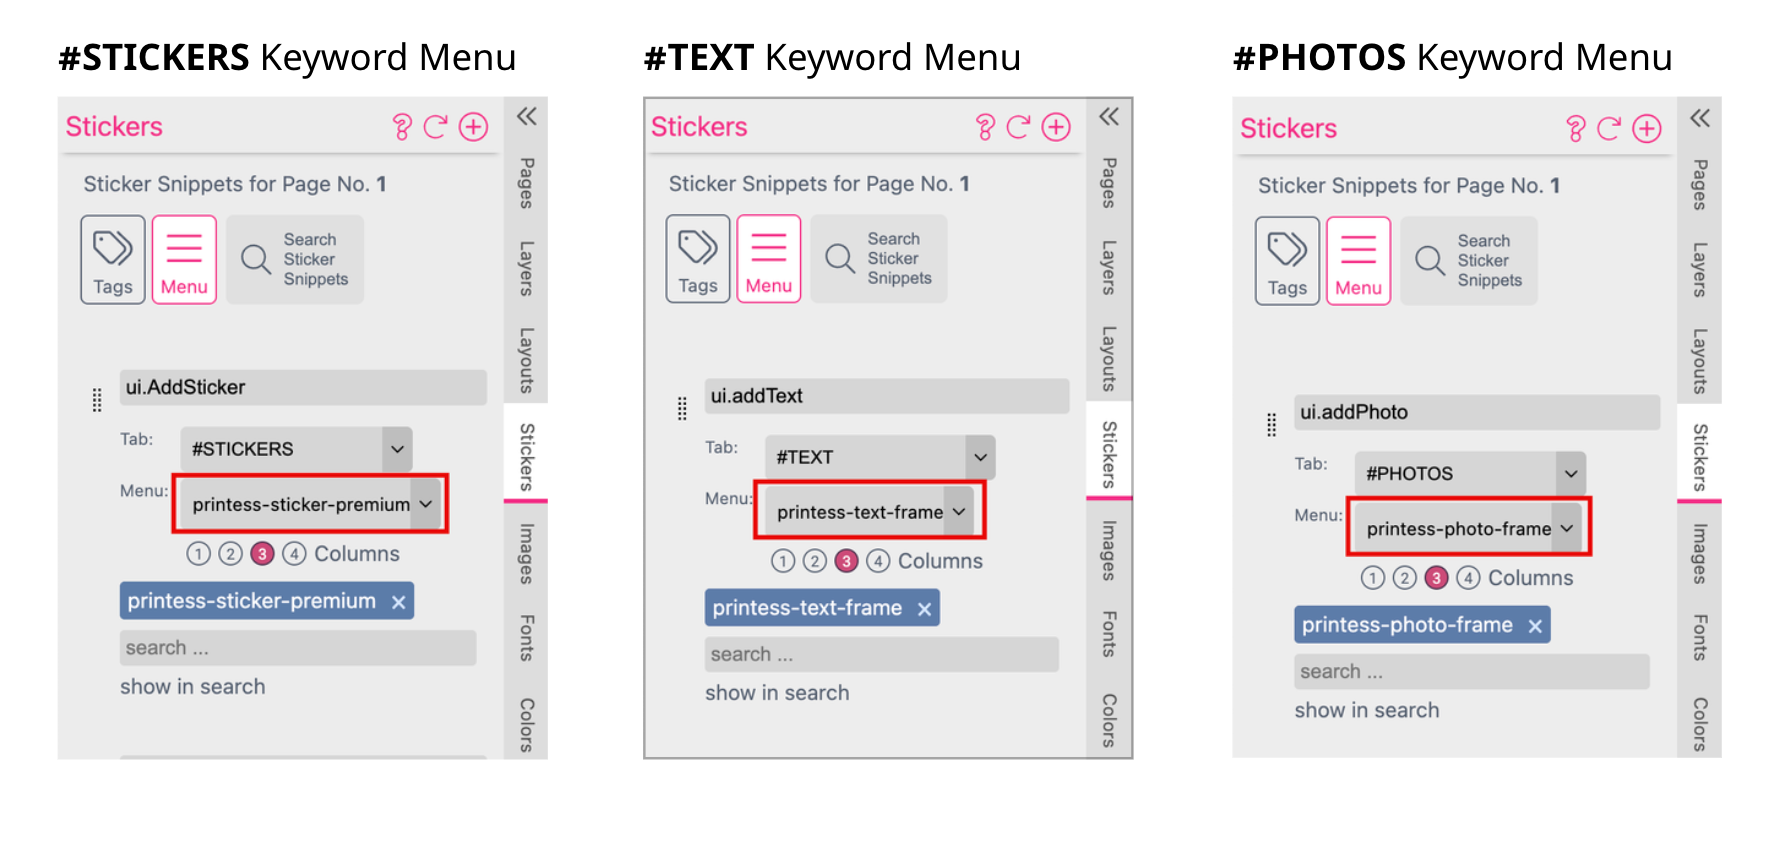
Here you can select a Keyword Menu to overwrite the Keyword Menu for any Sticker Group you are overwriting in the Photobook Master.
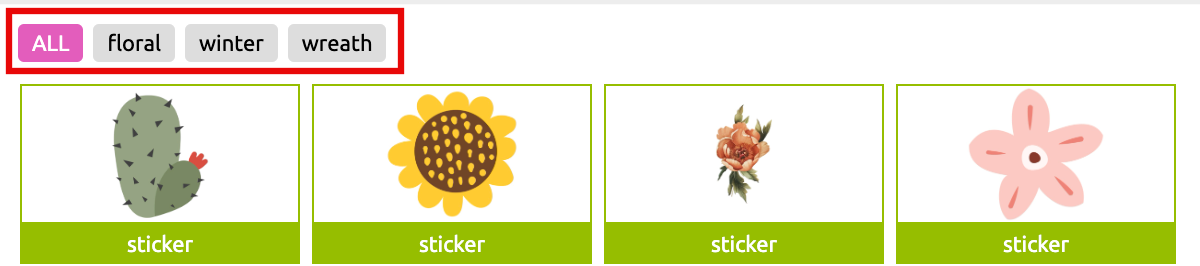
You can filter the assigned Sticker Snippets by their Keywords.
Here you can not just set up the Freestyle Photobook. The Freestyle Photobook got a fixed number of pages and fixed Layout Snippets for the Double Pages. But the Layout Snippets which you define for the for Cover and Single-Pages will also be used for the AI generated Photobook.
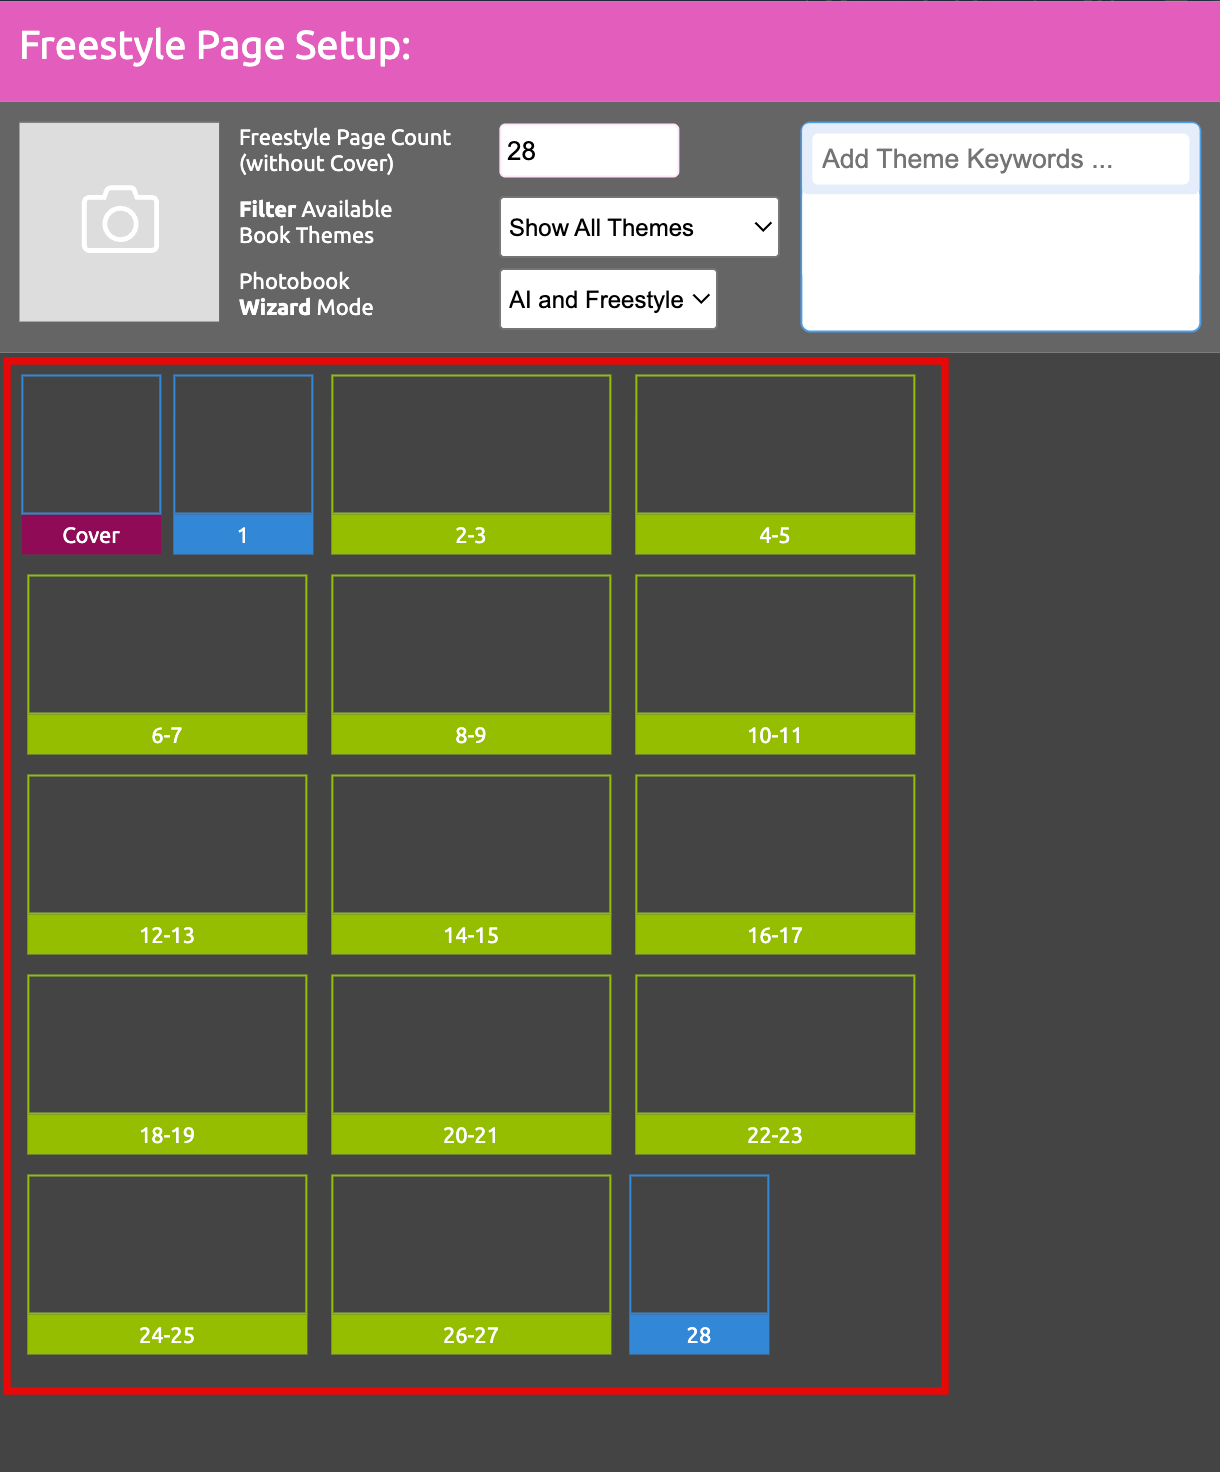
On top of this window you find the following settings:
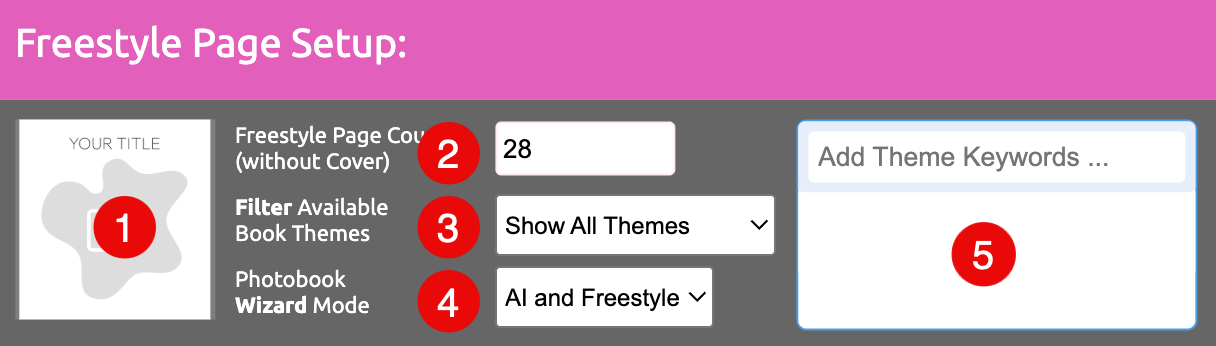
Drop a Cover Layout Snippet on this area to define the Thumbnail of the Theme. You can also click on this area to upload any other images to be used as a Thumbnail.
Define a number of pages for your Freestyle Photobook.
Define which Themes should be shown at the Buyer Side. The Buyer can then switch the Photobook Themes.