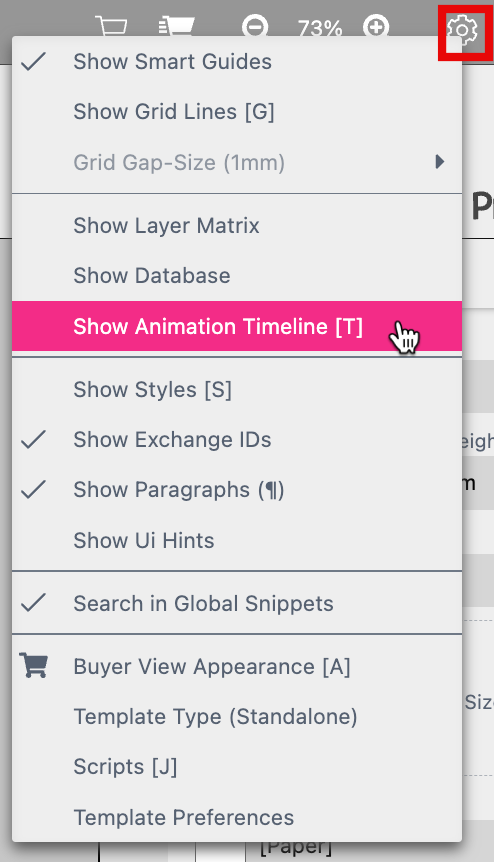
With the Printess Editor you can create Animations to export a mp4 file or to copy the HTML code. You have two options to display the Animation Timeline in the Editor:
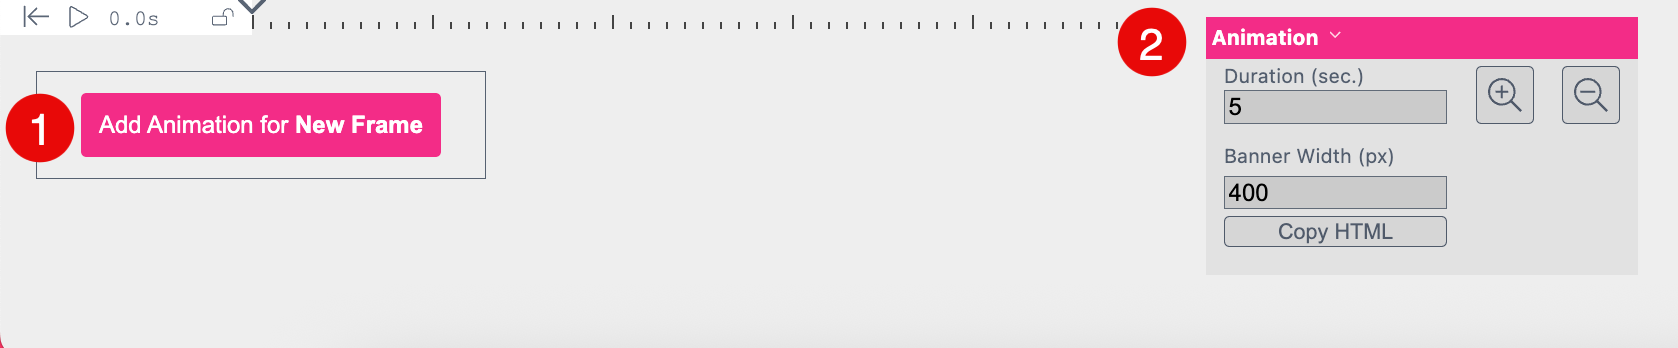
If you have selected a single Frame the Animation Table will look like this:
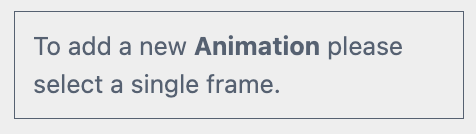
Please be aware that this only works with single Frames. So even if you have one Frame with several Adobe Illustrator paths included, this option will not be selectable. So if a frame is not suitable for the animation, or no frame is selected, the button of the animation table is displaying:
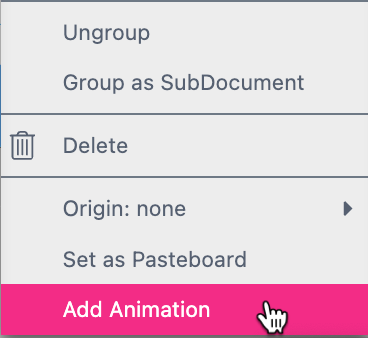
Note: If you like to add an identical Animation to more than one Frame, select all Frames and group them to a SubDocument Group.
SubDocument Group: Select the Frames you would like to group and do a right mouse click on one of these Frames. In the Frame Context Menu you can now select the option Group as SubDocument.
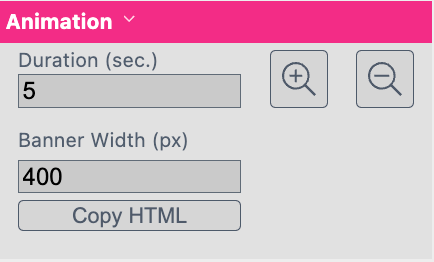
Duration
Type in the duration of the video - maximal 20 seconds.
Banner Width
Define the width of the video in pixel.
Copy HTML
Click this button to copy the HTML code of the Animation.
Timeline Zoom
Zoom the Timeline in and out.
If you click on the small triangle icon next to Animation you open the Context Menu of the Animation Window.
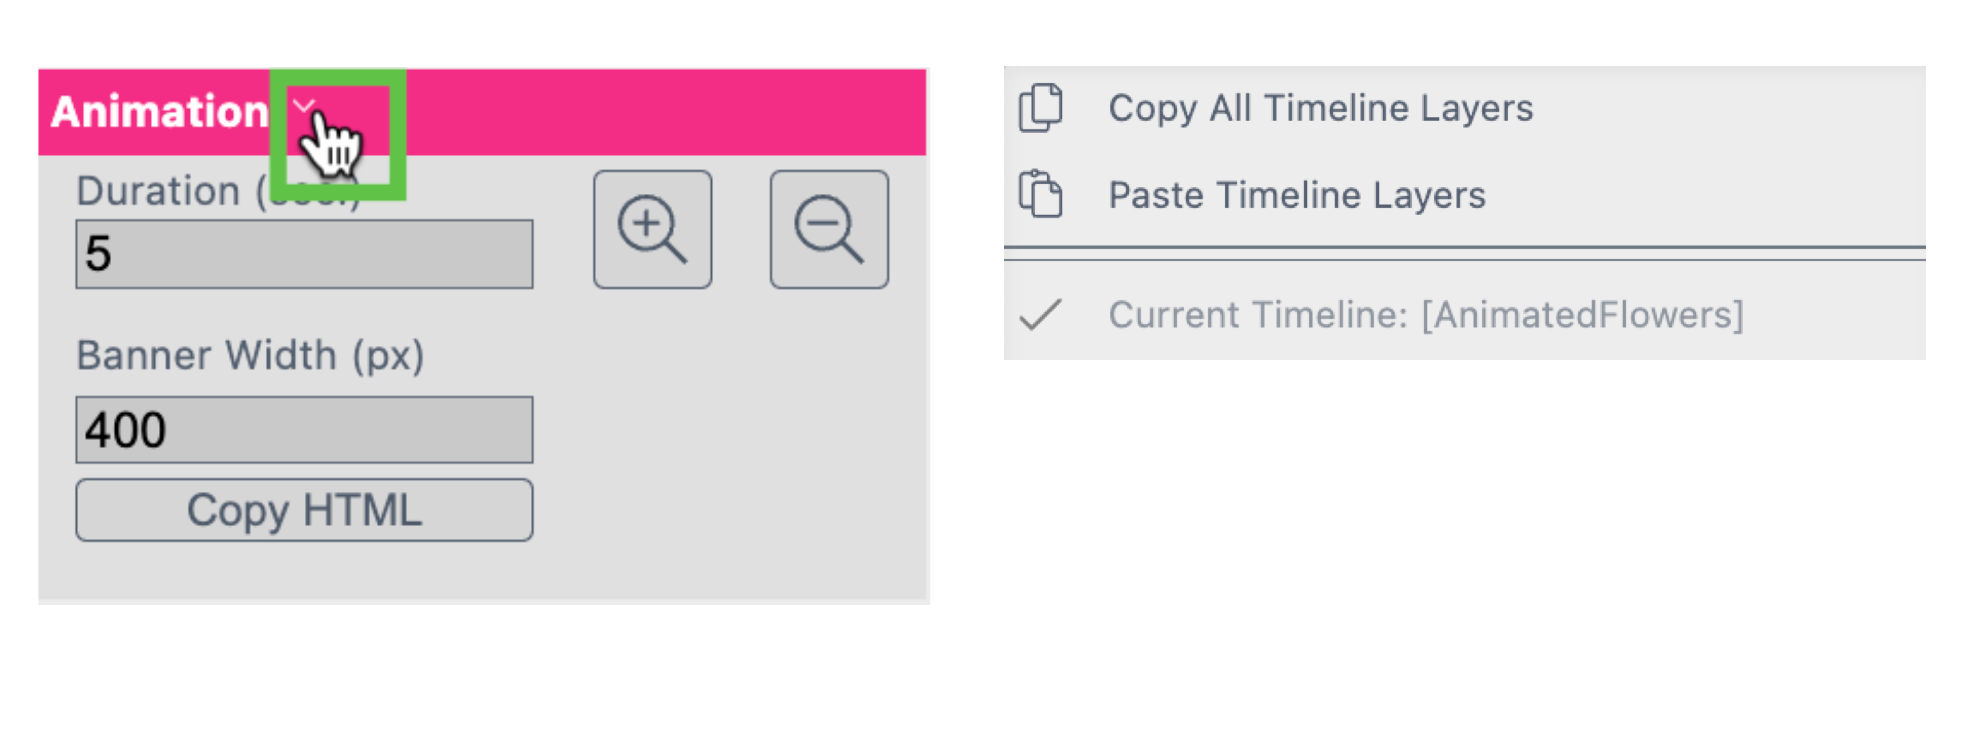
Here you can:
Copy ALL Timeline Layers to copay all Timeline Layers of the current Animation Table.
Paste Timeline Layers to paste ALL Layers into another Document or Printess Template.
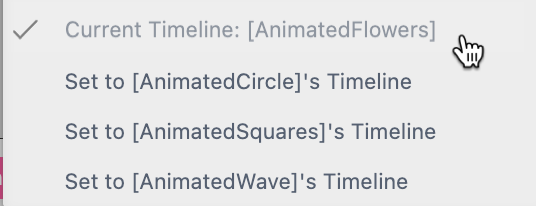
Current Timeline
You get a list of all your different Documents of your Printess Template which includes an Animation. This gives you the option to choose any of those for your current Document.
As soon as you add an Animation to a Frame a window pops up to type in a title for the Timeline.
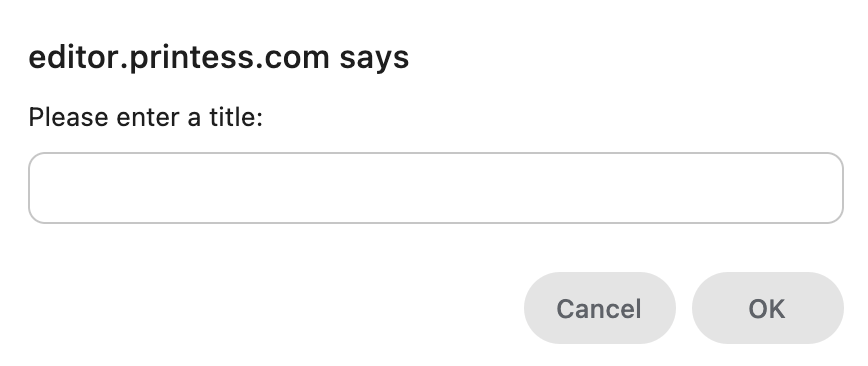
After you pressed “ok” a Timeline Layer will be added to the Animation Table.

In small window at the upper left you can skip back and start the Animation. It shows you the current time and you can lock the Animation. By pressing the “p” key you can start the Animation from the beginning and stop it.
Any new Timeline Layer automatically includes a slide-in and slide-out which you can not remove. But you can deactivate them. And it got the Emphasis Effect “shake”. This could be removed by selecting it and pressing the “backspace” key. You can add up to two Emphasis Effects by pressing the Plus icon.
If you click on one of these features in the Timeline Layer the Animation Window changes it’s content to show you the settings of the selected feature.
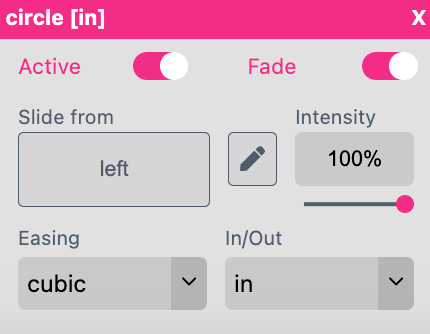
Active
Turn on and off the effect.
Custom Animation 
If you click on the Pencil Icon a separate window will open where you can customize the Animation.
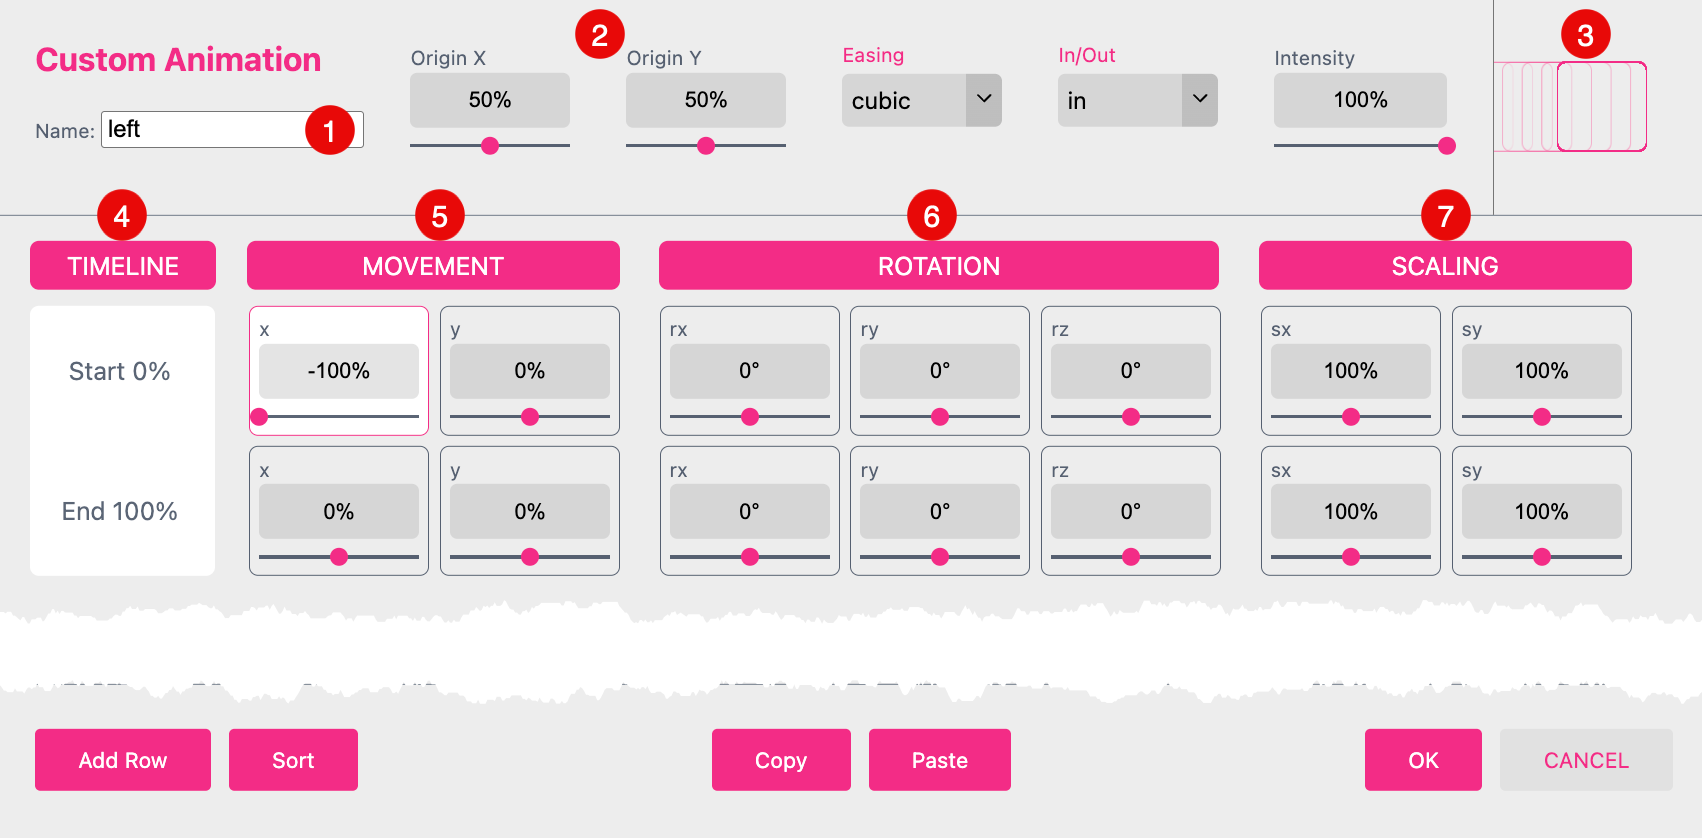
Name
By default the name of the effect is displayed but you can overwrite it.
Origin x/y
It defines the focal point for the movement and is default set to the center of the Frame (50%/50%).
Preview This illustration shows how the settings affect the movement of the Frame.
Timeline
By default the Timeline got two values. The start point at 0% and the end point at 100%. If you press “Add Row” at bottom the left you can add rows to the Timeline. A window will pop up to ask you for the time stamp in “%” of the additional action. After you clicked “ok” the additional row is added and you can define values for Movement, Rotation and/ or Scaling.
Movement x/y
By default the slide-in-left starts by -100%. This means at the left edge of the Document minus the frame’s size. So that the Frame starts it’s movement outside of the Document.
This example shows a slide-in effect from the left with an down and up movement. Therefore one row was added with a time stamps and a positioning values for the y coordinates. So the y position starts at 0%, moves to 10% and then back to 0%. To create a natural movement, the values between those you defined are automatically interpolated.

As a result the circle is not just sliding from the left to the right but also moving down and up.

Rotation x/y/z
By default the rotation is set to 360 degrees at the z-coordinate. So that the Frame is rotation around it’s center.
Scaling x/y
By default the scaling is not active. The x- and y-coordinate starts and ends with 100%.
Intensity
Define the Intensity of the move. If you set it to zero the Frame will not move at all. If you set it to 100 the Frame will perform the full movement.
Easing
Here you can choose from different Easing Functions.
Easing lends a natural, organic movement to motion. A linear animation will move mechanically without slowing down or speeding up. As this kind of consistency in speed doesn’t occur in nature, we perceive the movement as unnatural. That’s why many different Easing Functions are available. You will find an overview of the different functions at: https://easings.net/
In/Out You can choose from a slide-in, slide-out and slide-in-out.
Fade
Turn on and off the Fade of the opacity of the Frame.
Slide from
Select how the frame should move.

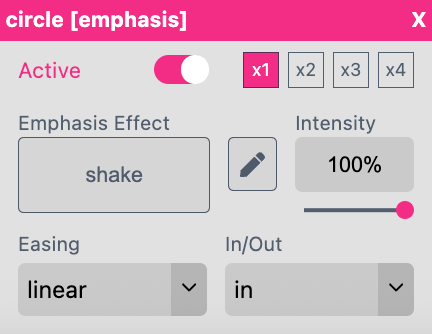
x1 x2 x3 x4 Define how often this effect should be executed.
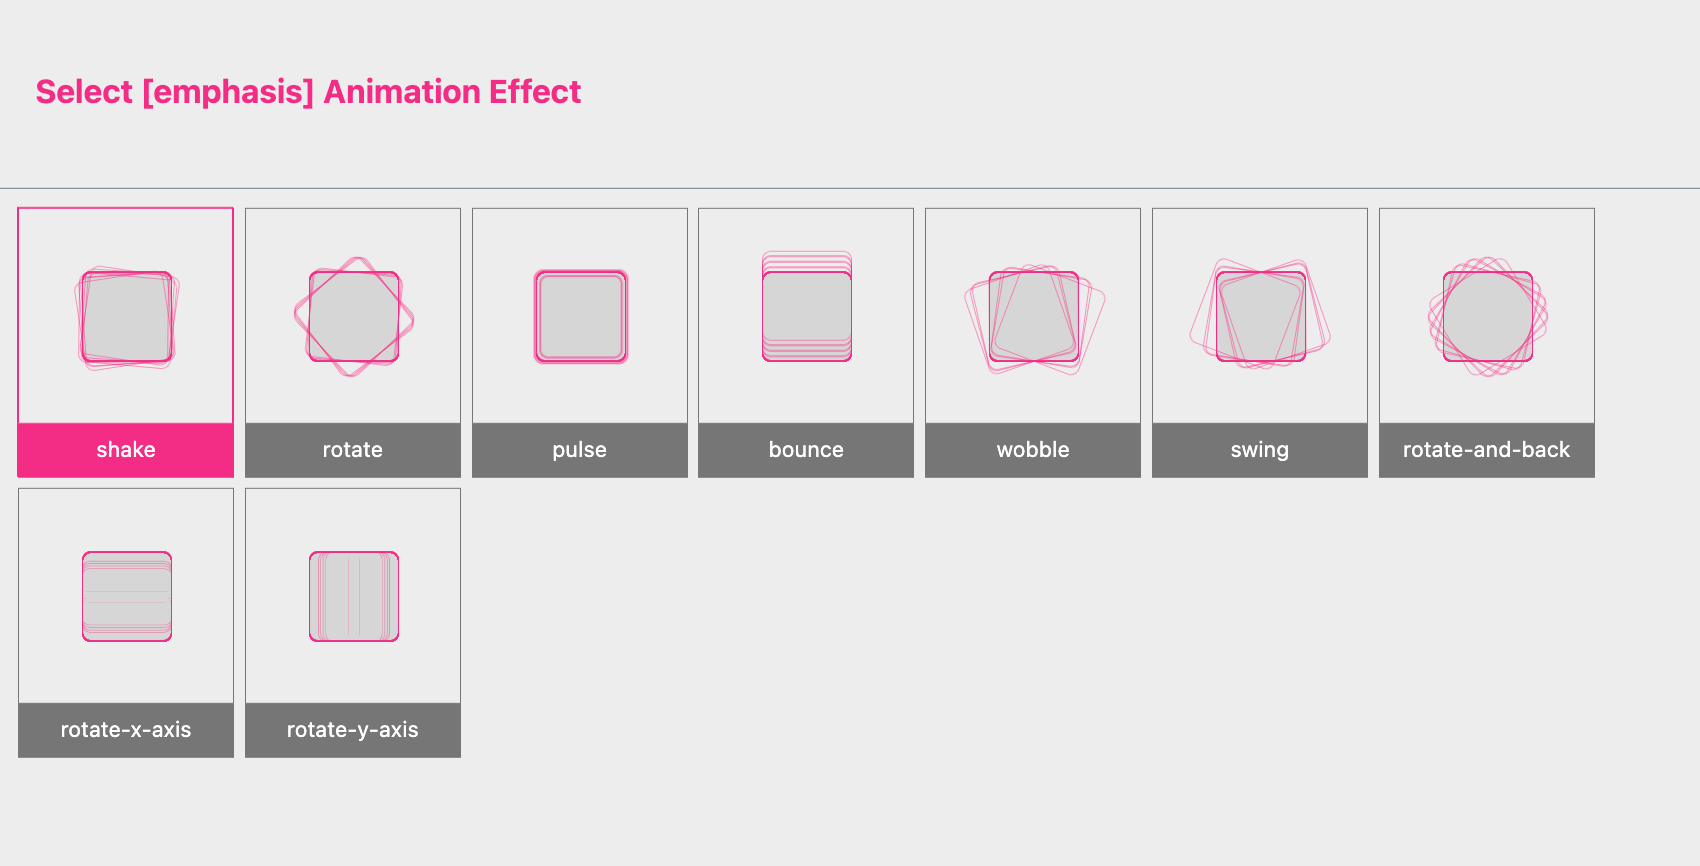
Emphasis Effect
If you press this button you can choose from the different Emphasis Effects available.
If you click on the small triangle of a Timeline Layer it’s Context Menu will open.
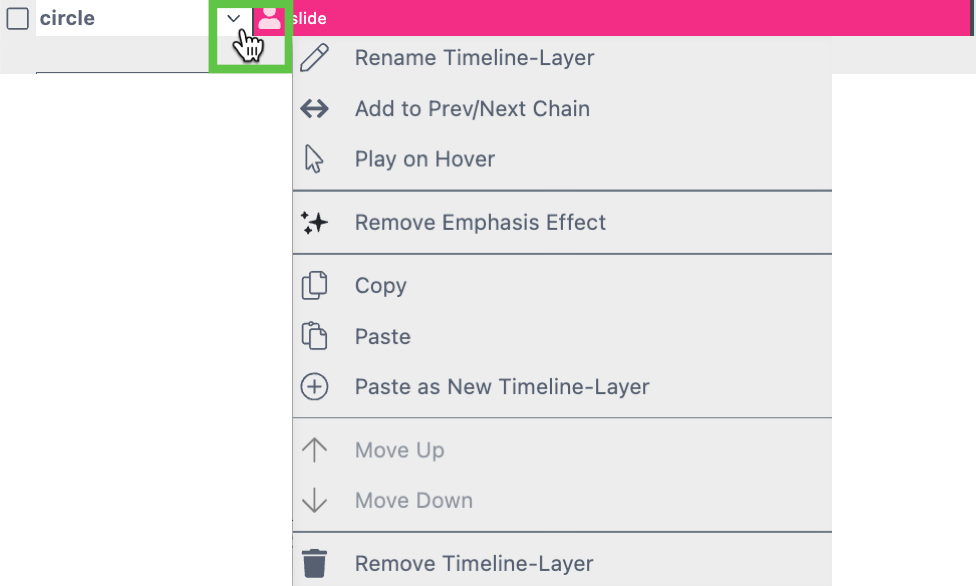
Rename Timeline-Layer
To change the name of the selected Layer.
Add to Prev/Next Chain
For slide-shows you can create a chain of several Timeline Layers. It enables the Buyer to stop the Animation to skip through the different Timeline Layers of this chain manually.
Therefore you have to add skip buttons to your Animation. Read here how this works.

Play on Hover
For Emphasis Effects only! If this option is selected the Emphasis Effect will be executed by a mouse over independently from the Animation.
Add/ Remove Emphasis Effect
Add or delete the Emphasis Effect from the Timeline-Layer.
Copy/ Paste
Copy a Timeline-Layer to paste it onto a different Document’s Animation Table.
Move Up/ Move Down
To change the order of the Timeline-Layers by moving them up or down.
Remove Timeline-Layer
Remove the Timeline-Layer from the Animation Table.
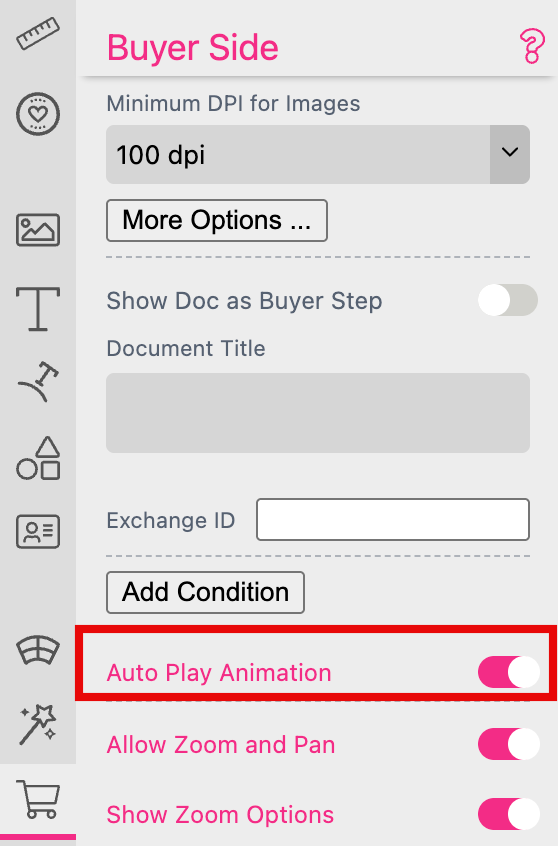
By default this feature is turned on. It will automatically start the animation at the Buyer Side.
These Actions are only available if you have turned on the option Use Frames as Button. So first select the Frame which you would like to use to go to the Buyer Side Settings to turn this option on.
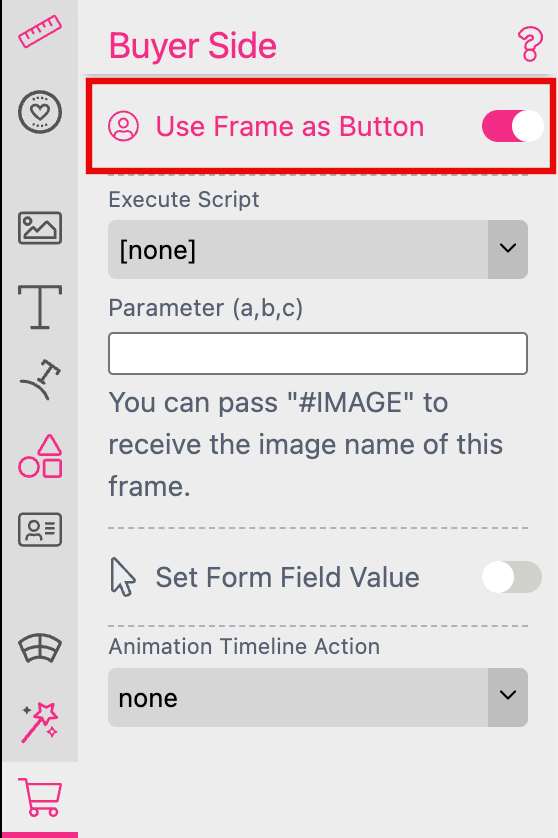
Now you can choose from the different Animation Timeline Action.
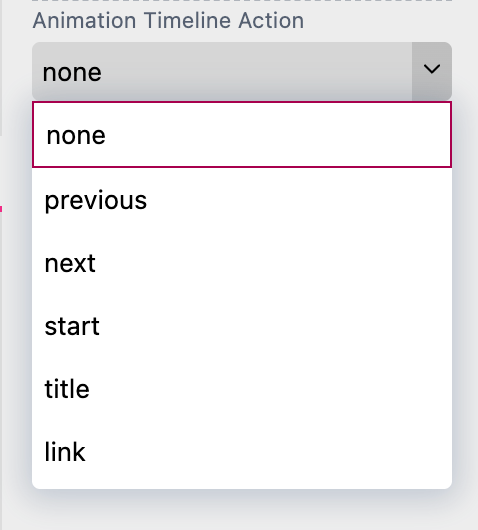
previous
If the Buyer presses the button the Animation will stop and will be skipped to the previous Timeline Layer - if both *Timeline Layer are part of a Timeline Layer Chain.
Read Add to Prev/Next Chain here to learn how to add a Timeline Layer to a chain.
next
If the Buyer presses the button the Animation will stop and will be skipped to the next Timeline Layer - if both *Timeline Layer are part of a Timeline Layer Chain.
Read Add to Prev/Next Chain here to learn how to add a Timeline Layer to a chain.
start
If the Buyer presses the button the Animation will start from the beginning.
title
After you have selected this option you can choose one Timeline Layer to define it as the Title. If the Buyer presses the button the Animation will stop to skip to this Timeline Layer.
link
After you have selected this option you can type in a URL. If the Buyer presses the button a new browser window will open with this URL.