Note: ALL AI Image Assign Actions requires:
These features are automated actions at the Buyer Side. They will always be done automatically if a Buyer will upload, assign or generate an image. The Buyer is not able to use this function optional. You can run a test in the Editor by clicking the icon of the running man next to the selected feature.
Note: This AI Feature requires:
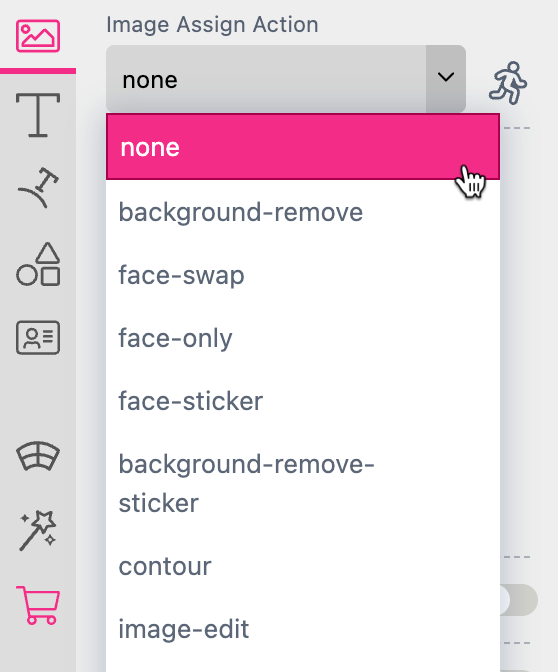
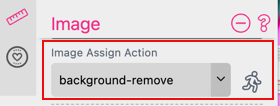
To enable this feature at the Buyer Side just choose background-remove from the drop down menu of the Image Assign Action list.
The result is an object in front of a transparent background.
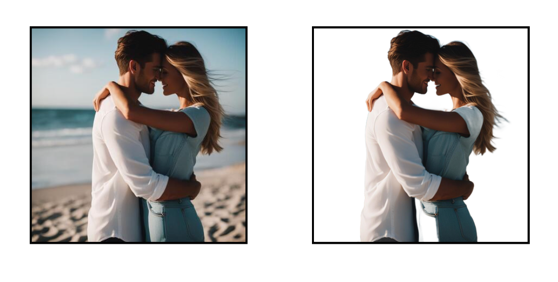
The automatic remove of the background is helpful if you offer posters of football stadiums for example and the people on the uploaded images should be included in front of the stadium. To get the impression that they are really standing in front of the stadium the background has to be removed before the final image is generated.
Note: This AI Feature requires:
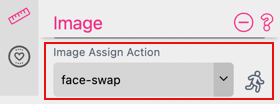
To use this action you choose face-swap from the drop down menu of the Image Assign Action list.
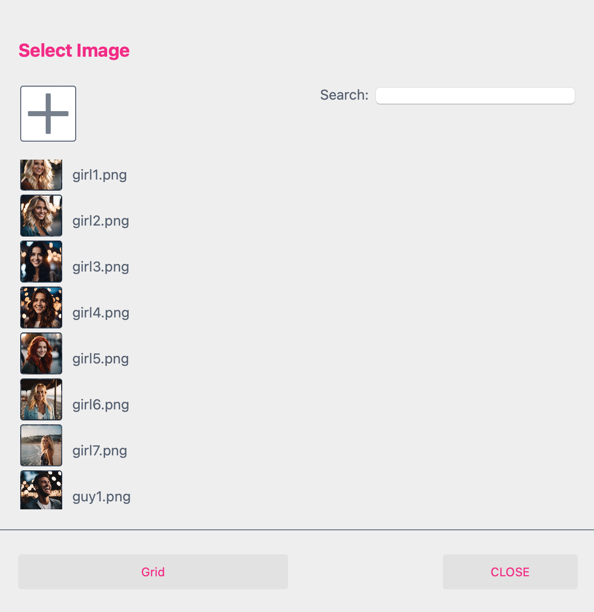
If you click on the icon of the running man next to it a dialog box will open. Here you can now select the image you would like to use to swap the face with your image placed in the frame before.
As soon as you have selected an image the dialog box will close automatically and the rendering process is starting. Please be aware that the Image Placement will be locked by using Face Swap.
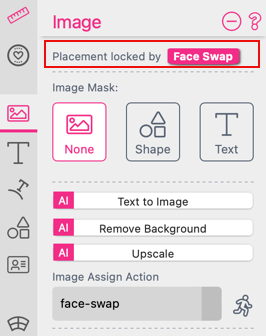
If Face Swap is activated it will be available at the Buyer Side.
Note: This AI Feature requires:
If you select that Assign Action while an image frame is activated this feature will be available at the Buyer Side for this frame.
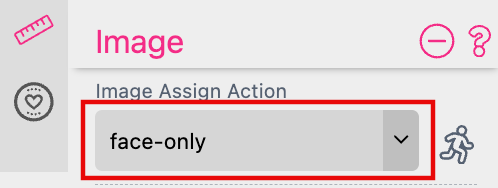
It will remove the background to separate the face. By default the face will fill the frame.
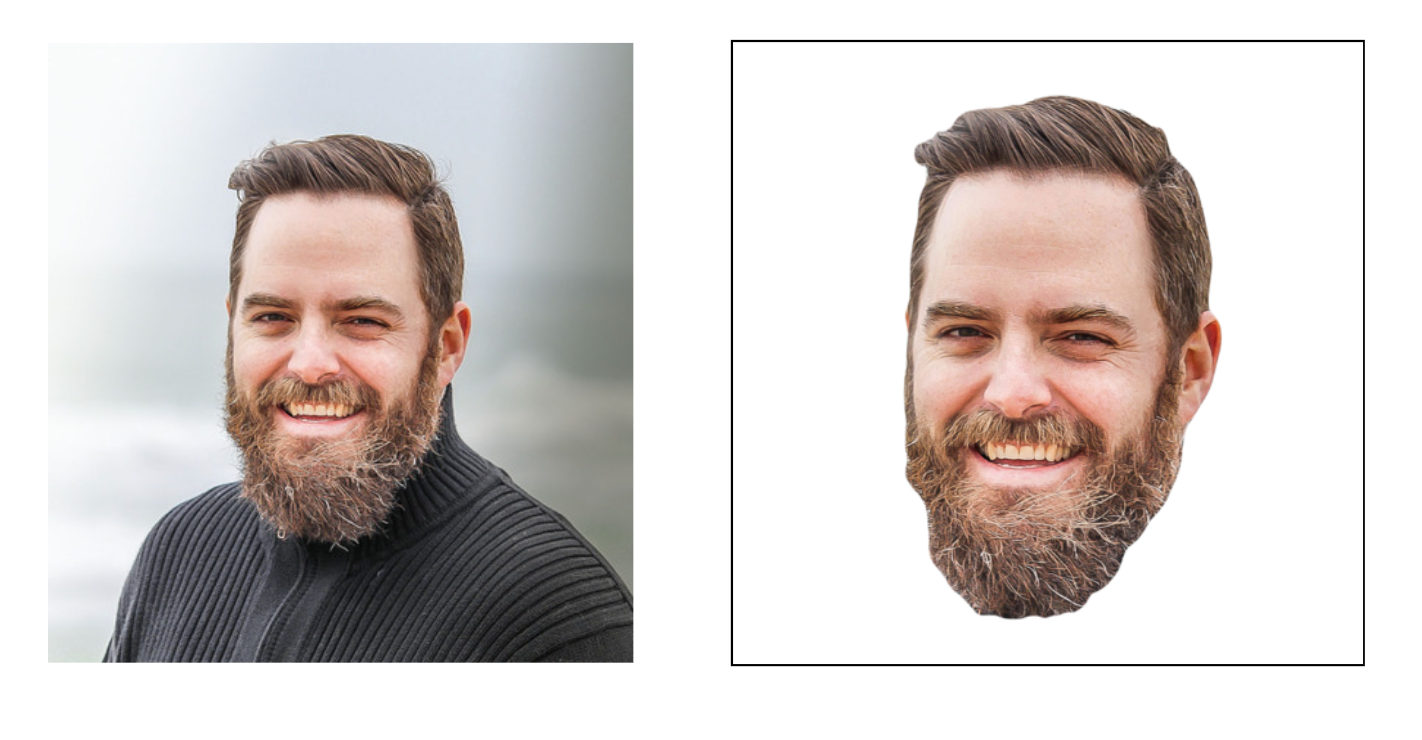
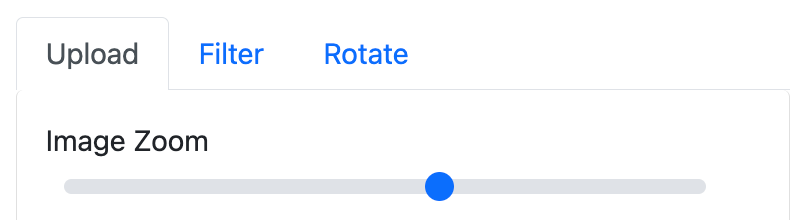
Afterwards the Buyer can define the zoom of the separated image.
Note: This AI Feature requires:
If you select that Assign Action while an image frame is activated this feature will automatically executed at the Buyer Side with any image upload or image change.
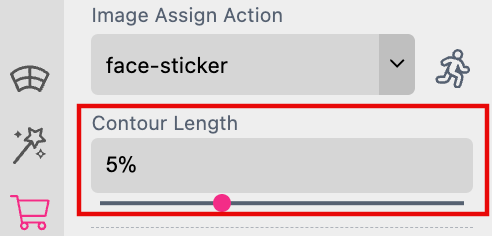
It will not just remove the background to zoom the face. In addition it will create an outline so that the result could be used as a sticker.

By default the outline created is white.
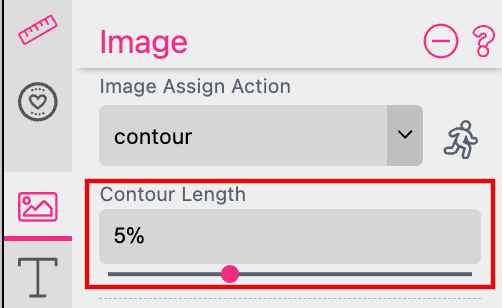
Change Contour Length
With the Contour Length you can define the size of the outline. A percentage value is specified in relation to the frame size so that the contour thickness always remains the same. Regardless of the size and resolution of the uploaded image.
Note: The generated contour in the production file is vector based.
If you like to get the ContourLength controlled by the Buyer Read here
Change Contour Color
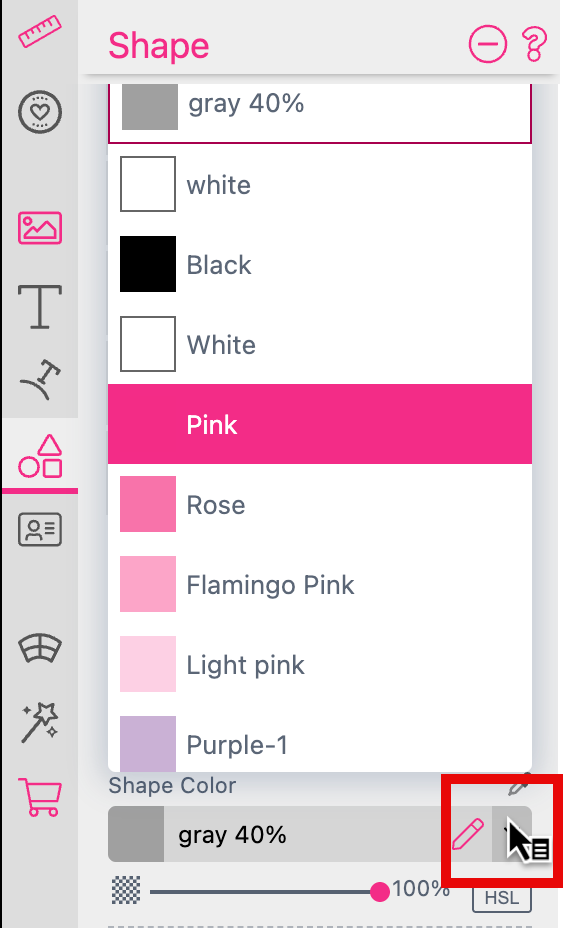
To change the color of a contour you first have to add a shape frame to the image frame to address the contour. Therefore select a rectangle shape at the Shape Tab while the image frame is activated. Printess will ask if you would like to Create Frame or to Add Feature. Press Add Feature and the Shape will be added to the image Frame.
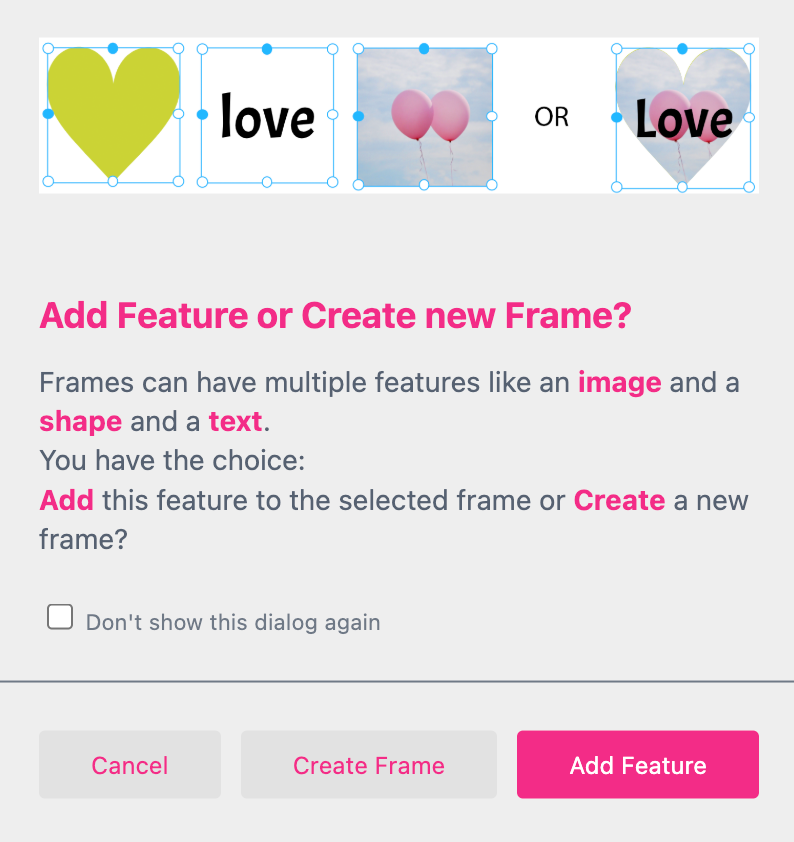
Now you can change the color of the contour by changing the color of the Shape. Just activate the frame and click on the Shape Tab. Here you change the Shape Color to e.g. “Pink”.
Switch to the Buyer Side and place an image. The contour now got the selected color.

Note: This AI Feature requires:
If you select that Assign Action while an image frame is activated this feature will be available at the Buyer Side for this frame.
I will remove the background to add an outline to the separated object. This could be than used as a sticker.
With the Contour Length you can define the size of the outline. A percentage value is specified in relation to the frame size so that the contour thickness always remains the same. Regardless of the size and resolution of the uploaded image. By default the outline created is white. At the Buyer Side the color of the outline could be changed.

If you like to get the ContourLength controlled by the Buyer Read here
Note: The generated contour in the production file is vector based.
Note: This AI Feature requires:
If you select that Assign Action while an image frame is activated this feature will be available at the Buyer Side for this frame. This action add an outline at the edges of the image.
With the Contour Length you can define the size of the outline. A percentage value is specified in relation to the frame size so that the contour thickness always remains the same. Regardless of the size and resolution of the uploaded image. By default the outline created is white. At the Buyer Side the color of the outline could be changed.

If you like to get the ContourLength controlled by the Buyer Read here
Note: The generated contour in the production file is vector based.
In this Video Tutorial you can learn more about Contours. Click here
Note: This AI Feature requires:
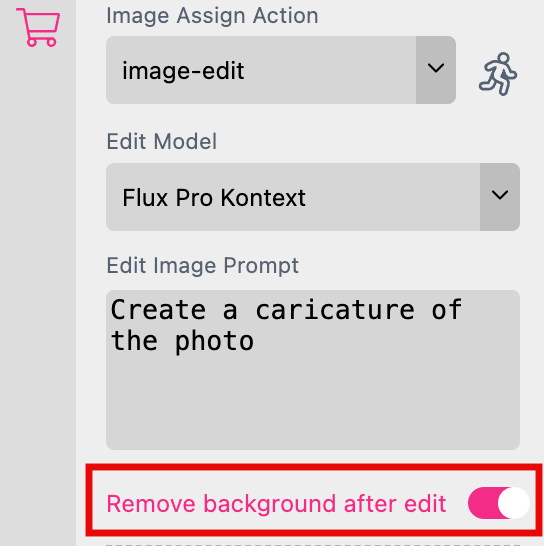
Use the Image Edit feature to define your own Prompt in the input field Edit Image Prompt. If this input field is not displayed this feature is not activated for your account. Please contact us to get it activated if needed.
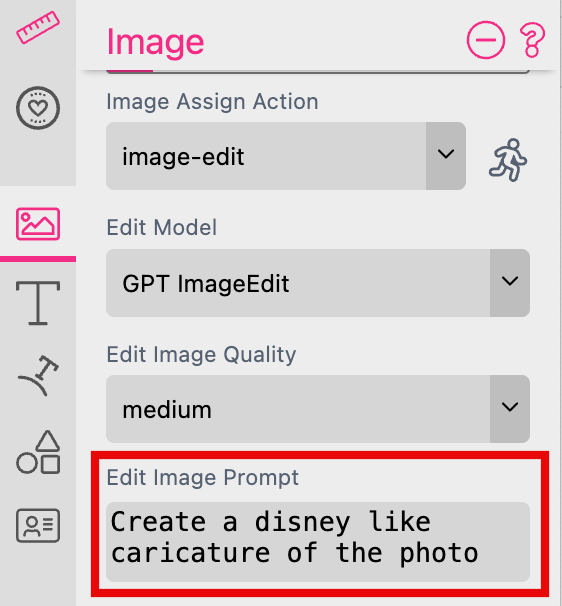
Choose from different AI Models to use for the image rendering.
Choose from three different quality levels for the rendering result. This refers not to image resolution but to the level of detail in the generated image. The higher the selected quality, the longer the AI will take to process the image.
If you choose Flux Context Pro, Nano Banana or Nano Banana Pro as the Image Edit mode, you can add a Background Remove afterwards by turning on the switch.