![]()
A shape is a single path vector element. One can use our ready-made shapes which are configurable or create their own shapes with the built-in shape editor. Besides being used as graphical shapes, shapes are very useful to define masks for images, let Multi Line text flow around or let it flow into shape. If a frame with the Shape feature is selected the tab shows the settings for shapes.
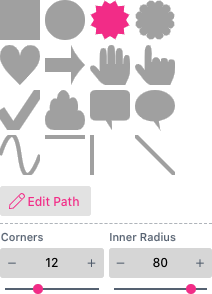
Here one can choose a ready-made shape for the frame. Some frames e.g. the star, have configuration options available to change their appearance.
Usually the Radius is proportional to the size of the shape. For rectangular shapes you can also set absolute units like cm, px, inch or pt.
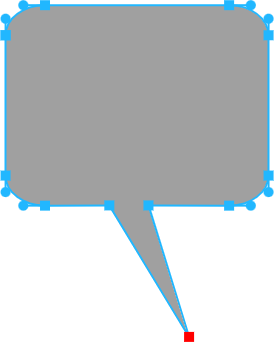
Clicking the Edit Path button let you enter the built-in Path Editor. The square points are the path points of the path, and the round points are the control points of the Bezier curves. Within the path editor, one can alter the shape by dragging its path or control points around. One may also add additional points by pressing + or use delete to remove a point. When a new point is inserted it will be inserted as a straight line segment. If one wants to change it to a bezier point it needs to be selected with shift pressed. this will create tangent control points and instead of moving the point will move the control points of the newly create bezier(s). Selecting a point and using the cursor keys will shift the point in increments.
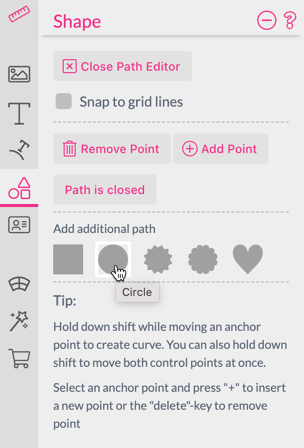
If one moves control points, pressing shift will keep them tangent and equally distanced to the control point, making the transition at the control point smooth.
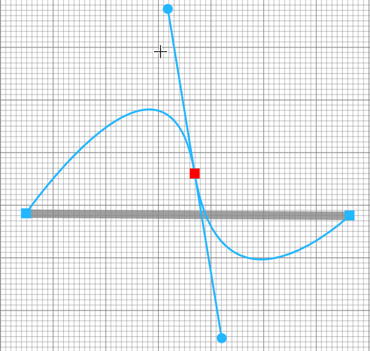
While editing the path, one can decide whether to use the built-in grid by switching on Snap to grid line. The grid is defined in the settings on the top menu bar.
selecting the Button Path is open will switch the path to a closed Path by connecting the last and the first point with a straight line segment and the Button will switch to Path closed.
Pressing Esc or the Close Path Editor Button closes the path editor and returns to normal view.
A shape can also contain multitude of shapes which can be added edited by selecting a specific shape. Once added you can select one of the contained shapes at the top of the shape menu to edit it. when editing a second path you can use the green control point in the center to shift the complete shape or the one to the bottom right to scale the complete shape.
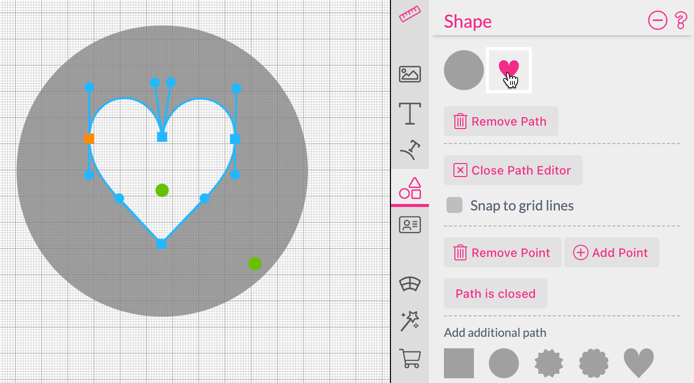
Fill Mode
Located on the bottom of the Shape Frame Features panel. When the Path Editor is closed, here you can select a Fill Mode (aka winding rule) to determine wether the additional path’s should be excluded (evenodd) or added (nonzero).

Another option to add vector based graphics to Printess is to copy and paste an Adobe Illustrator graphic. Therefore just select any layer of your Adobe Illustrator File you would like to copy - this could also include compound paths - and copy them with “CTRL + C” or “CMD + C”. Or you can do a right mouse click on a particular layer to choose the option “Copy SVG”.
Note: You have to enable “Include SVG-Code” in the Pasteboard Settings of your Adobe Illustrator to be able to copy SVGs.
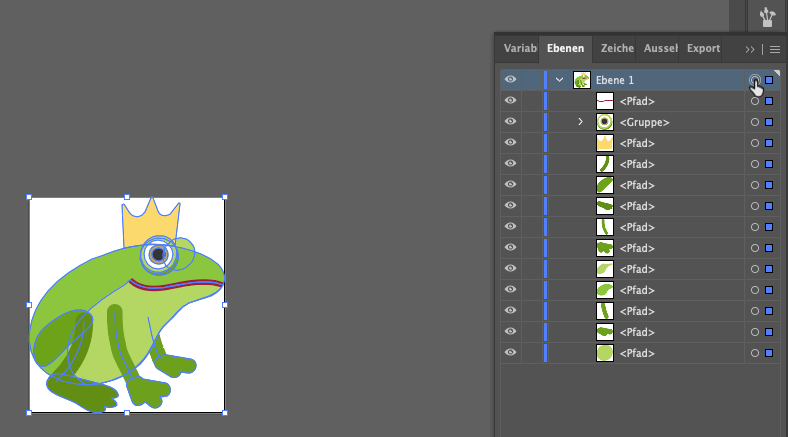
Now just paste it into your Printess Document.
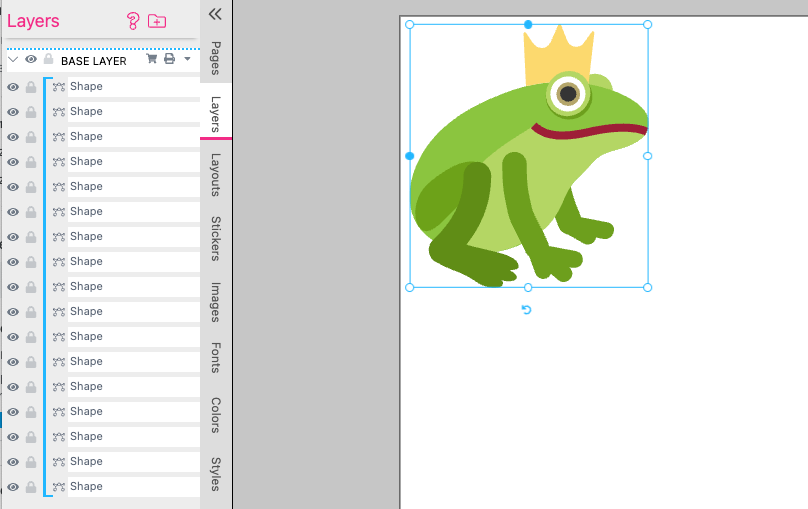
Printess will keep all the layers and you can use the Printess Path Editor to still work on them.
Warning: Adobe Illustrator always converts any copied data into RGB even if you set up a CMYK file. So in Printess it will always be placed in RGB.

Set the fill color of the shape by either selecting a swatch from the drop-down or use the Create icon inside the drop-down to create a new color. If one has selected an RGB color, the HSL manipulation option is available as well. Press the HSL button to change the hue, brightness or saturation of the selected color.
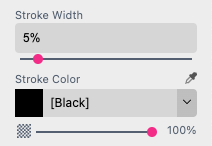
If Stroke Width is set to a value other than 0 in stroke settings, a stroke around the shape will appear.

Stroke Color allows the user to control just the color of the stroke around the shape. Functionality is the same as in Shape Fill Color.

Stroke Alignment buttons control where the stroke should appear. One has the choice between Center, Outside and Inside.
The Stroke Join button controls how the strokes are joint at corners:
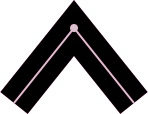
Miter will let strokes meet at their virtual cross point of the outline.
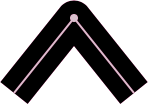
Round will let strokes join with a radius of half the stroke width.

Bevel will join them with flattened corners.

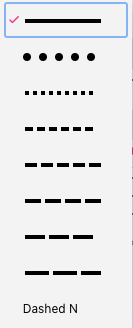
Strokes can also be set as a variety of different types. One has the choice of circular patterns as well as different dash types. For each different stroke type, one may also define the Gap Size.
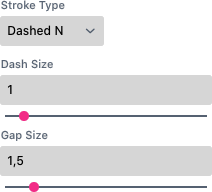
Selecting Dashed N lets one configure the Dash Size.
Sometimes, if you would like to apply a warp to several grouped frames it is necessary to have the same frame size and position for all elements. As this would be impossible if the frame size is determined by its content. You can switch off this standard behavior by deactivating the switch.
Notice: If Path Defines Frame Size is re-activated the frame will resize only after entering and leaving the path editor.

Here is an example for the use case. In the below Snippet which can be arc warped, all the small lines have to be separate shapes but still need to warp into correct positions once grouped (you can have a closer look by adding this Sticker Snippet from the printess-calligraphy Snippet Library).
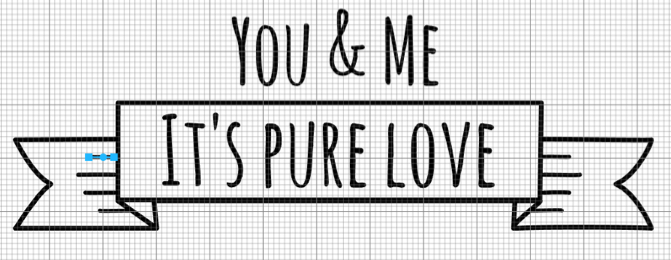
Taking a closer look, you will notice that all shape frames making up this Sticker Snippet have exactly the same size and position and have the Path Defines Frame Size switch turned off.
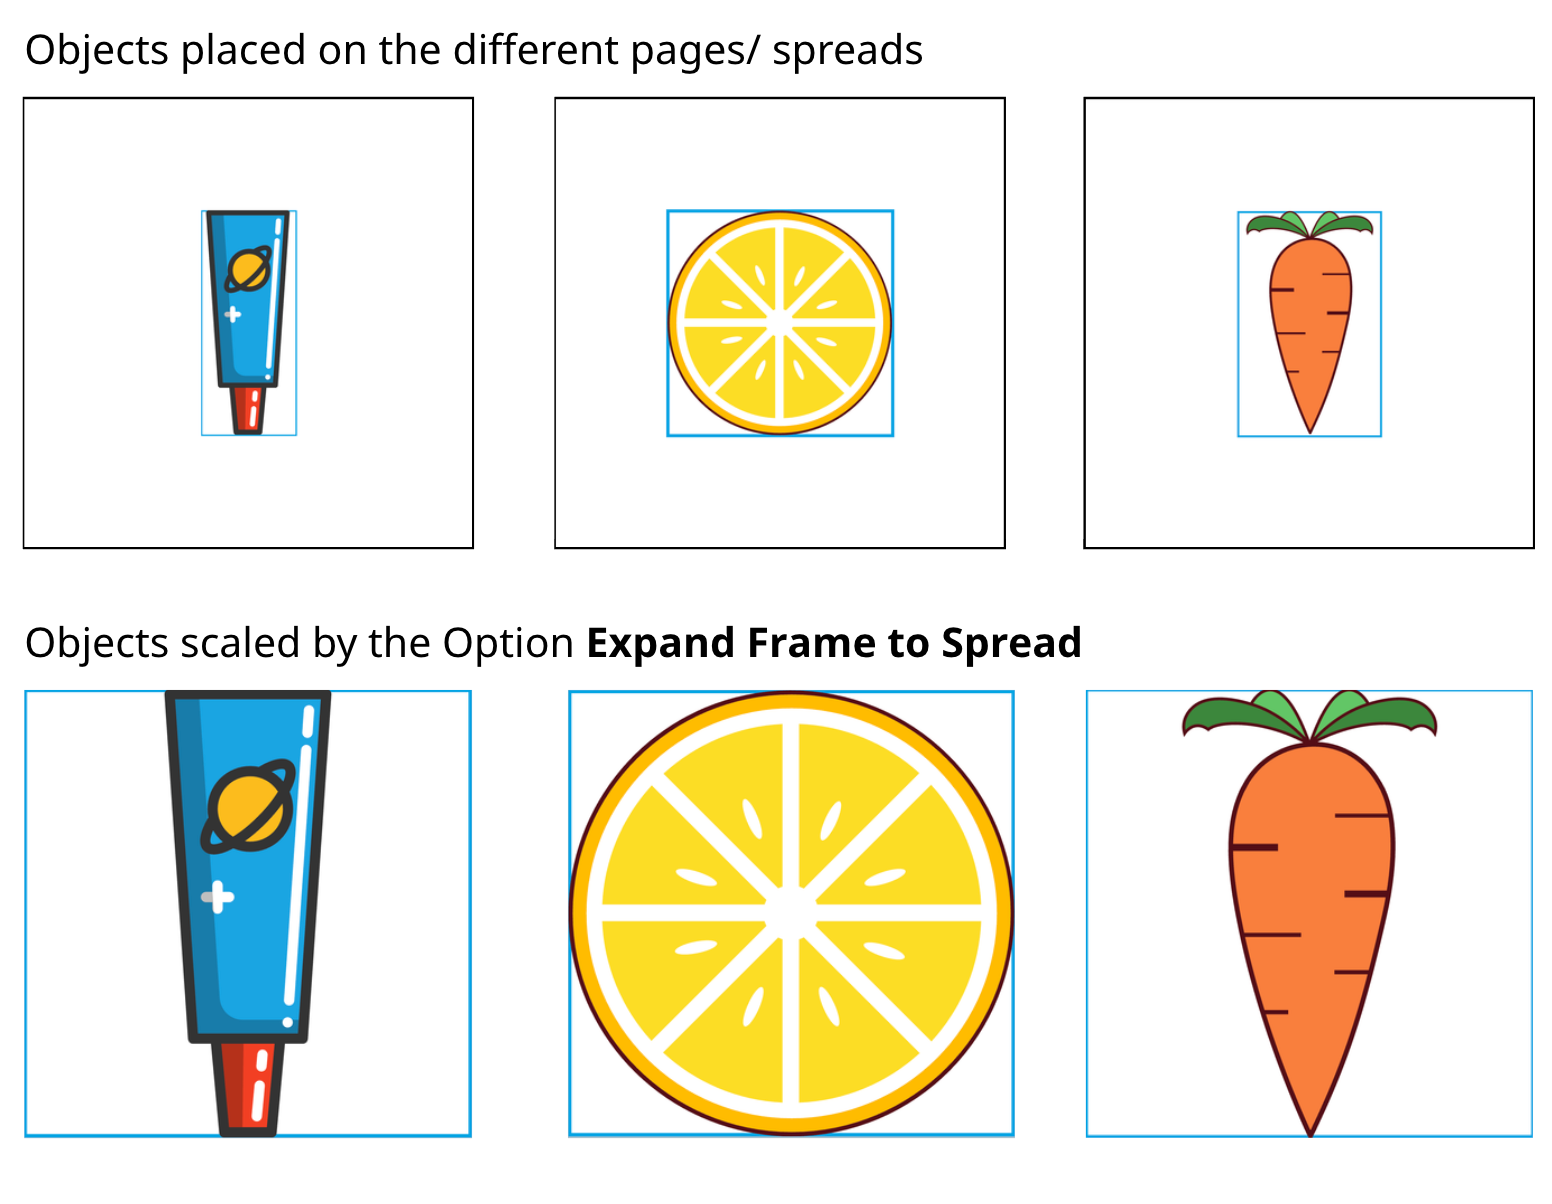
This is a helpful feature if you have to place vector based graphics on a page/ spread. Independent from its aspect ratio and where it is placed the frame will expand to the page/ spread size and the object will be scaled and centered.
