
bubble.io is a no-code plattform where you can build complete apps from scratch. With the Printess plugin you can add document customization as well as PDF production to your bubble app.
You can simple search for “Printess” to find our plugin. Or click on the link below:
Install Printess Bubble Plugin
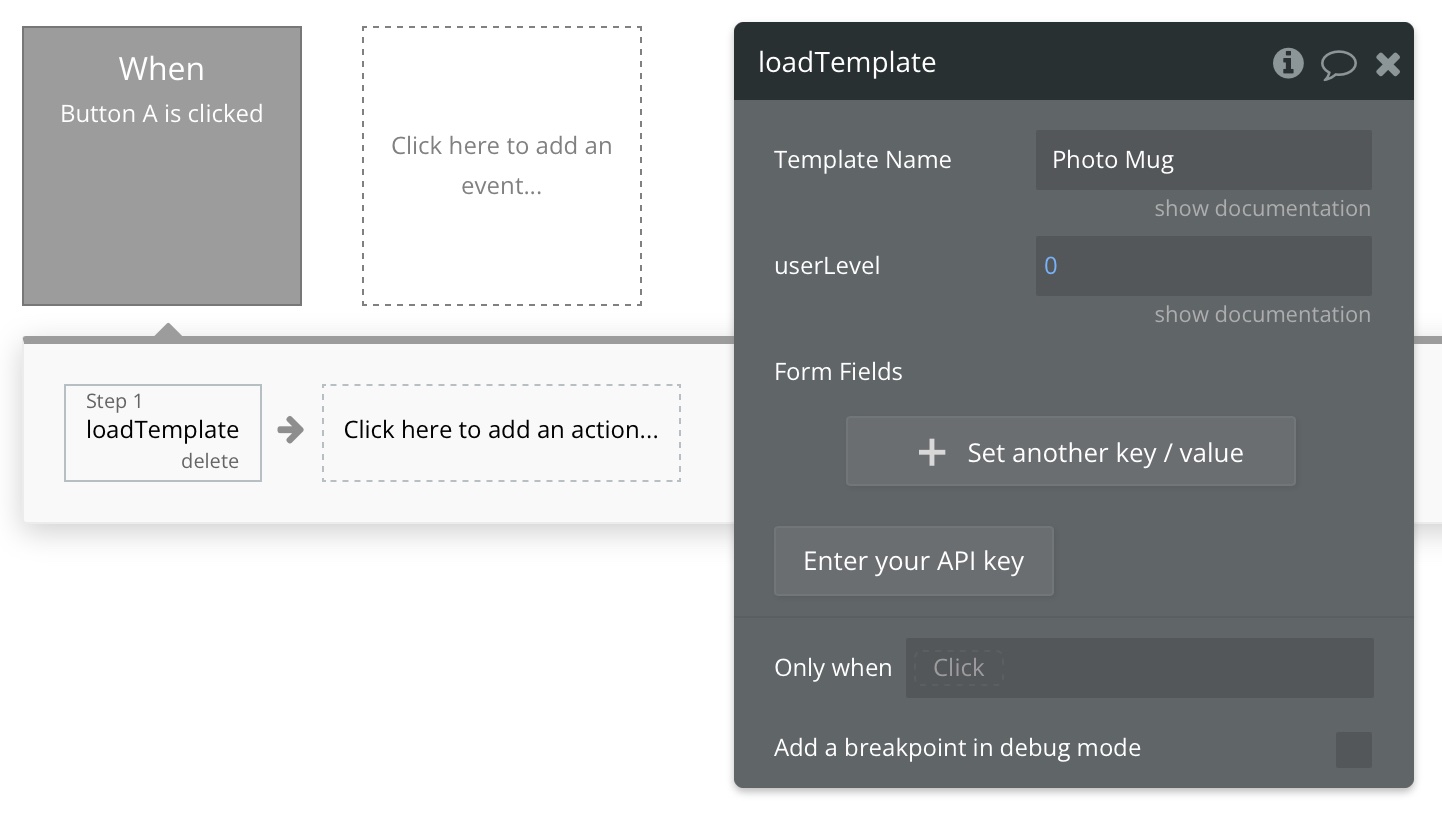
The Printess plugin exposes a global action loadTemplate().
You need to pass the template-name as a parameter. To load unplublished Templates, add ~draft at the end of the name.
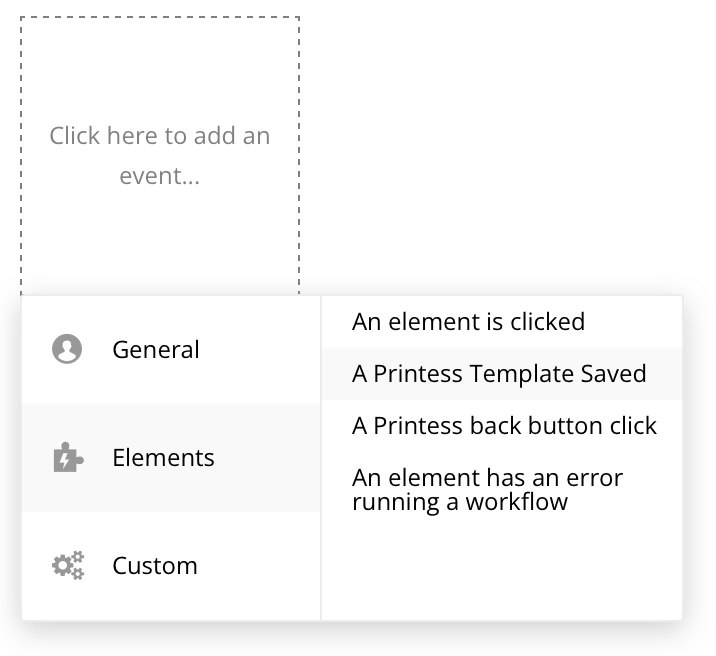
Once the user has clicked on the add-to-basket button, you can add a workflow for this event.
Just connect to the A Printess template saved Event.
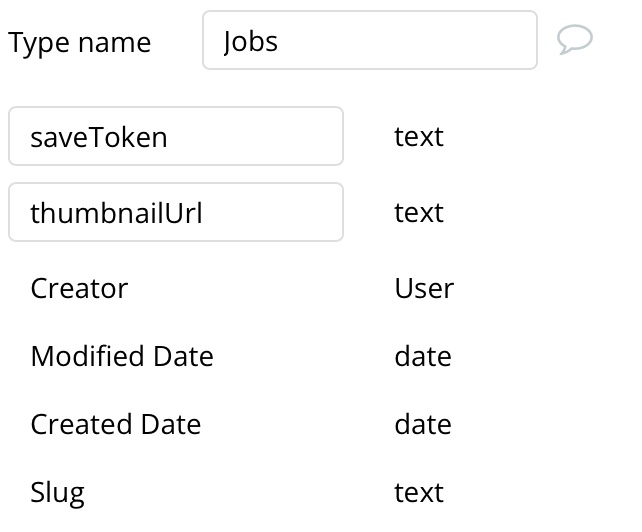
Now you need to create a new Thing to store the Printess data. We called it Jobs and added two new fields to it saveToken and thumbnailUrl
When the template-saved event is fired, you can read and store the saveToken and thumbnailUrlto a new Jobs Thing.
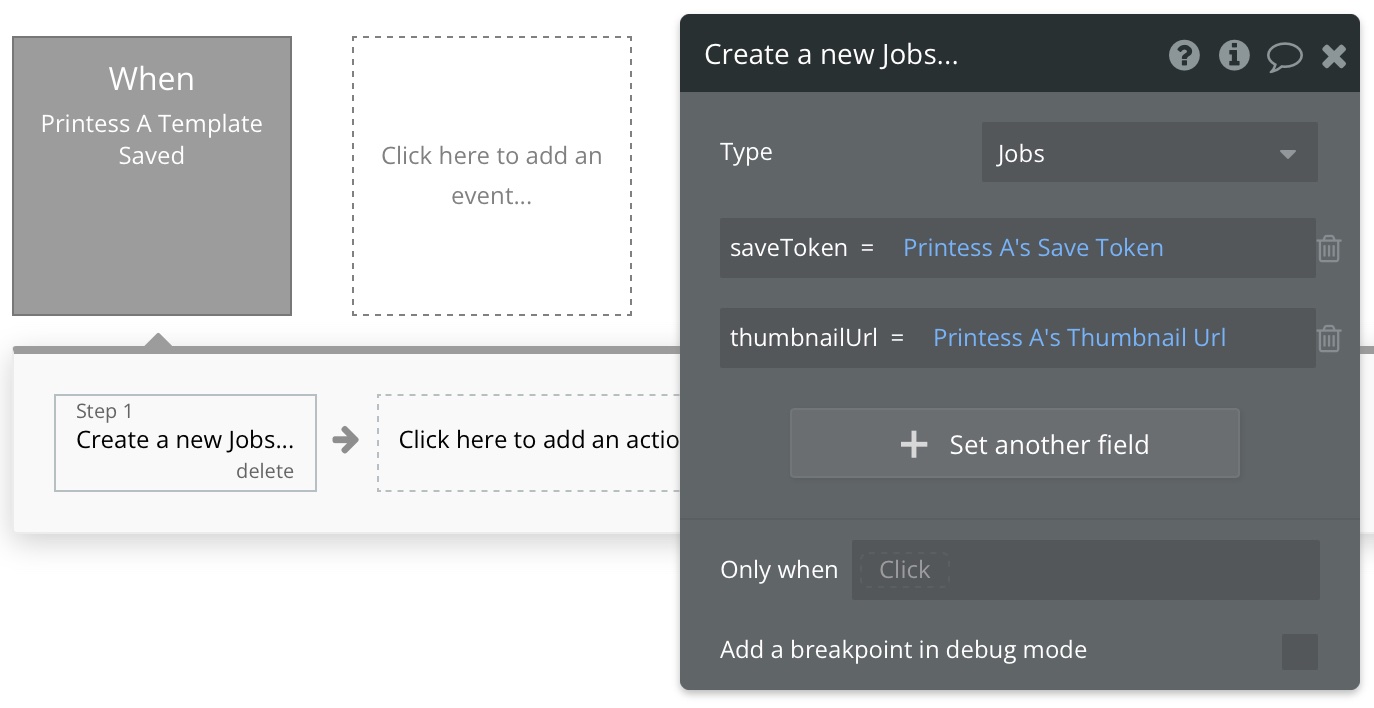
The thumbnailUrl can be assigned to an image as image-url to display the state-of-work. The saveToken can be used to order a print ready PDF from the Printess API.
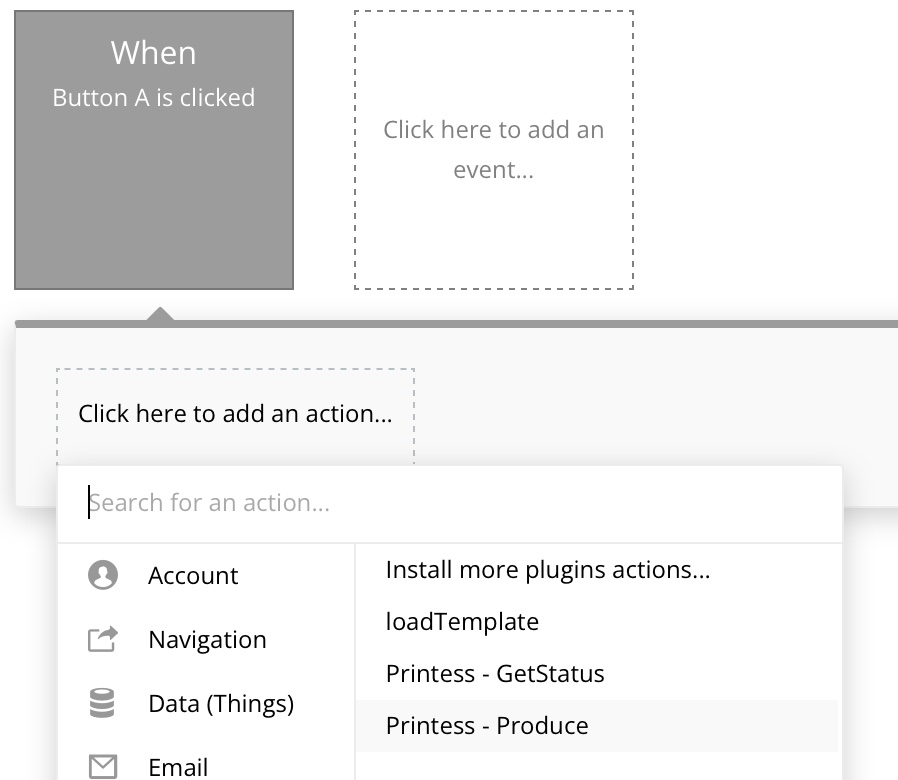
To produce a PDF we will simple create a new button and
add a new workflow action Printess Produce
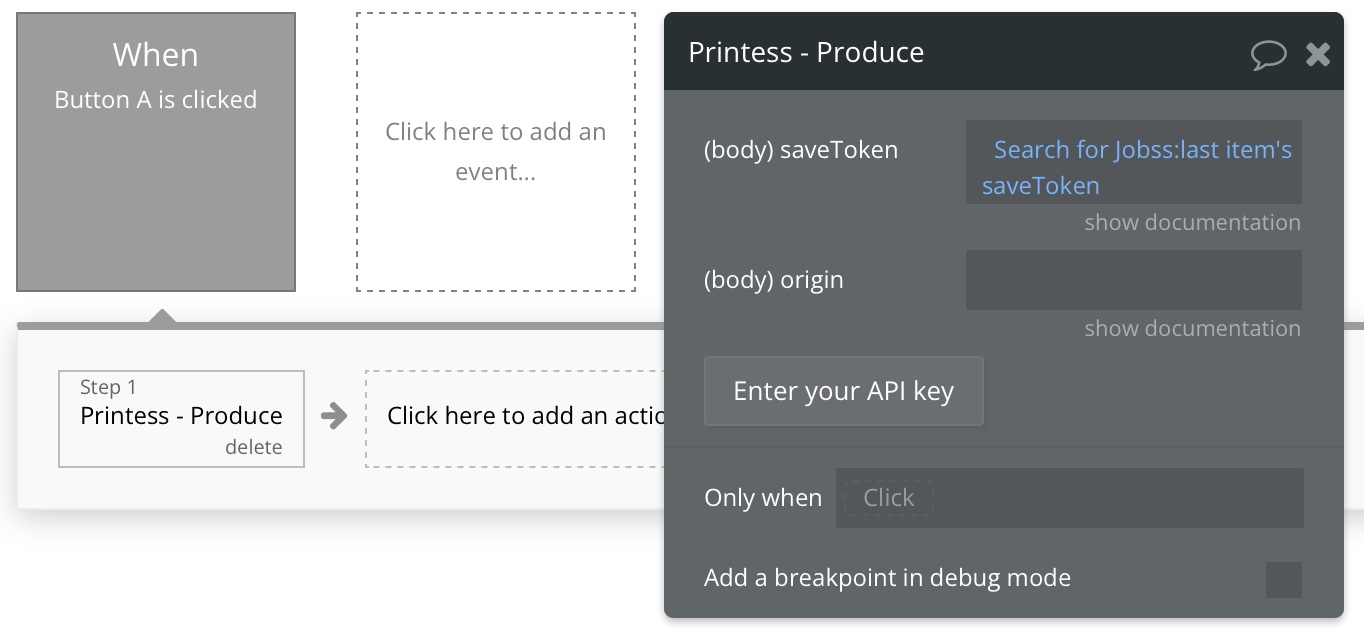
Rendering may take some time for large PDFs, so the Printess Produce action will not return a PDF-Url directly. Instead it returns a jobId.
Before you can access the Printess API you need to enter your Service-Token to the Authorization (shared headers) Field below. Read more about where to find your tokens
Click on Enter your API key
Add the Bearer Keyword!
Always add the keyword Bearer before the Service-Token. It should finally look like this:

As you can spot in the screenshot above we also have pass the saveToken to the Produce action. In that basic example we just have used the saveToken of the last added Jobs thing.

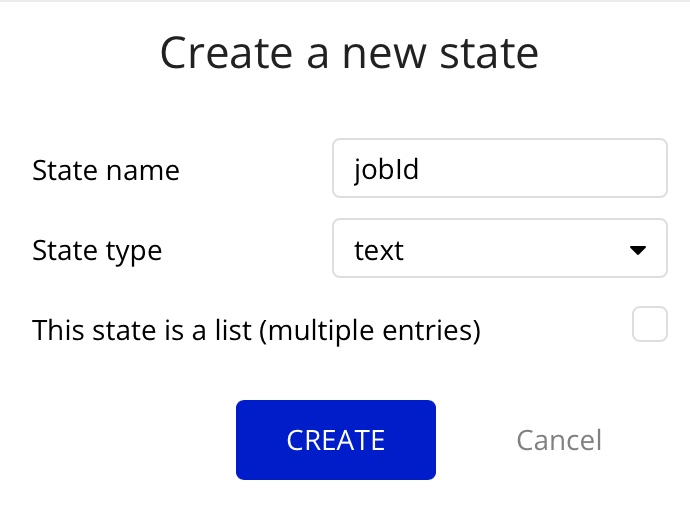
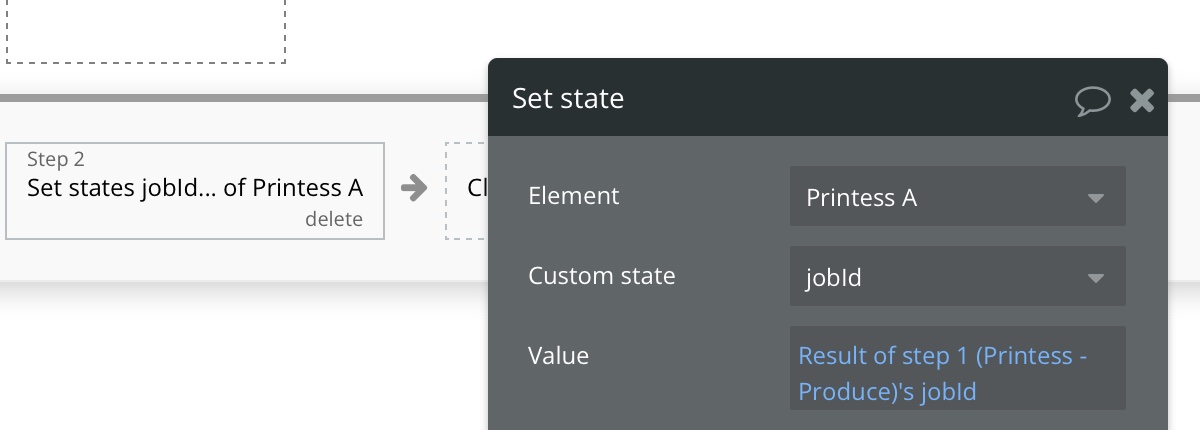
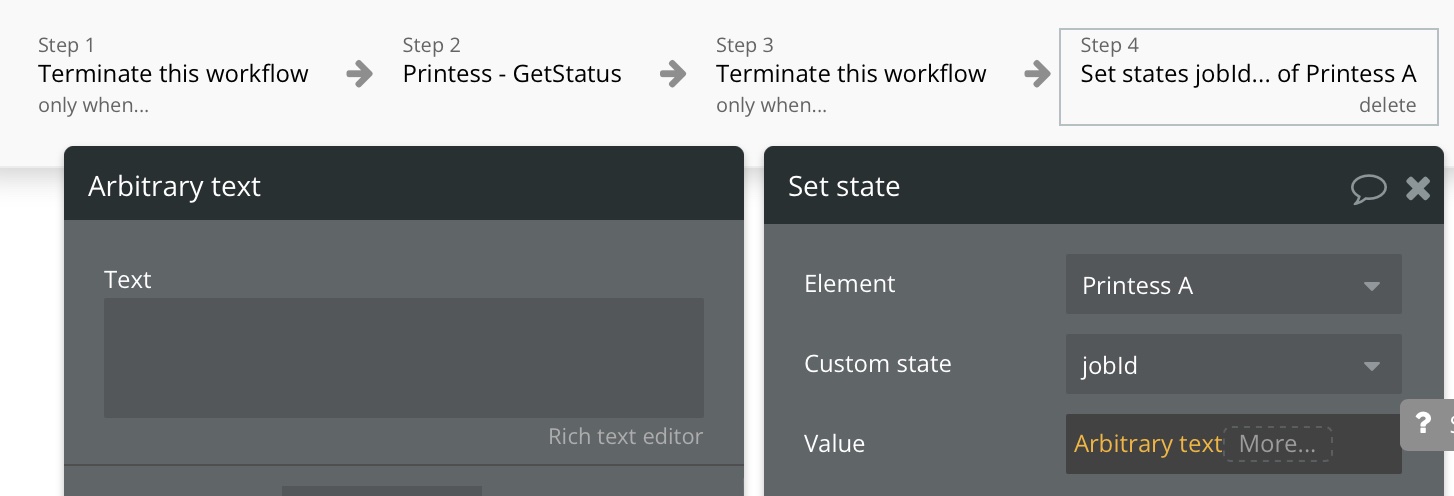
As a result the APi call will return the jobId which we will need to remember to ask Printess if the PDF is ready. So we will create a new action Set State and create a new custom state on the Printess A element.

Once the state is created we can now write the jobId we have received from the Printess API to that state.
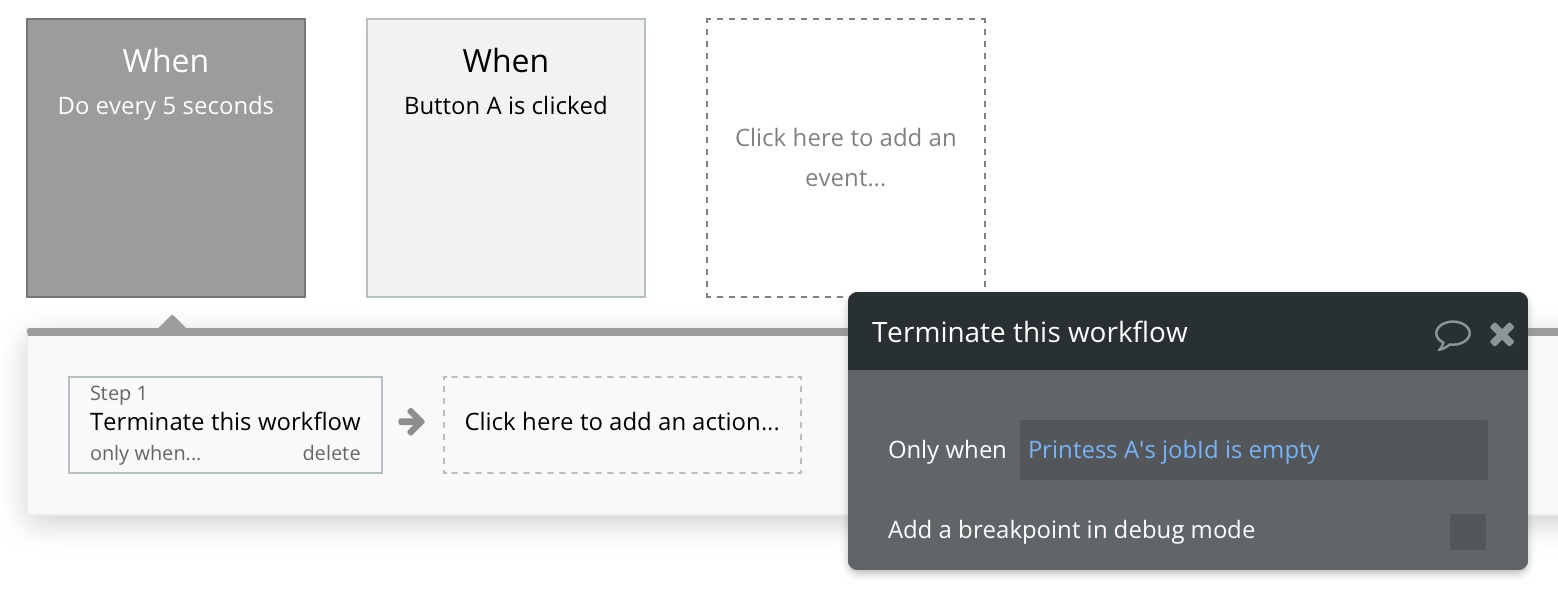
Now the tricky part comes. We need to poll the Printess API and ask if our Job was already finished. We will use a generic timer for this and ask every 5 seconds.
We only have to do this as long as we have a valid jobId in the Printess custom state. So we add a terminate action first. Whenever the Printess A - jobId is empty we will terminate the workflow, so no subsequent actions are executed.
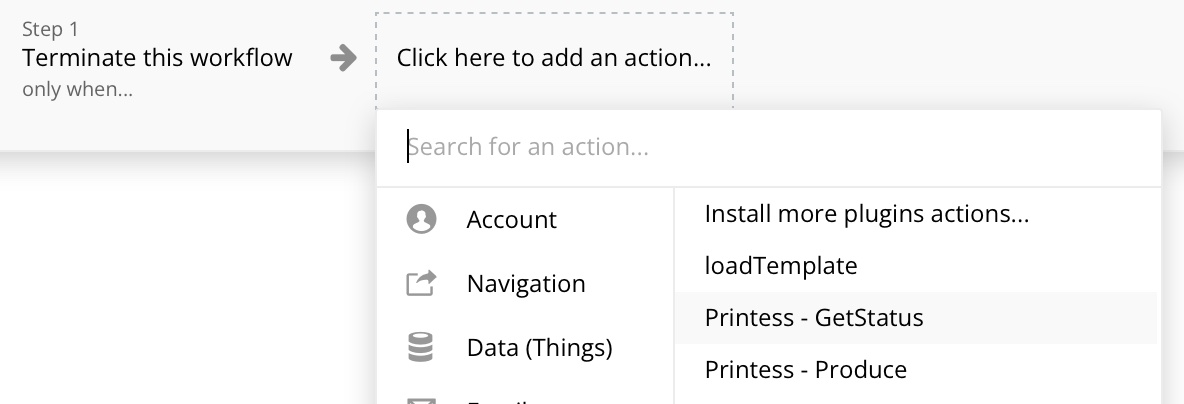
Next step is to poll the Printess API. Therefore we create a new GetStatus action.
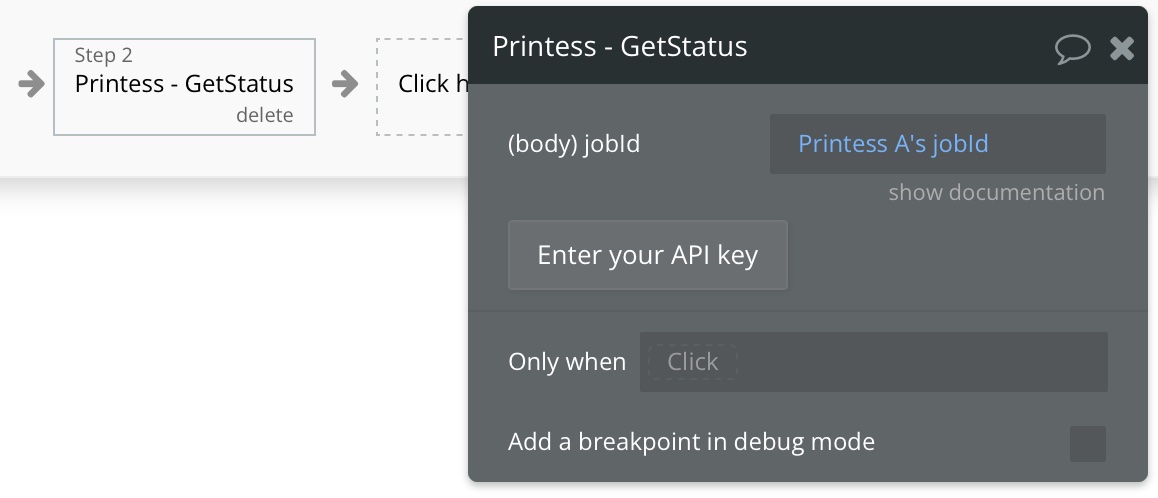
Since we are sure we have a valid jobId we can pass it to the Printess GetStatus API call.
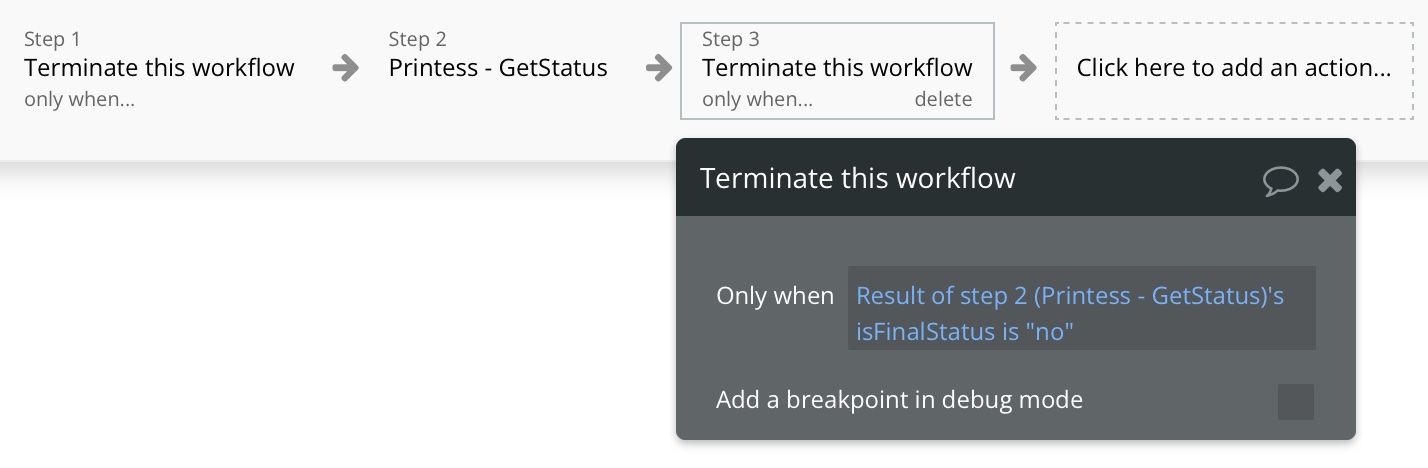
The ìsFinalStatus` flag returned by Printess tells us if the PDF is ready or not. So we terminate the workflow if the status is not final. It will automatically run again 5 seconds later.
Now we know that we have reached a final state. But before we handle our PDF we first need to reset the custom state jobId of our Printess A element to avoid polling the API again the next time the 5 sec. timer is executed.
Now we can safely read the PDF url. We could either show the PDF to the user to make it available for download or we can write the PDF url to a Thing
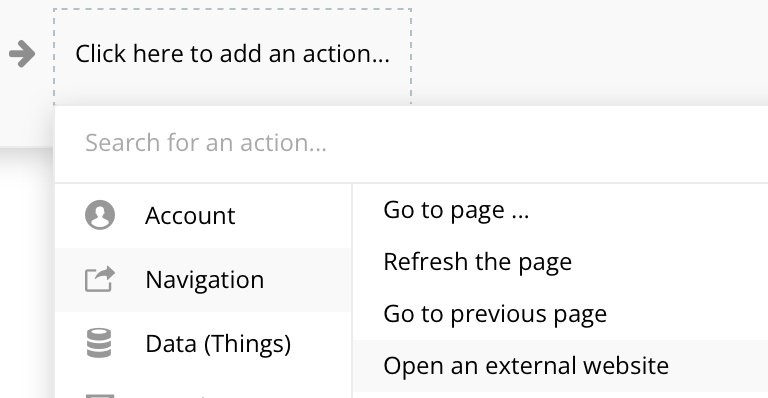
In this simple examle we will just open it in the browser.
We select Navigation -> Open an external Website and create a new action.
Now we can assign our first PDF-URL as URL for the page.
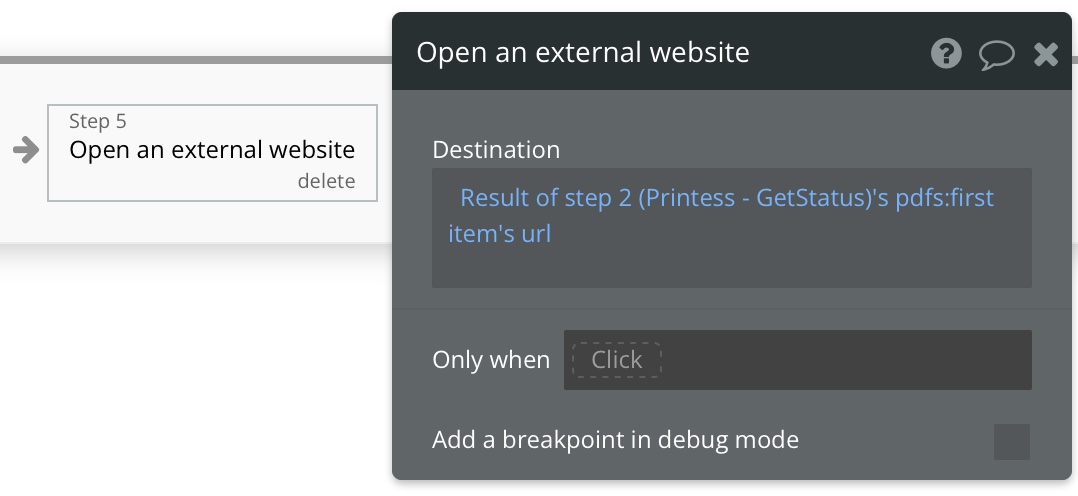
You should be aware that the GetStatus call actually returns an array of PDF’s. That’s because Printess template can return multiple PDFs depending on how they set up. If you only expect a single PDF you are fine just using :first item's url like in our exampel.
And by the way if you set-up a Printess workflow for your template, your PDF would automtically send to a production workflow just by calling Printess Produce.
Have fun creating awesome web-2-print applications with Printess.