FTP Dropshipping for Shop Products
After you set up an FTP connection in the Account Portal, you must tell each shop product to use it. Only then does Printess upload the print files of that product to your FTP server. This article shows how to activate FTP dropshipping for a product in your shop. It also shows how to add a new product definition when you need a different directory or file name for a product. For the FTP connection itself, see FTP.
The screenshots in the first part of this article show the Printess plugin for Shopware. The Printess settings of other shop integrations look similar. The names and the position of the settings can be different in your shop system.
Activate FTP Dropshipping for a Product
Before you start, make sure that your FTP connection and at least one product definition exist in the Account Portal. The FTP article explains how to create both.
-
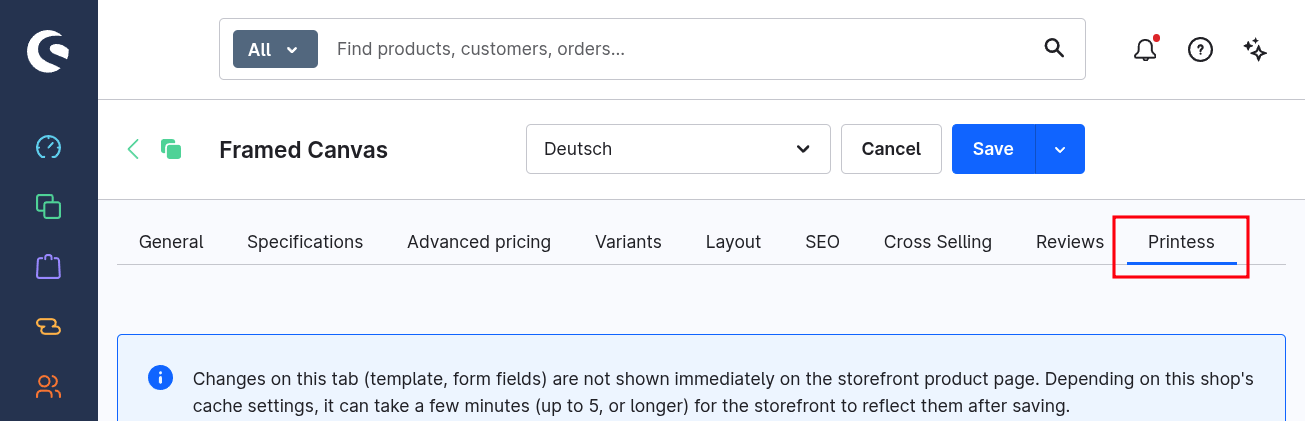
Open the product in the admin area of your shop and go to the Printess tab.
-
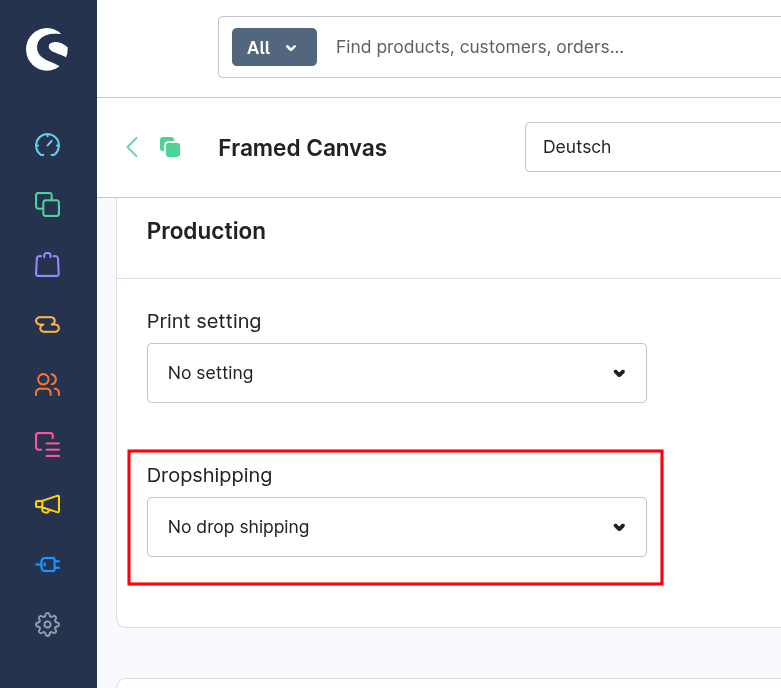
Scroll down to the Production section. Find the Dropshipping setting. By default, it is set to No drop shipping.
-
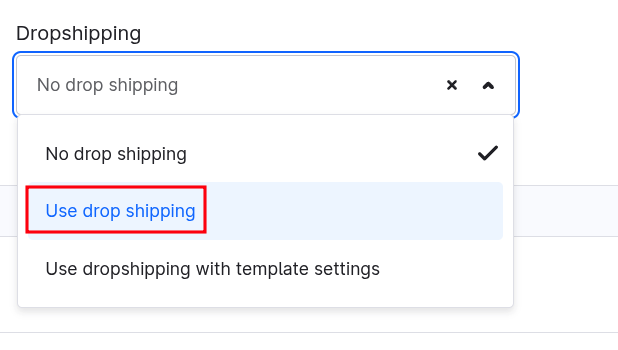
Open the Dropshipping list and select Use drop shipping.
-
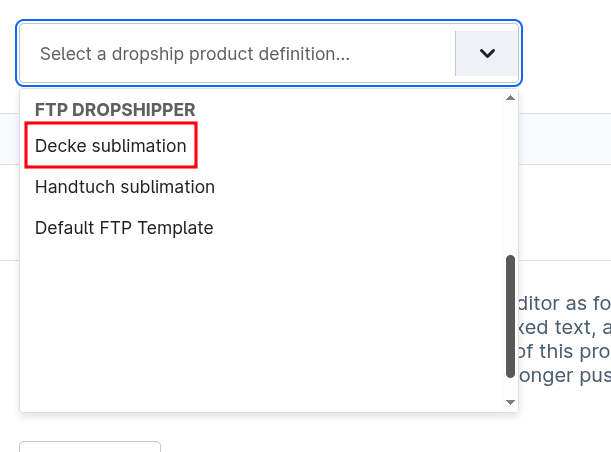
A second list opens: Select a dropship product definition…. It shows all product definitions, grouped by dropshipper. Under your FTP dropshipper, select the product definition that you want to use for this product.
-
Save the product.
Each product definition sets two things: the name of the directory on the FTP server and the file name of the print file. If none of the existing product definitions fits your product, create a new one. The next section shows how.
Add a New FTP Product Definition
The fastest way to create a new product definition is to copy the configuration of an existing one. Then change only the file name and the directory.
-
Go to the dropshipper settings in the Account Portal.
-
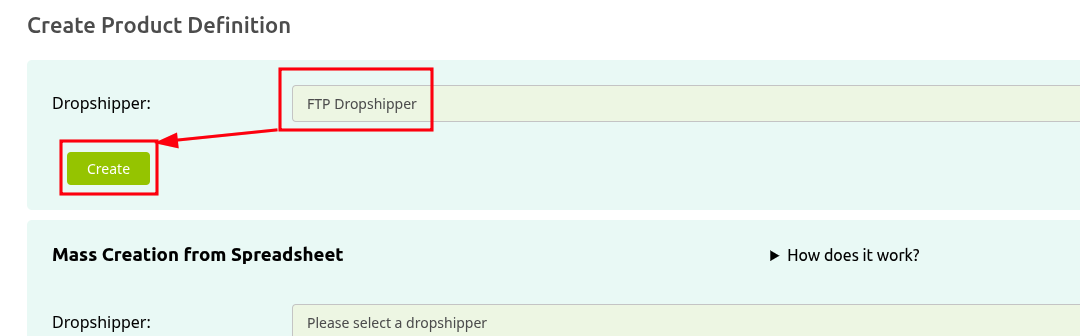
Under Create Product Definition, select your FTP dropshipper in the Dropshipper list and click Create.
-
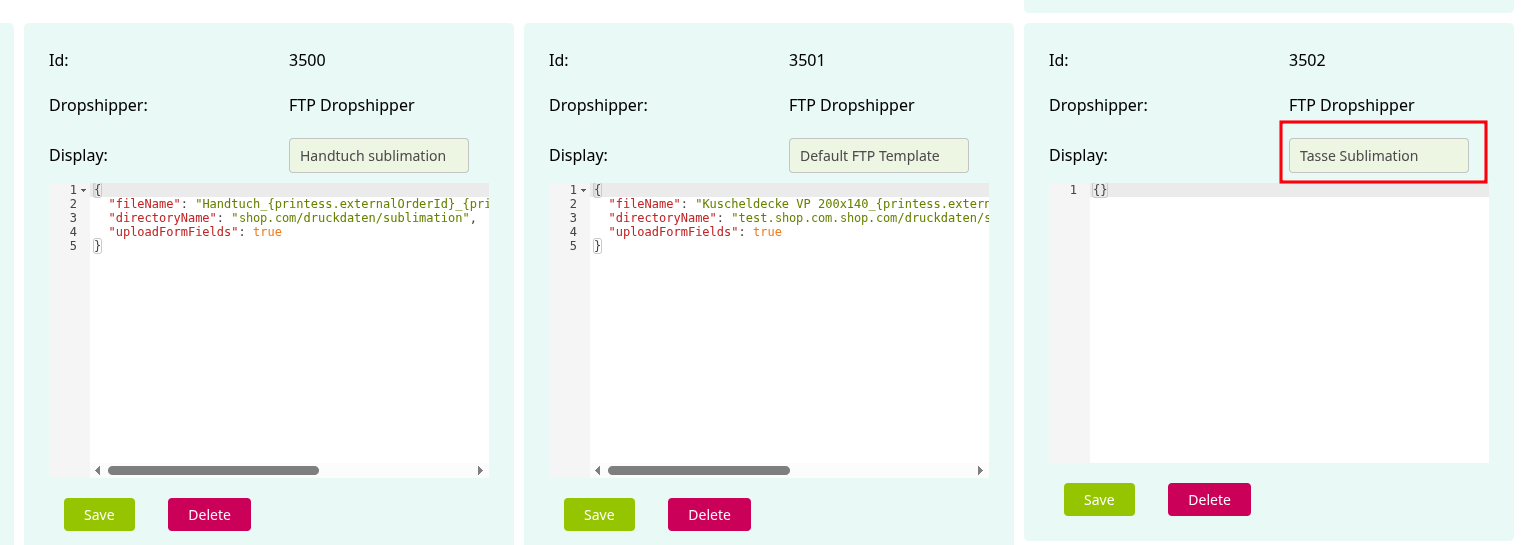
Scroll down to the end of the page. The new product definition has the label “Something meaningful”.
-
In the Display field, enter a clear name, for example “Mug Sublimation”. This name appears in the product definition list of your shop.
-
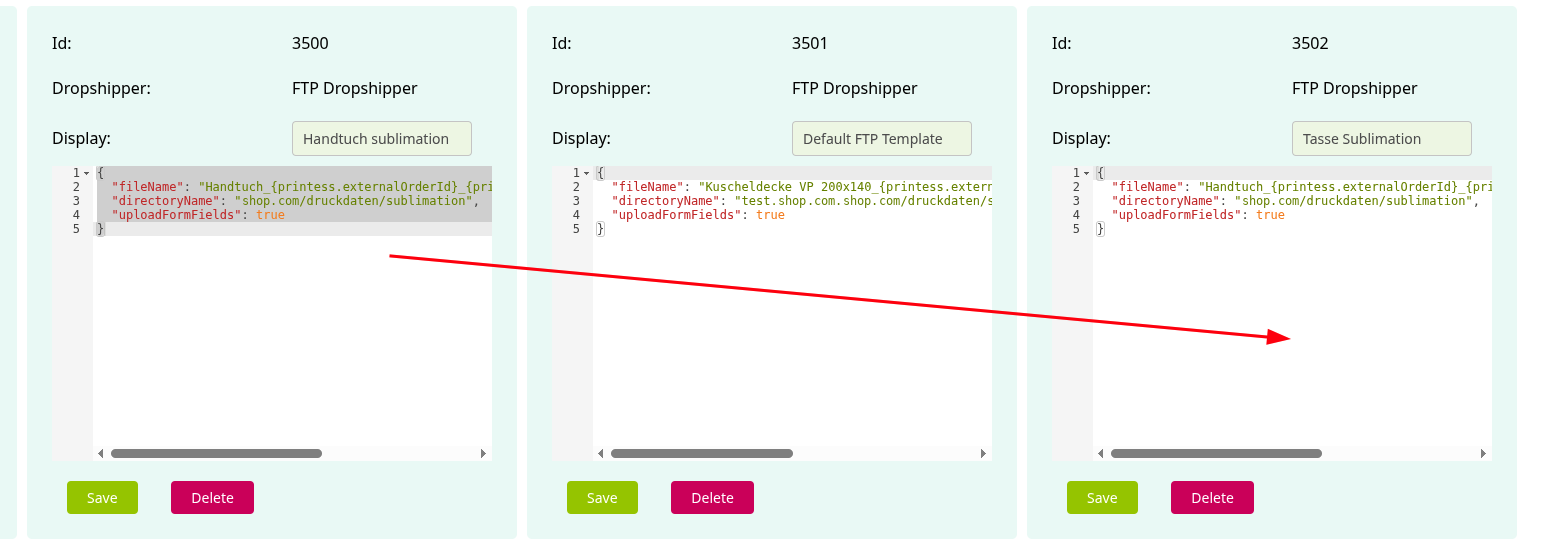
Copy the configuration of an existing product definition. Paste it into the empty configuration field (replace the existing {}).
-
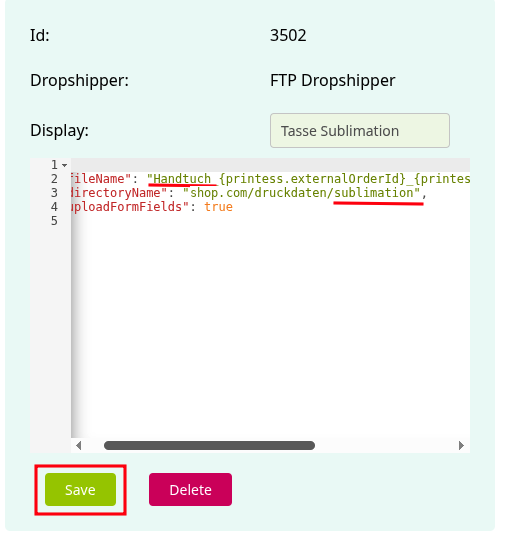
If necessary, change the fileName and the directoryName values. In the example, the copied file name starts with “Handtuch” (towel). For a mug product, you change this part of the file name.
-
Click Save.
A configuration looks like this:
{
  "fileName": "Mug_{printess.externalOrderId}_{printess.position}.pdf",
  "directoryName": "printfiles/sublimation",
  "uploadFormFields": true
}
The FTP article lists all variables that you can use in fileName and directoryName, for example the order ID of your shop or the values of template form fields.
Use the New Product Definition in Your Shop
Reload the product page in the admin area of your shop. The new product definition now appears in the Dropshipping configuration of the product. Select it as described in Activate FTP Dropshipping for a Product and save the product.