You can download the official Printess plugin directly from the wordpress plugins. Just enter “Printess” as search term to find it.
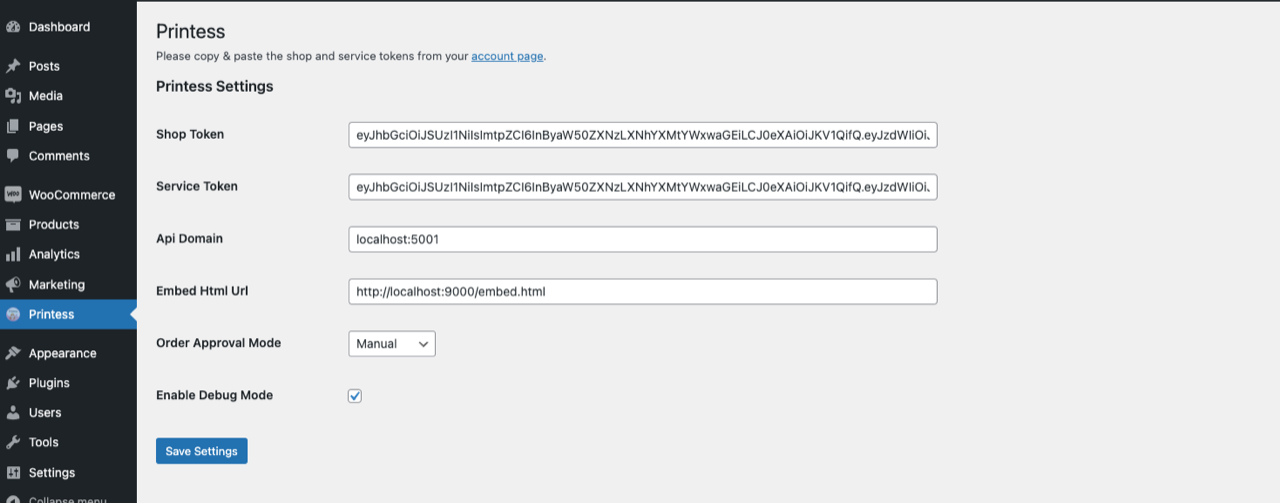
After installing it, a menu item “Printess” appears at the very end of the WooCommerce section. There you must make a few settings.
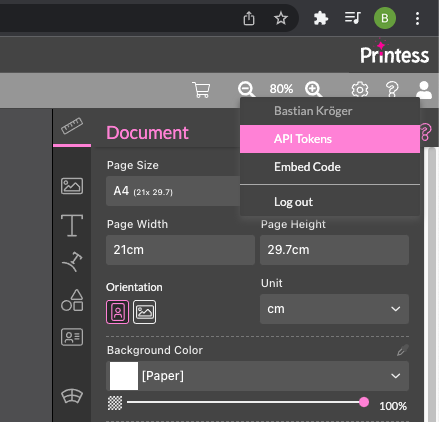
Important are the two Printess access tokens (Shop-token and Service-token) that you can find in the editor at API Tokens in the top right account menu or on the account page, which you can reach via a link (https://account.printess.com/#account).
Please also fill Api-Domain (by default api.printess.com) and Embed-Html (by default https://editor.printess.com/printess-editor/embed.html). You can also address specific versions of the editor e.g. by choosing editor.printess.com/v/1.0.0 and https://editor.printess.com/v/1.0.0/printess-editor/embed.html
In IDs to hide when showing the editor you must name every element id from your WooCommerce theme which needs to get hidden (otherwise it will show in front of the editor). Please make sure that nothing is left. The Printess editor needs to be fullscreen especially for mobile use.
Additional classes for customize buttons you need to name all classes of add to cart buttons which should get a customize button for Printess products.
You can set Order Approval Mode to “Manual” for now - this will not send the Printess products to the API for production immediately and you can approve it manually. Setting it to “Auto” will automatically sent jobs to the Printess API when the shop order is created.
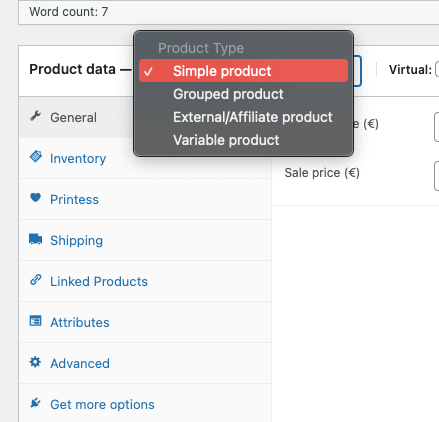
How can you create a Printess product? Create a new “Simple Product”. In the item settings you will find a “Printess” tab. Of course also existing simple products can easily become Printess products.
In the Printess tab you can search for published Printess Templates or enter them manually. Additionally its possible to configure up to 3 merge templates. Learn more about merge templates here.
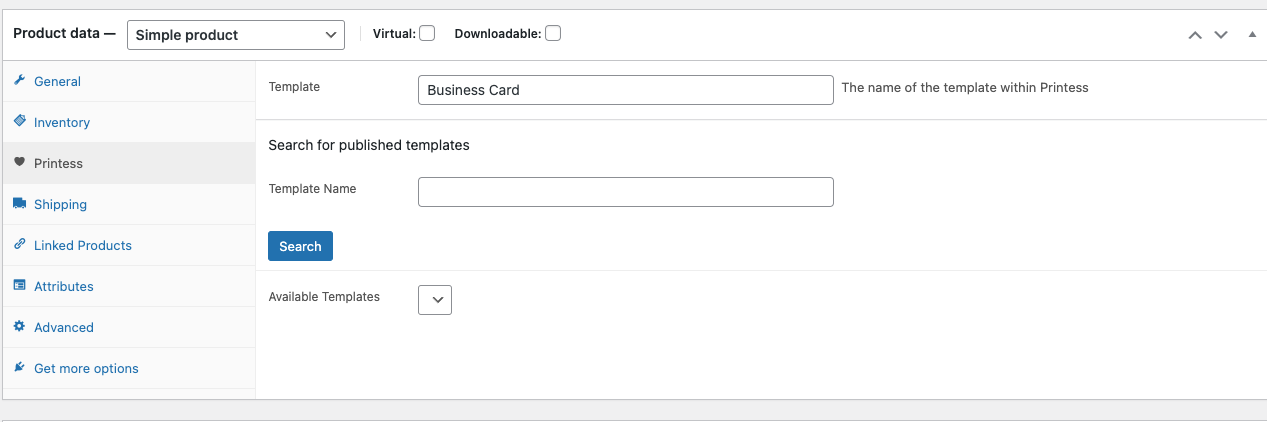
After setting up template and eventual merges update/publish as usual via “Update”.
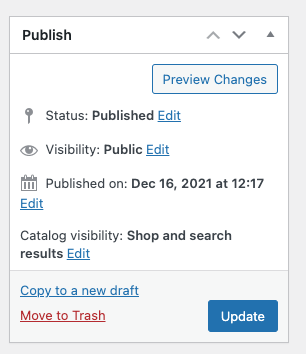
Done! Now it is a Printess product. Therefore the product page has changed:
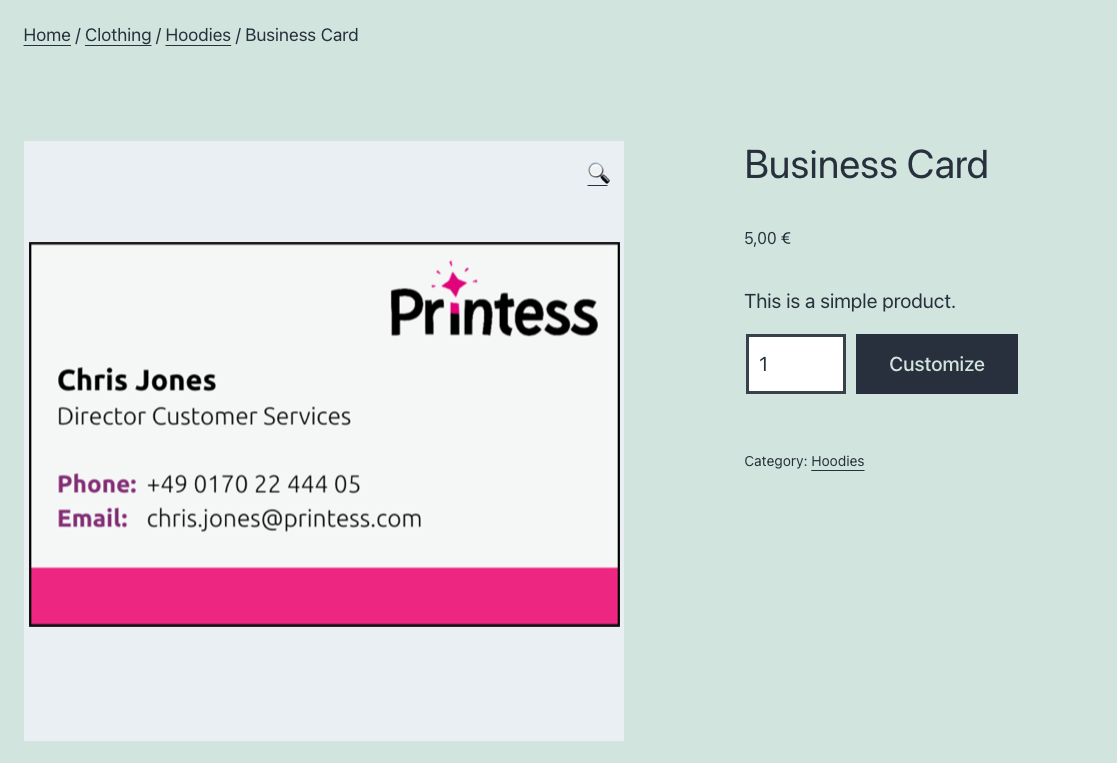
The “Add to Cart” button is gone, but there is a new “Customize” button. The first thing a customer needds to do is to customise the product. The Printess editor should open like below.
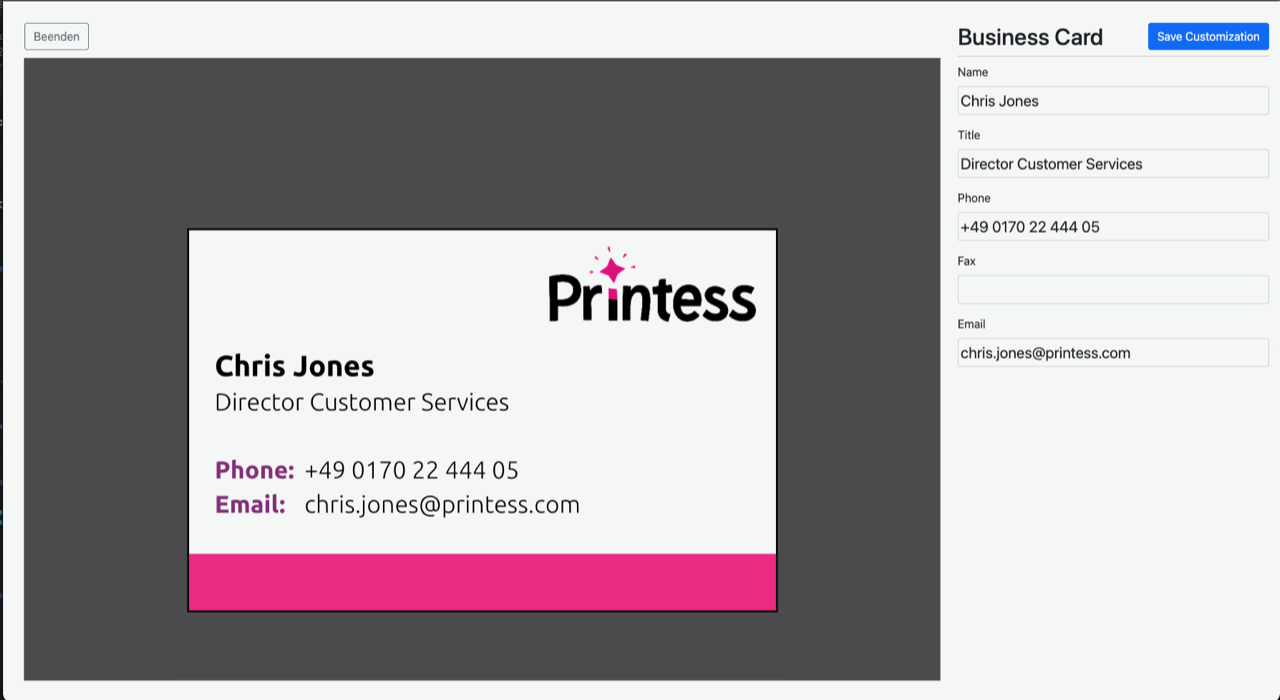
Once configured the customer can press the add to cart button. The customised product will be added to the cart and show its configuration with a small cart image.
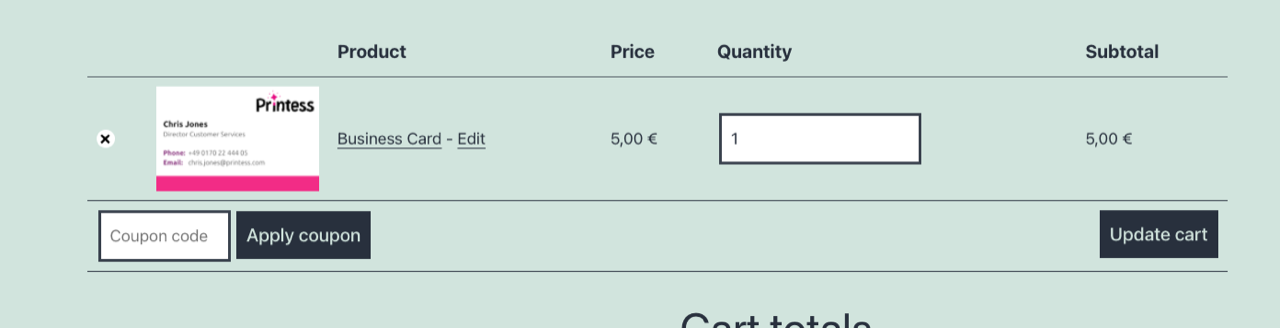
From here it can be edited again by selecting the ‘Edit’ link and add it to the cart again. In this case the new version will shown additionally in the cart.
Once the order is finished, you can see its details in the order view. As Manual release mode is set in our example shop each order element must now be approved manually, by clicking “Approve and send to production”.
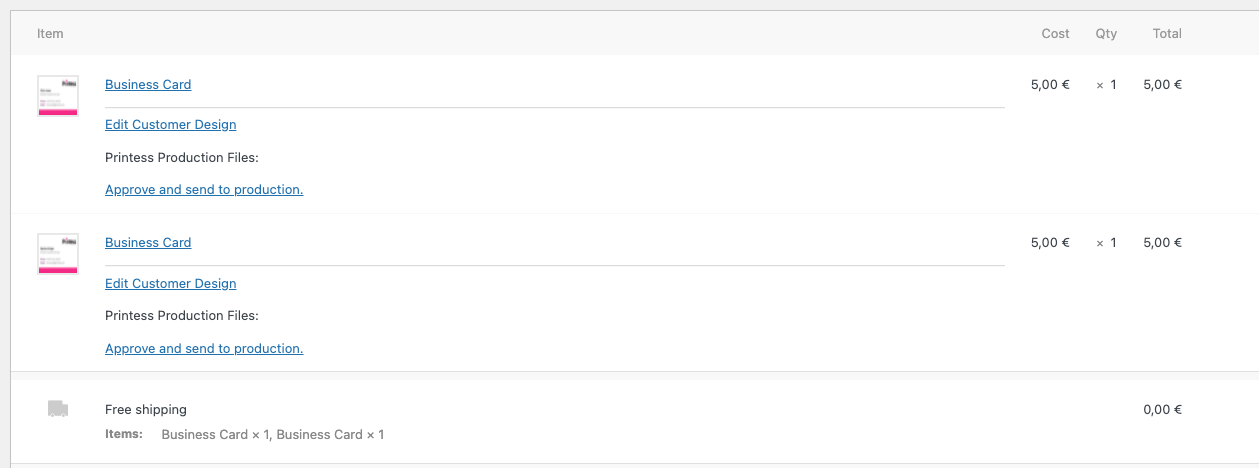
After some time, the production result(s) will show as a link to download the pdfs.
In case a customer order needs to be changed - you can do so by selecting ‘Edit Customer Order’.
If there is any error during production, it will also appear here.
If you have any additional questions or got stuck anywhere please contact us at support@printess.com we are happy to help!
The Printess Woo-Commerce PlugIn supports variable products (product variants). Your Printess templates must have select- or image-list type Form Fields with the Price Relevant Switch in the Form Field properties enabled. For testing use our Retro Sign example document which has the Material and DOCUMENT_SIZE Form Field configured like this.
Variant generation will be done automatically based on the possible Form Field values. Note that every combination of all price relevant Form Field values will create one variant so the Woo-Commerce limit of variants (currently 50) is reached fast when you have several Form Fields.
To create a variable Printess product in WooCommerce, follow these steps:
The Printess Woo-Commerce PlugIn supports initialization of the Editor with the Form Field values selected on the product page. It also supports mapping back changes in the form fields to the shop.
You can control if you’d like to have variant selection in the Printess editor by switching the Form Fields visibility property between Buyer Side and Design Side.
Here is a video of the above tutorial (a template with the Name Retro Sign had been created and published on the account based on the Retro Sign example document beforehand):