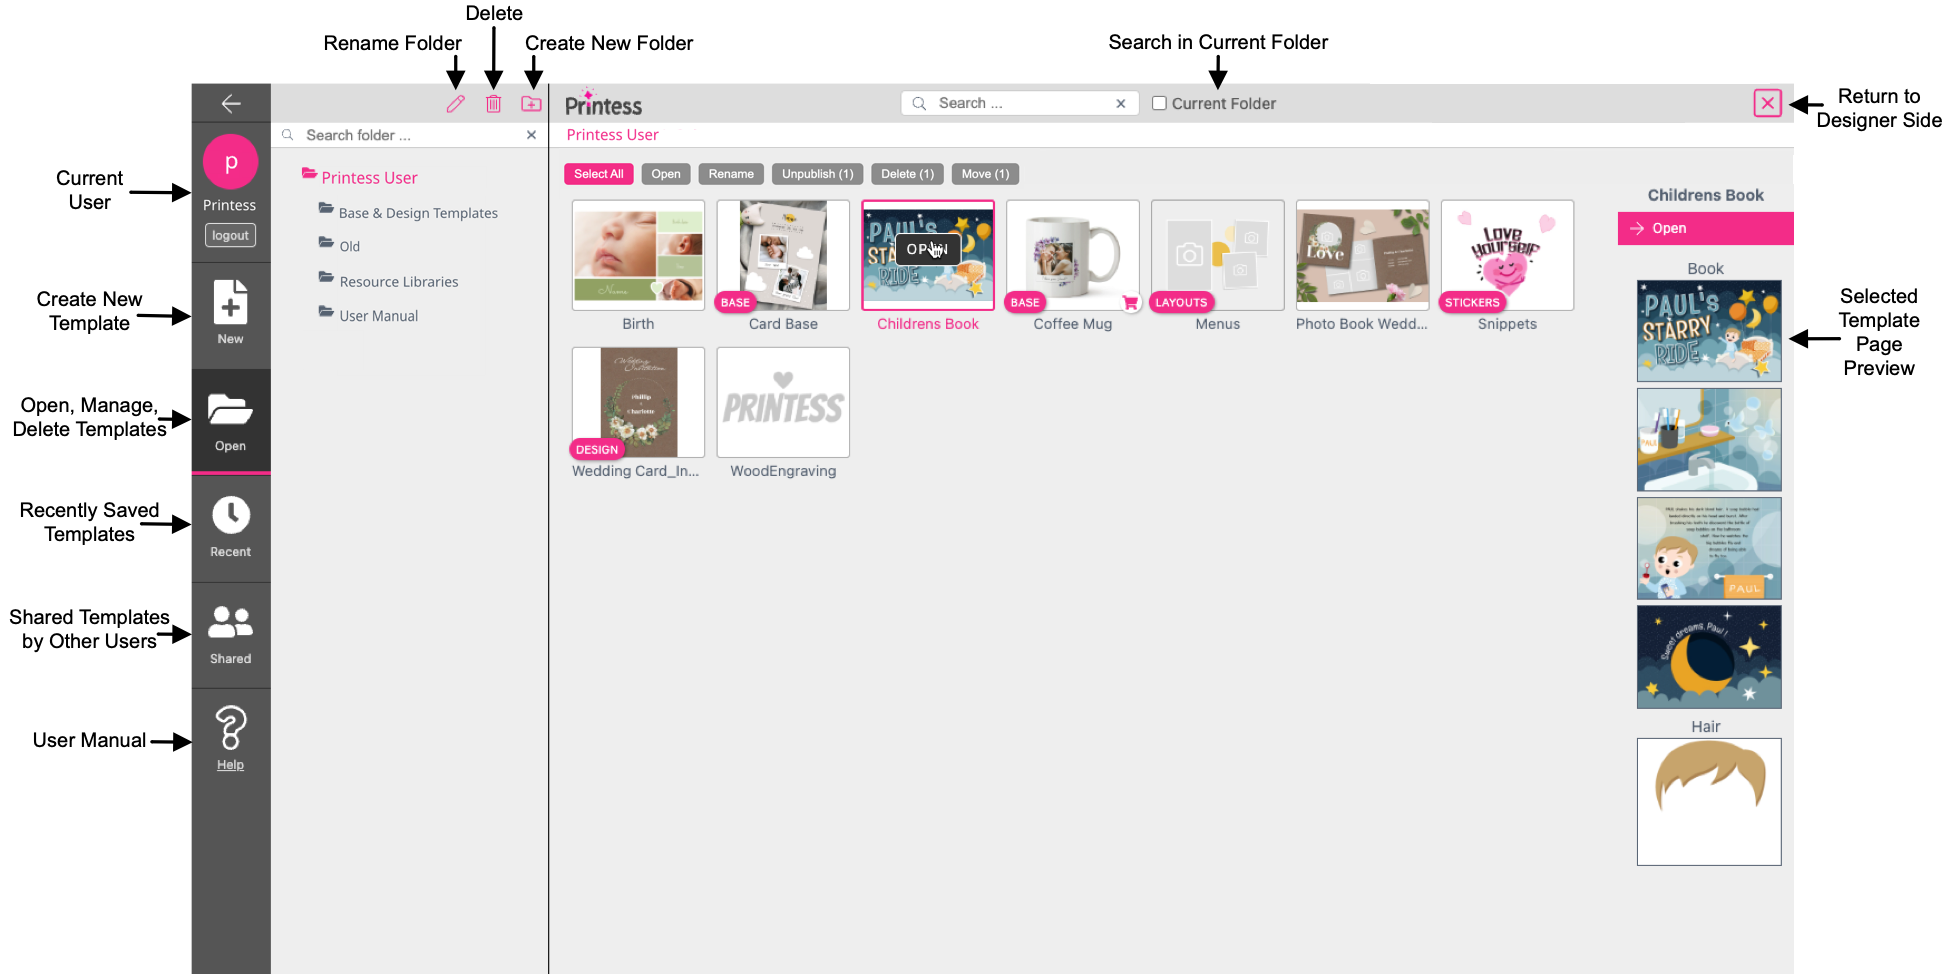
After login, Printess will start the Template Browser. Here you can create and manage Templates as well as open any previously created Templates for editing.
The Template Browser opens with the Recently Saved Templates tab on the left preselected. This provides you with easy access to your most recent work.
But first, let’s switch to the Open tab and have a look at some additional Printess management options.
Templates are organized into folders with the current user being the uppermost folder. You can create, rename, or delete folders using the respective icons on the top left toolbar.
The Templates saved inside the currently selected folder are shown in the center. Once a Template is selected, the pages saved within the documents will be previewed on the right.
You can search for previously created Templates with the search box, located on the top menu bar - just right of the Printess logo. Any matching search results are shown underneath the search box. Clicking on a Template will display a path preview to the right where you may open any saved document from within the Template.
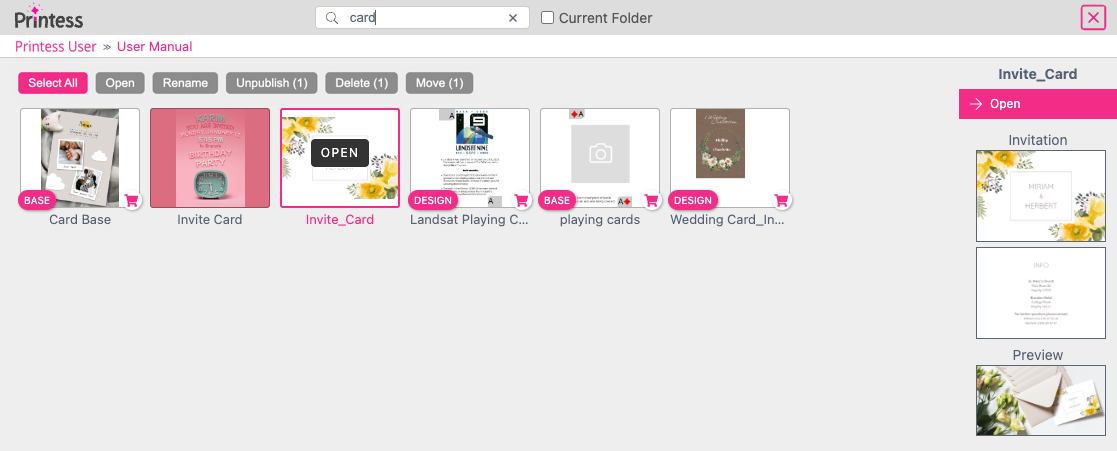
A Template can also be opened directly from the search results.
To close the Template Browser, just click on the X in the top right of the window.
On the top left, you will see the currently logged-in user. Here you can also check out our many available premade Templates. From Photo Products to Cards & Invitations, all the resources within these example Templates are free to use.
Once you have opened a template, you can Zoom with keyboard shortcuts CTRL + and CTRL -, your mouse CTRL + scroll wheel, or by simply pinching on the trackpad.
Select a Template to open, rename, unpublish, delete or move it.

Select All
Selects all Templates within the current folder at once.
Open Press this button to open the selected Template from here.
Rename
Rename the selected Template here to change it’s name or to create a copy of it.
Unpublish
Press this button to unpublish a Template. An alert box will open to double check if you really would like to unpublish this Template.
Delete
If you need to delete a Template press this button. An alert box will open to double check if you really would like to delete this Template.
Move
You can move a Template to a different folder. If you press the button a dialog for the folder selection will open.
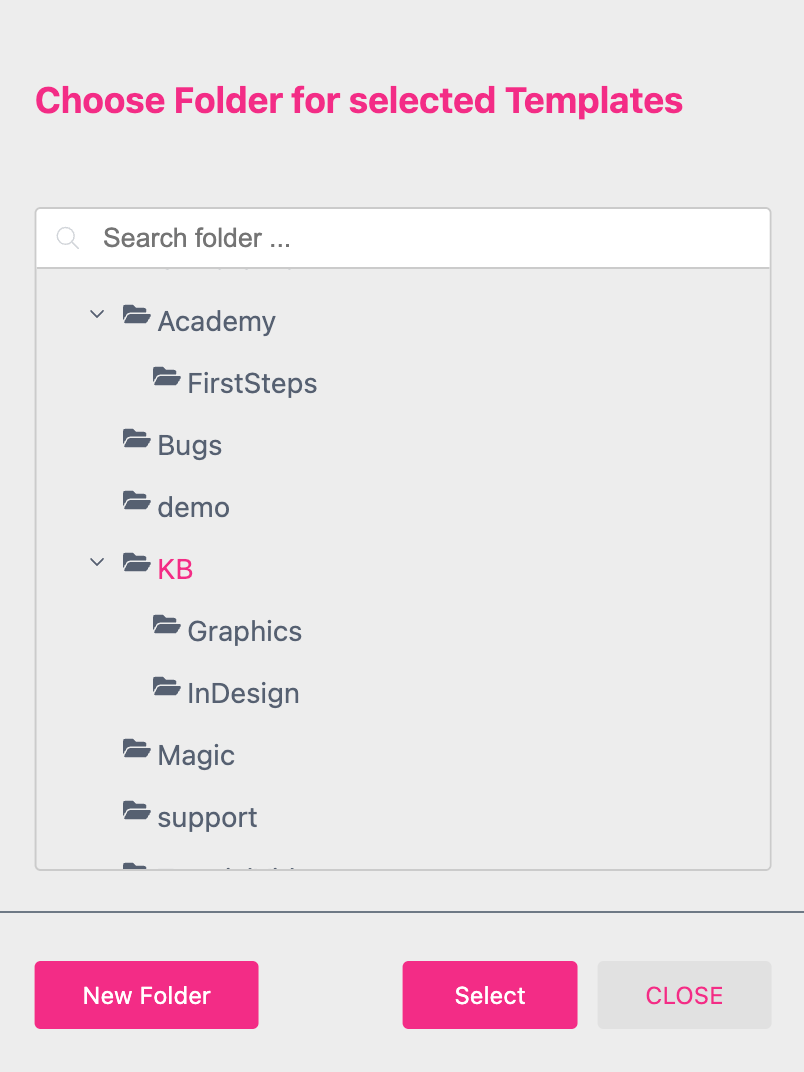
Here you can create a new folder in a first step or select an existing folder. As soon as you press Select the Template will be moved to the selected folder.
In the New tab directly under the user icon, you can select the Template Type, page size, and create a new Template. When selecting page size from the drop-down don’t worry, this can be easily changed at any point later on with the Template.
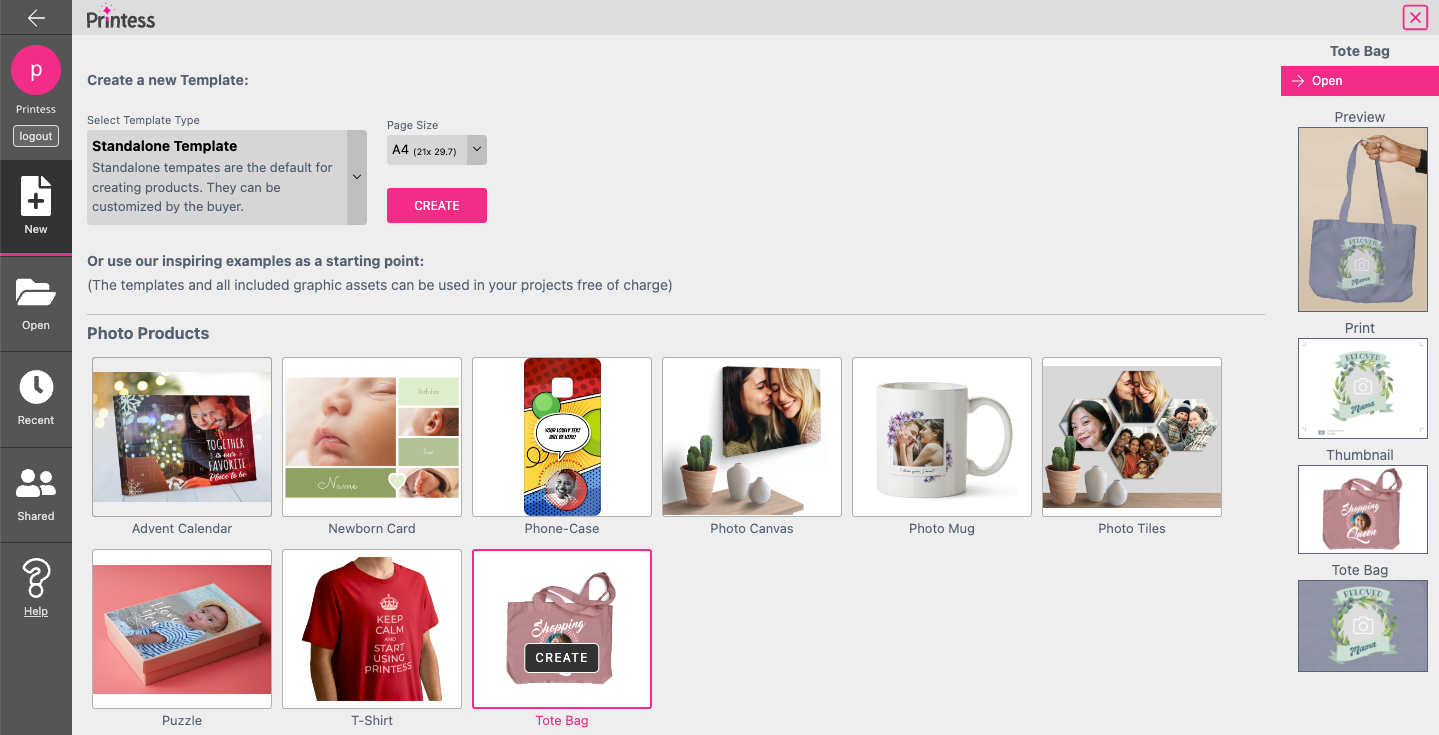
Alternatively, you may also select one of our pre-built example Templates as the basis for a new document.
Either way, when a new Template is created the Template Browser will close and the Editor opens up in Designer Side.
As you edit a document, Printess constantly auto-saves any changes in the browser storage. So if you happen to accidentally close the browser, or if a fatal error occurs, don’t panic because in most cases a backup exists. This is true even with new and unsaved documents.
To recover an unsaved document, you just need to open the Editor and close the initial Template Browser by clicking either the X to the right or the arrow to the left. This returns you directly to your unsaved document, in the state you left it.
For this to work, you need to open the same browser on the same device where the document was last edited, within 24 hours.
Warning! Do NOT open or create another document - this will delete your unsaved changes!
Additionally, all previously saved documents will retain their last saved state within the same browser. To access the last saved state just open the document again. If changes are stored, a popup dialog will appear informing you that unsaved changes exist.
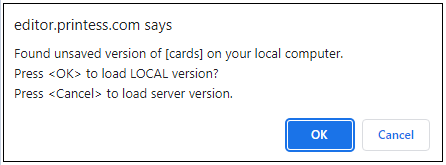
If OK is selected the local, auto-saved version is loaded. Selecting Cancel will load the most recent saved version from the server.
Do not press Cancel if the changes might be important! This will load the most recently saved version and overwrite any local changes. Just select OK and you can still reload the document again at any time if you would prefer the most recently saved version.
If you load a document that is already open in another tab within the same browser, Printess will ask you to close the current tab or browser window to avoid any conflicts within the local backup.
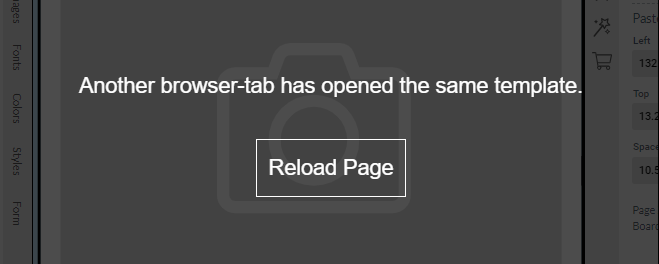
The solution is to simply close the other browser or tab before opening.