Note:
With Magic Photo Book Themes you can offer more than just one design at the Buyer Side so that the Buyer can choose from different Layouts. Therefore you have to create different Layout Libraries to assign them to your target Template. The Buyer then can choose from different Layout Libraries. So at the Buyer Side they appear like Design Themes. This is why we call them Magic Photo Book Themes.
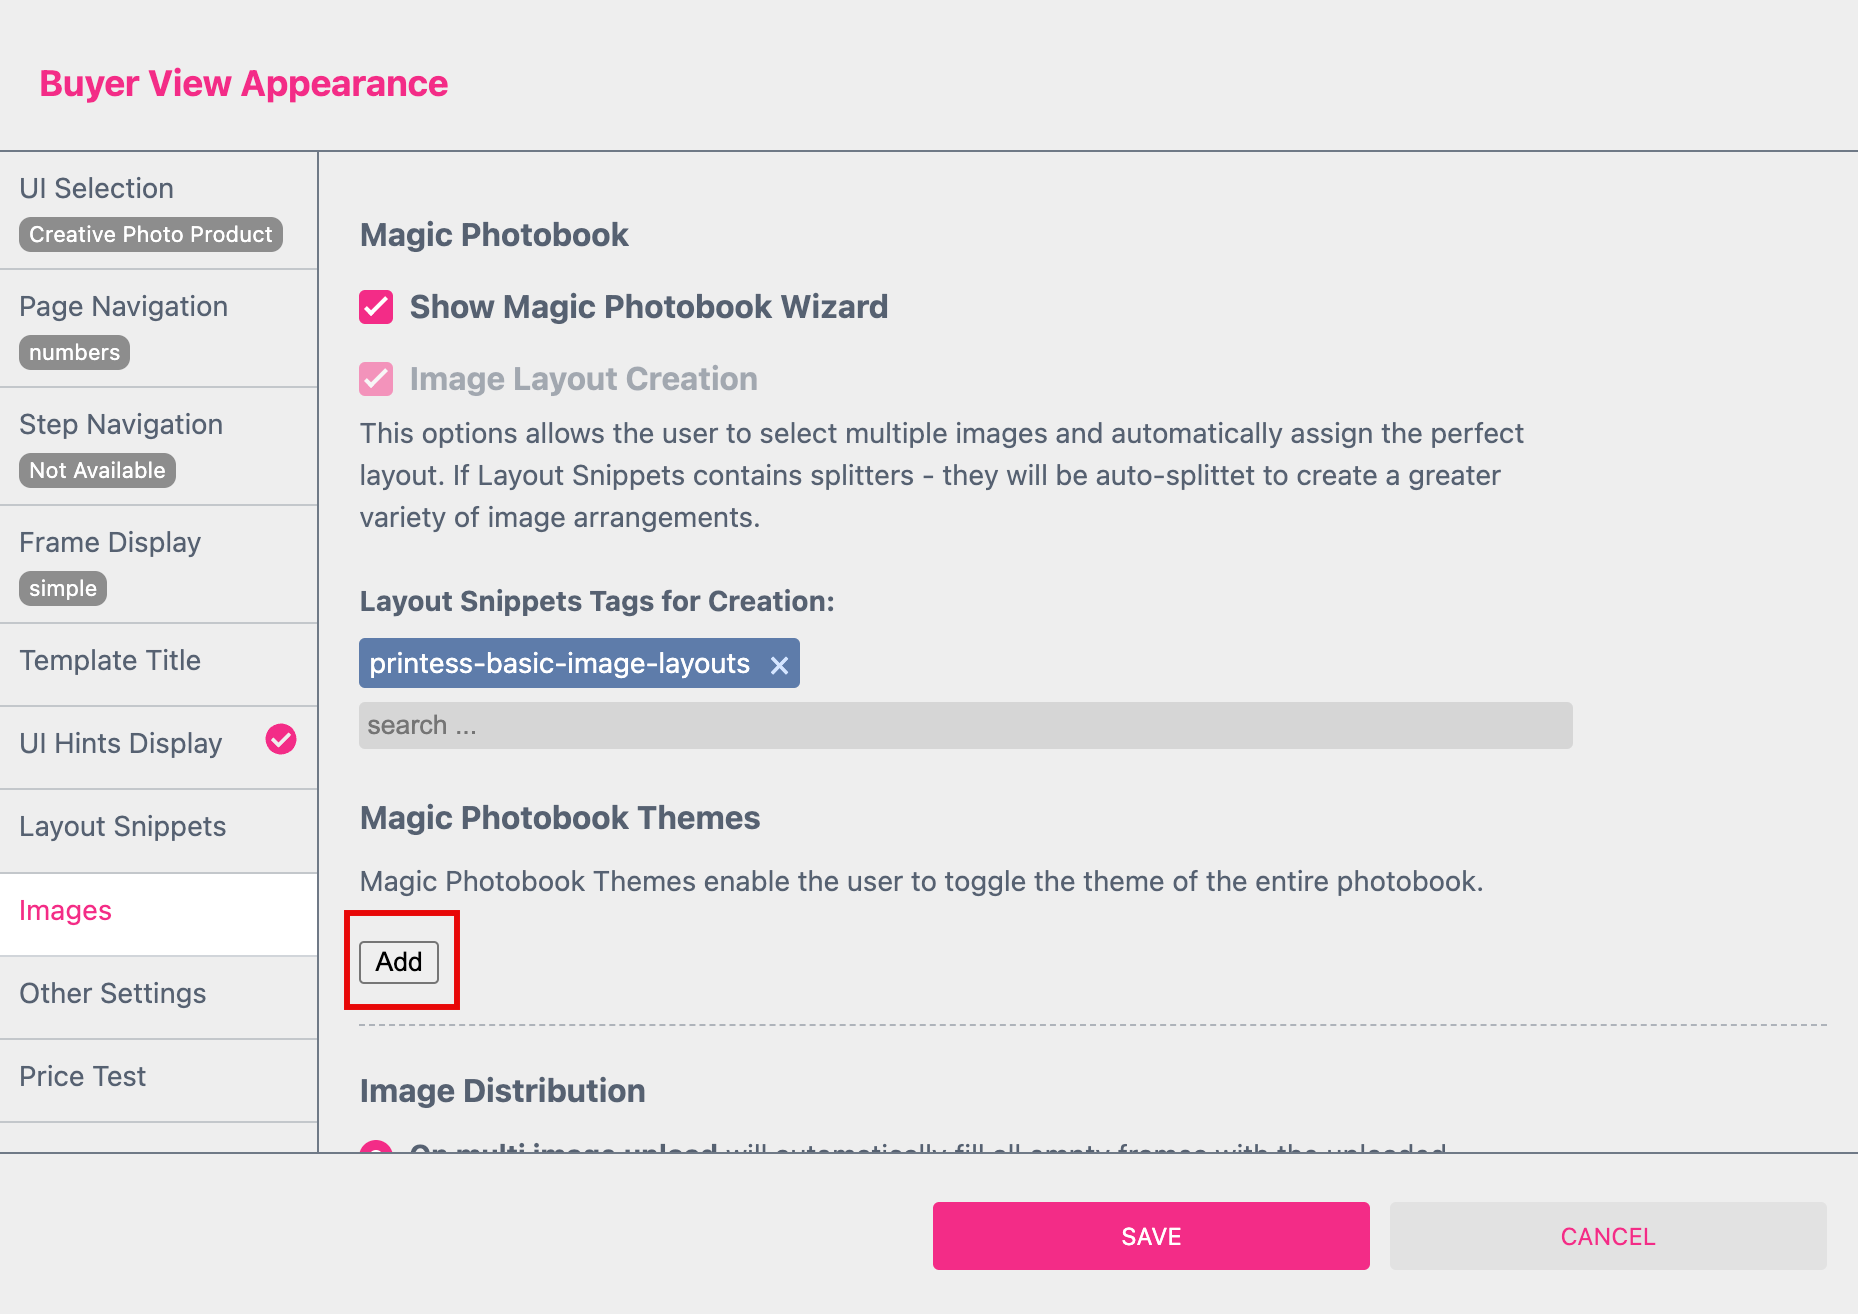
Open the Buyer View Appearance by using the shortcut “a”. At the Images Tab you find the Magic Foto Book option. If you activate it you find the add button to assign a Magic Photo Book Theme.
As soon as you press this button the view changes.
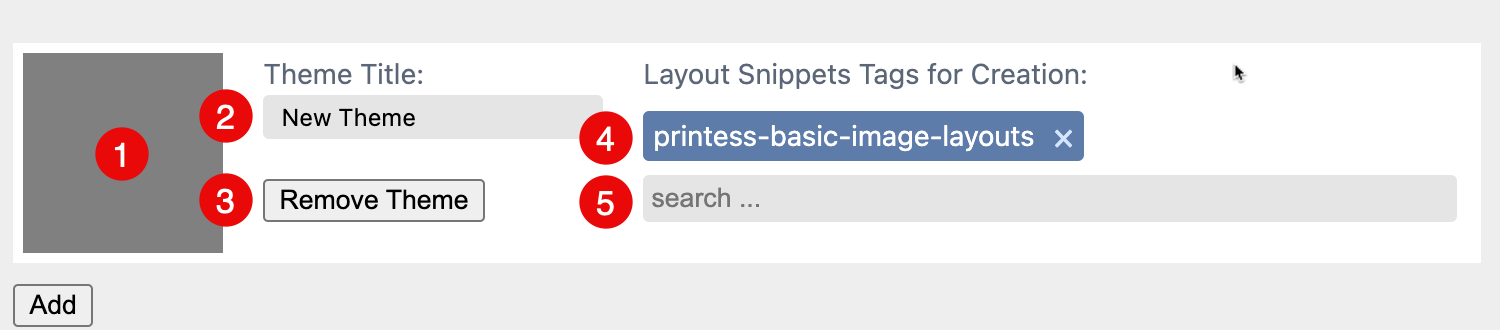
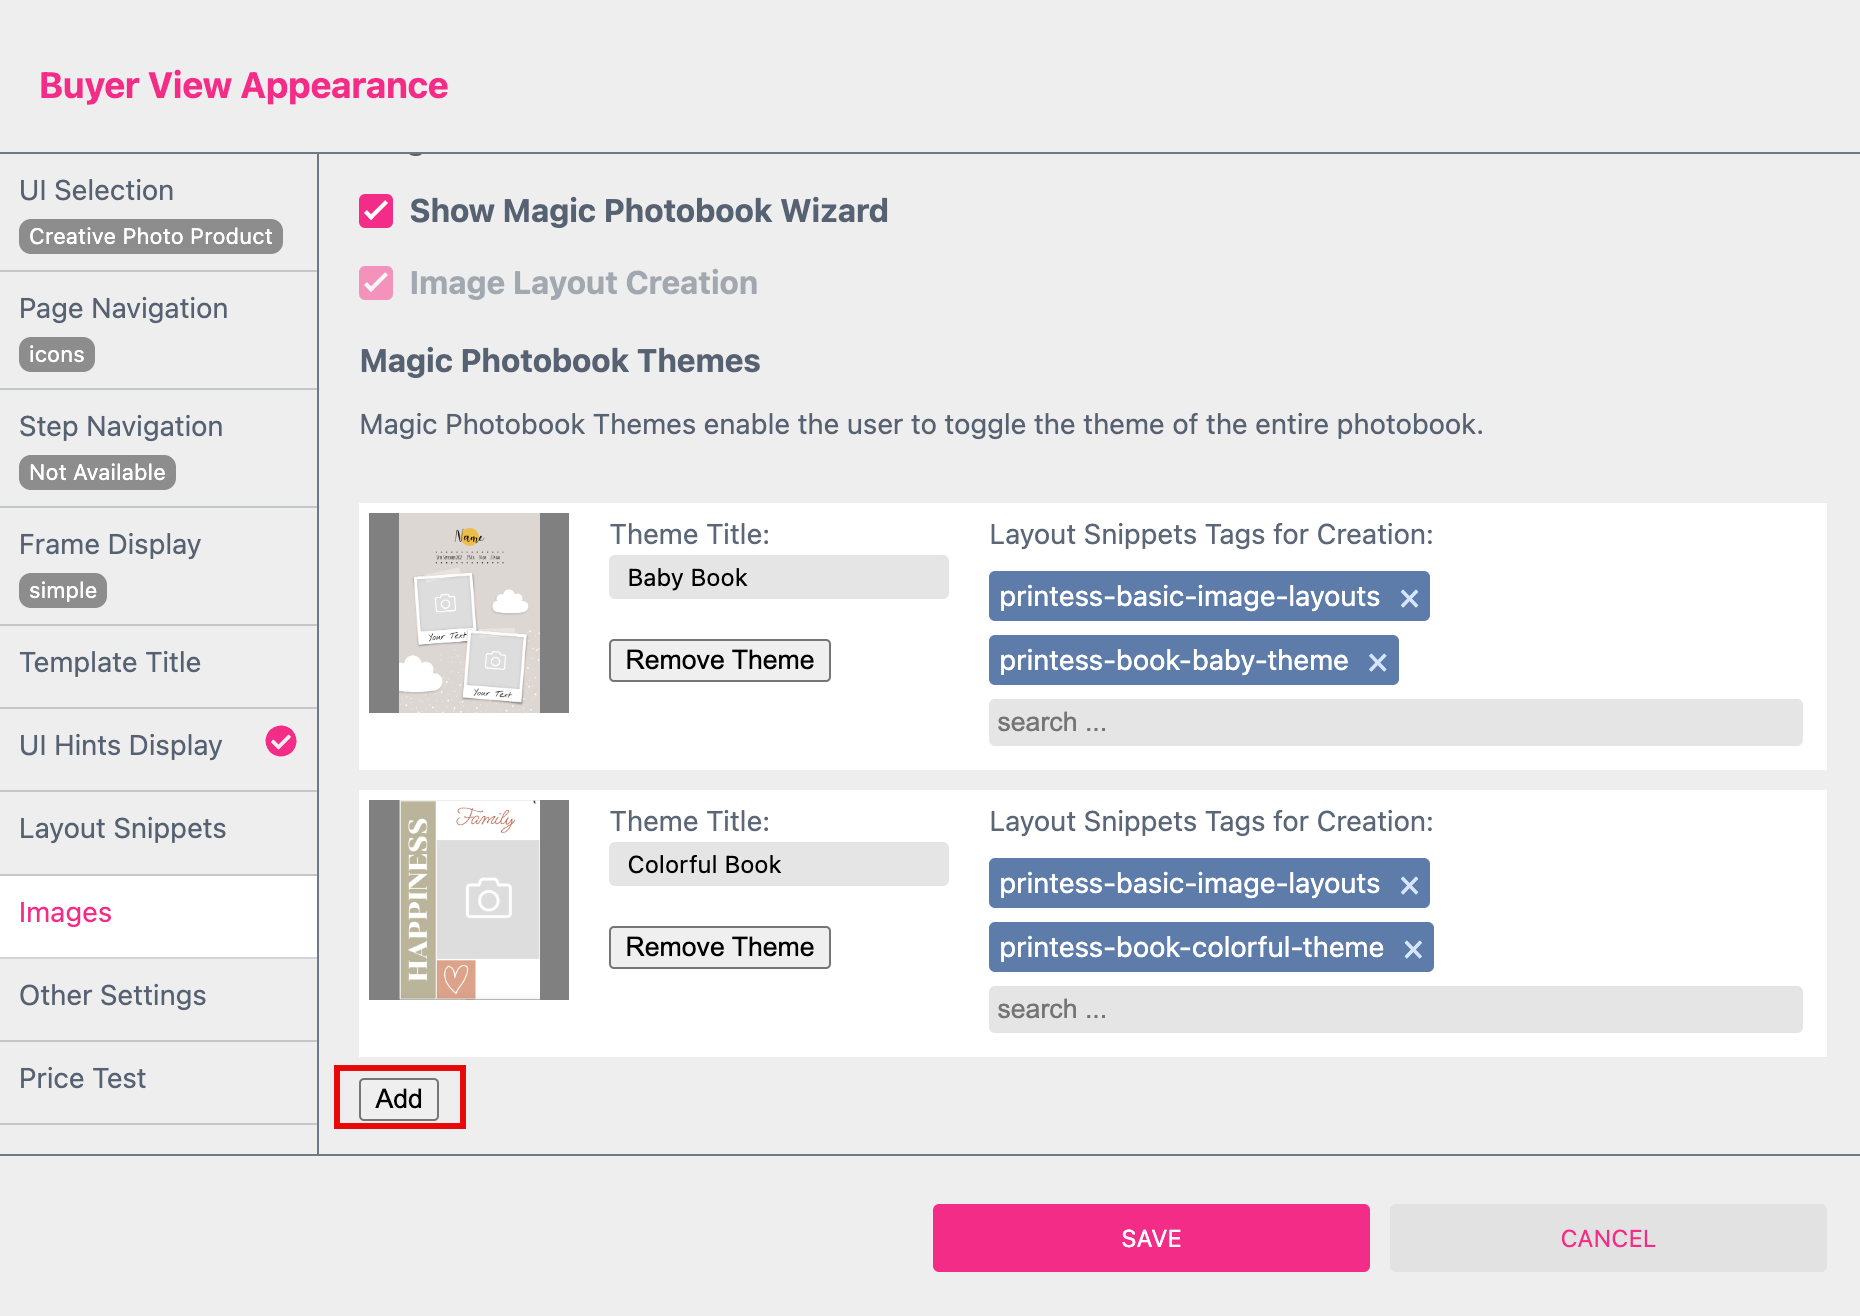
You can assign as many Layout Libraries as you like to be displayed at the Buyer Side. Anytime you press the add button you can assign an additional Theme.
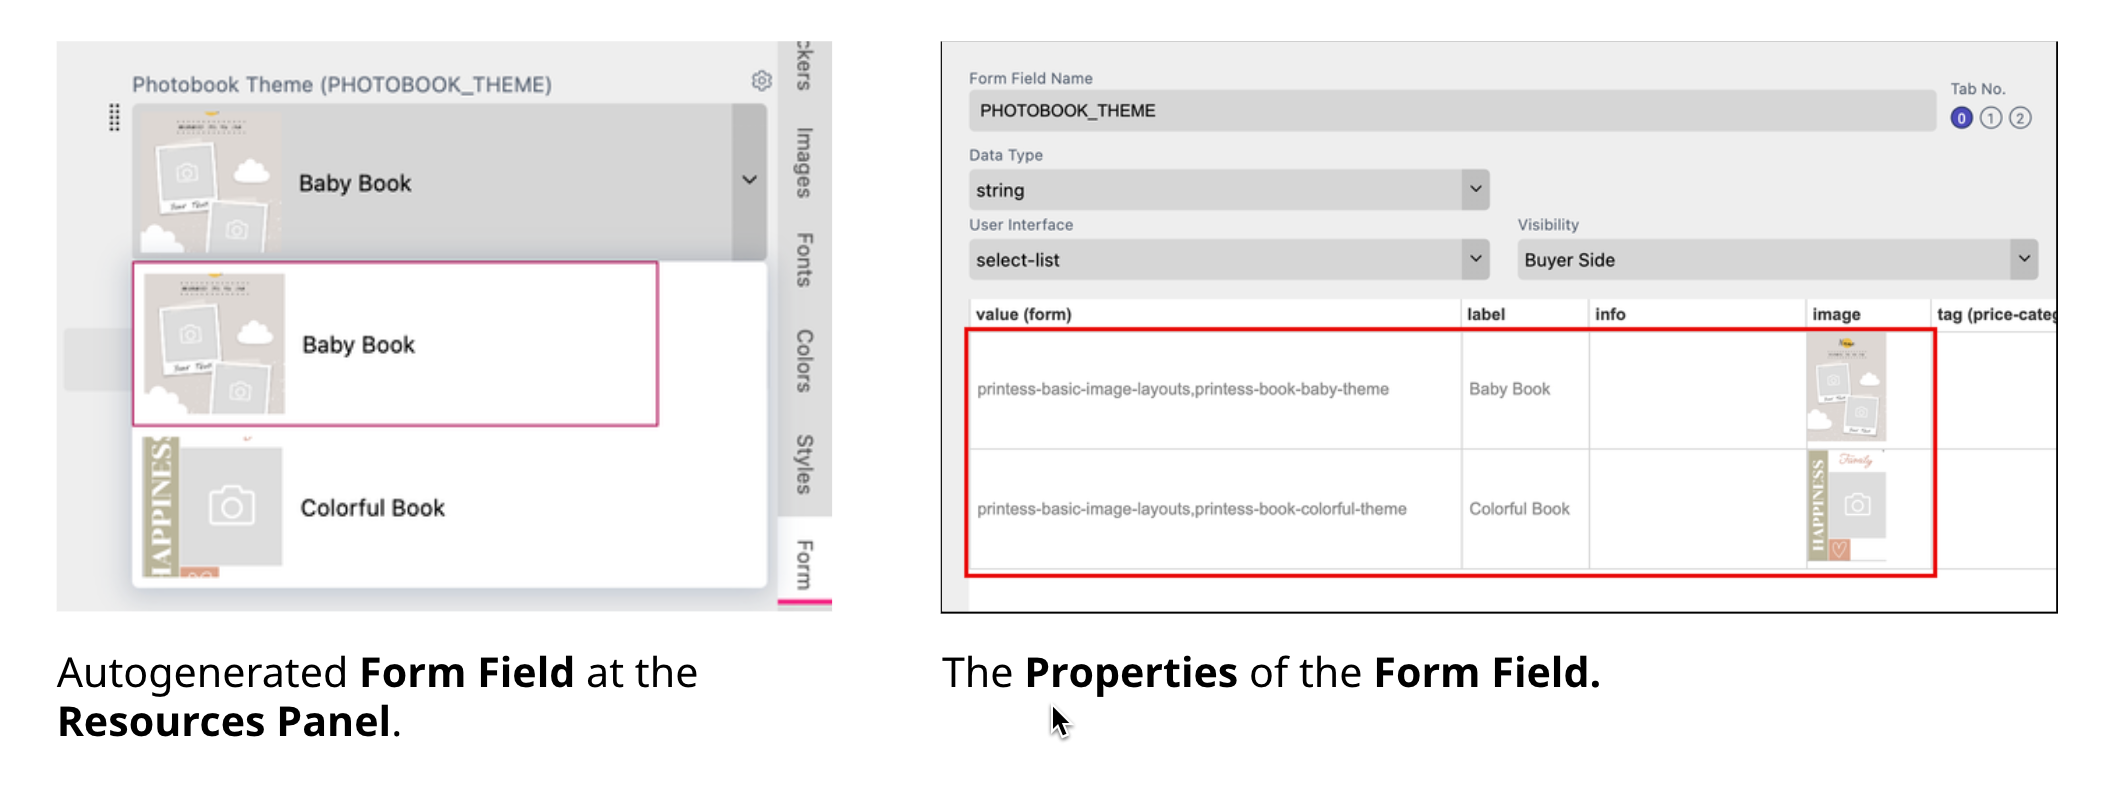
As soon as you press the Save button of the Buyer View Appearance Settings Printess will automatically add a Select List Form Field to your Template. It only works at the Buyer Side. The content of this Form Field can only be edited through this dialog here - not directly in the Form Field Properties.
If you now switch to the Buyer Side you can change the Themes after the Magic Photo Book is created.
You can use Color Schemes while you setting up a Layout Library. It enables you to offer several possible appearances for the same design to the Buyer.
Therefore you have to create these Color Schemes in your Layout Library at the Colors Tab of the Resources Panel first.
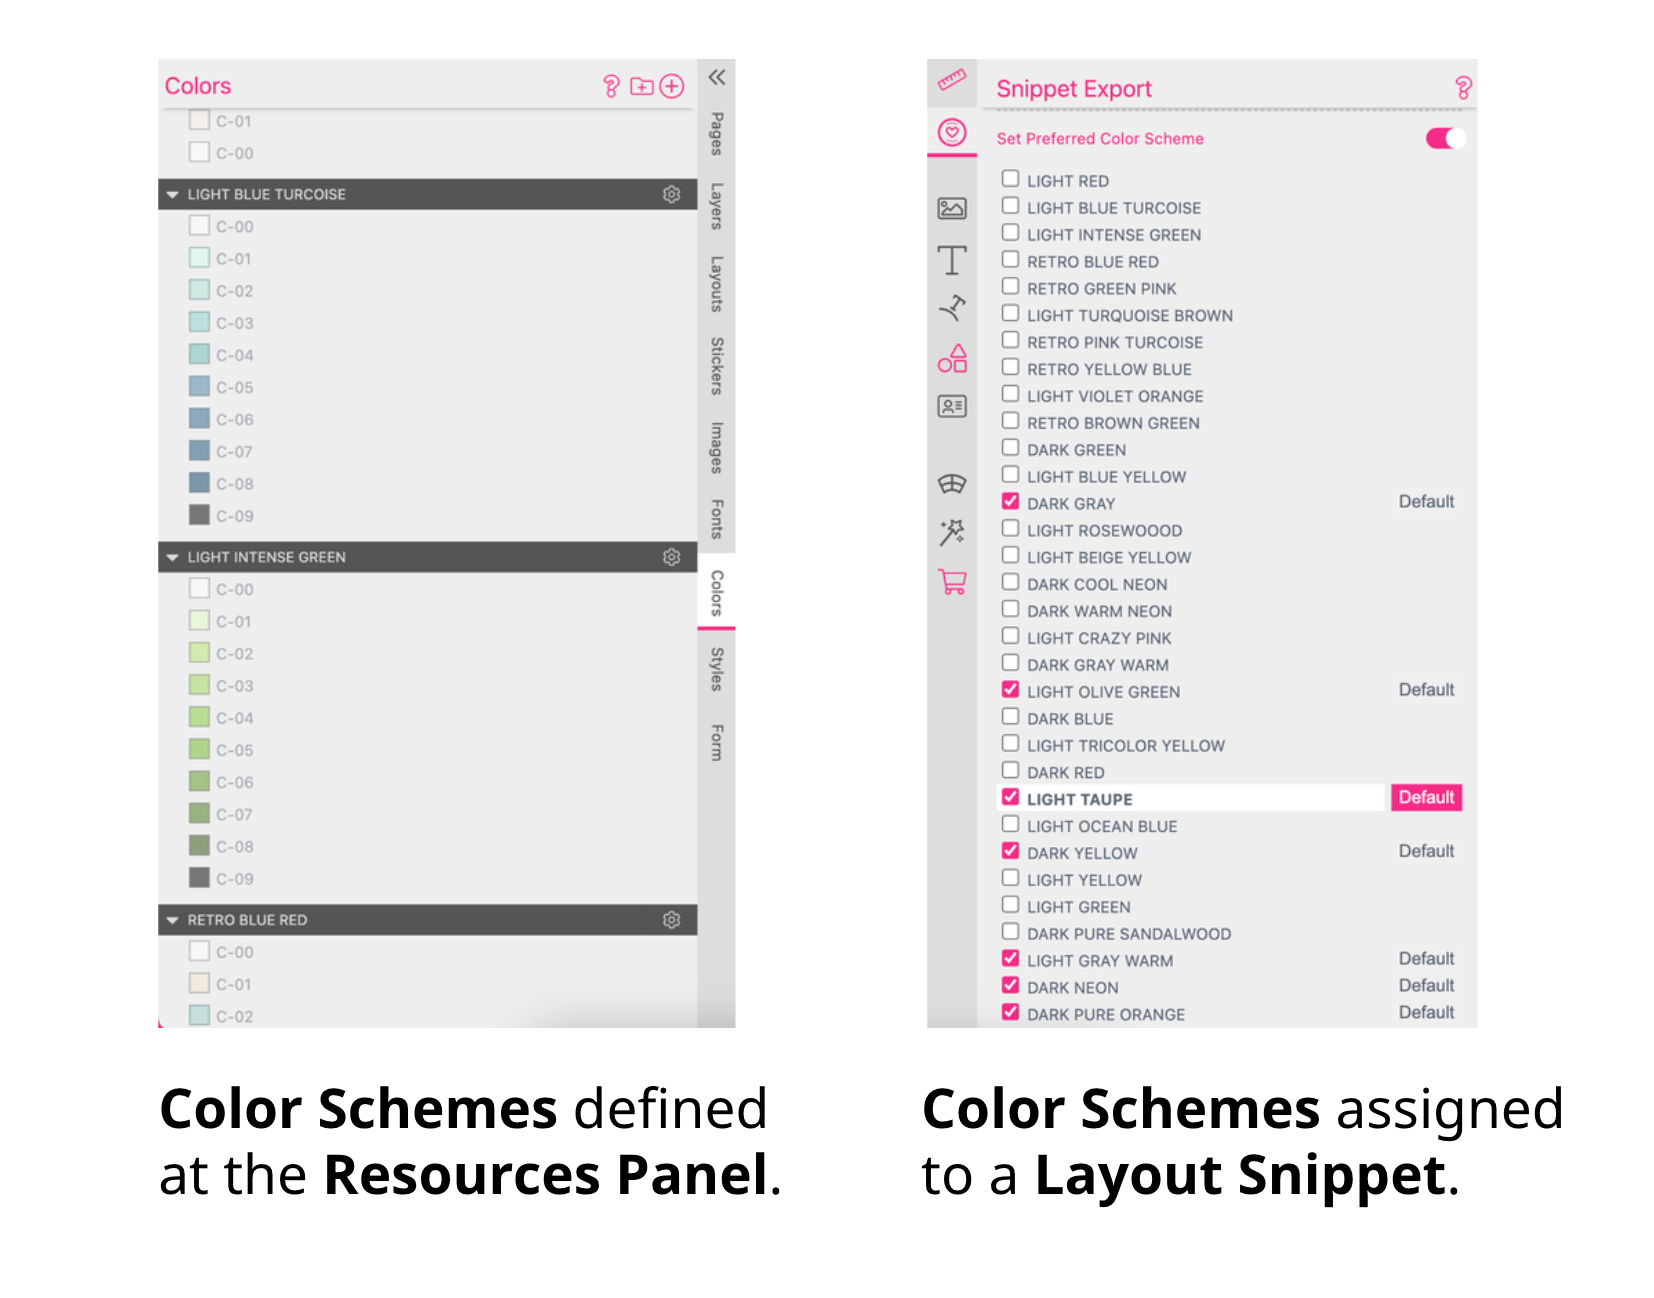
For each single Layout Snippet you then have to assign a “default” Color Scheme and additional ones to choose from at the Buyer Side.
Learn about Layout Snippet Color Schemes
In each Layout Library you are creating, the used Color Schemes have to be exactly the same. If they differ they will overwrite each other!
The best way to keep the Color Schemes consistent is to paste them into a Resources Library. For any additional Layout Library created later you can then copy them from there.
The Color Schemes has to be part of the target Template anyhow to make them work at the Buyer Side. The easiest way to make them part of the target Template is assigning the Resource Library to it.
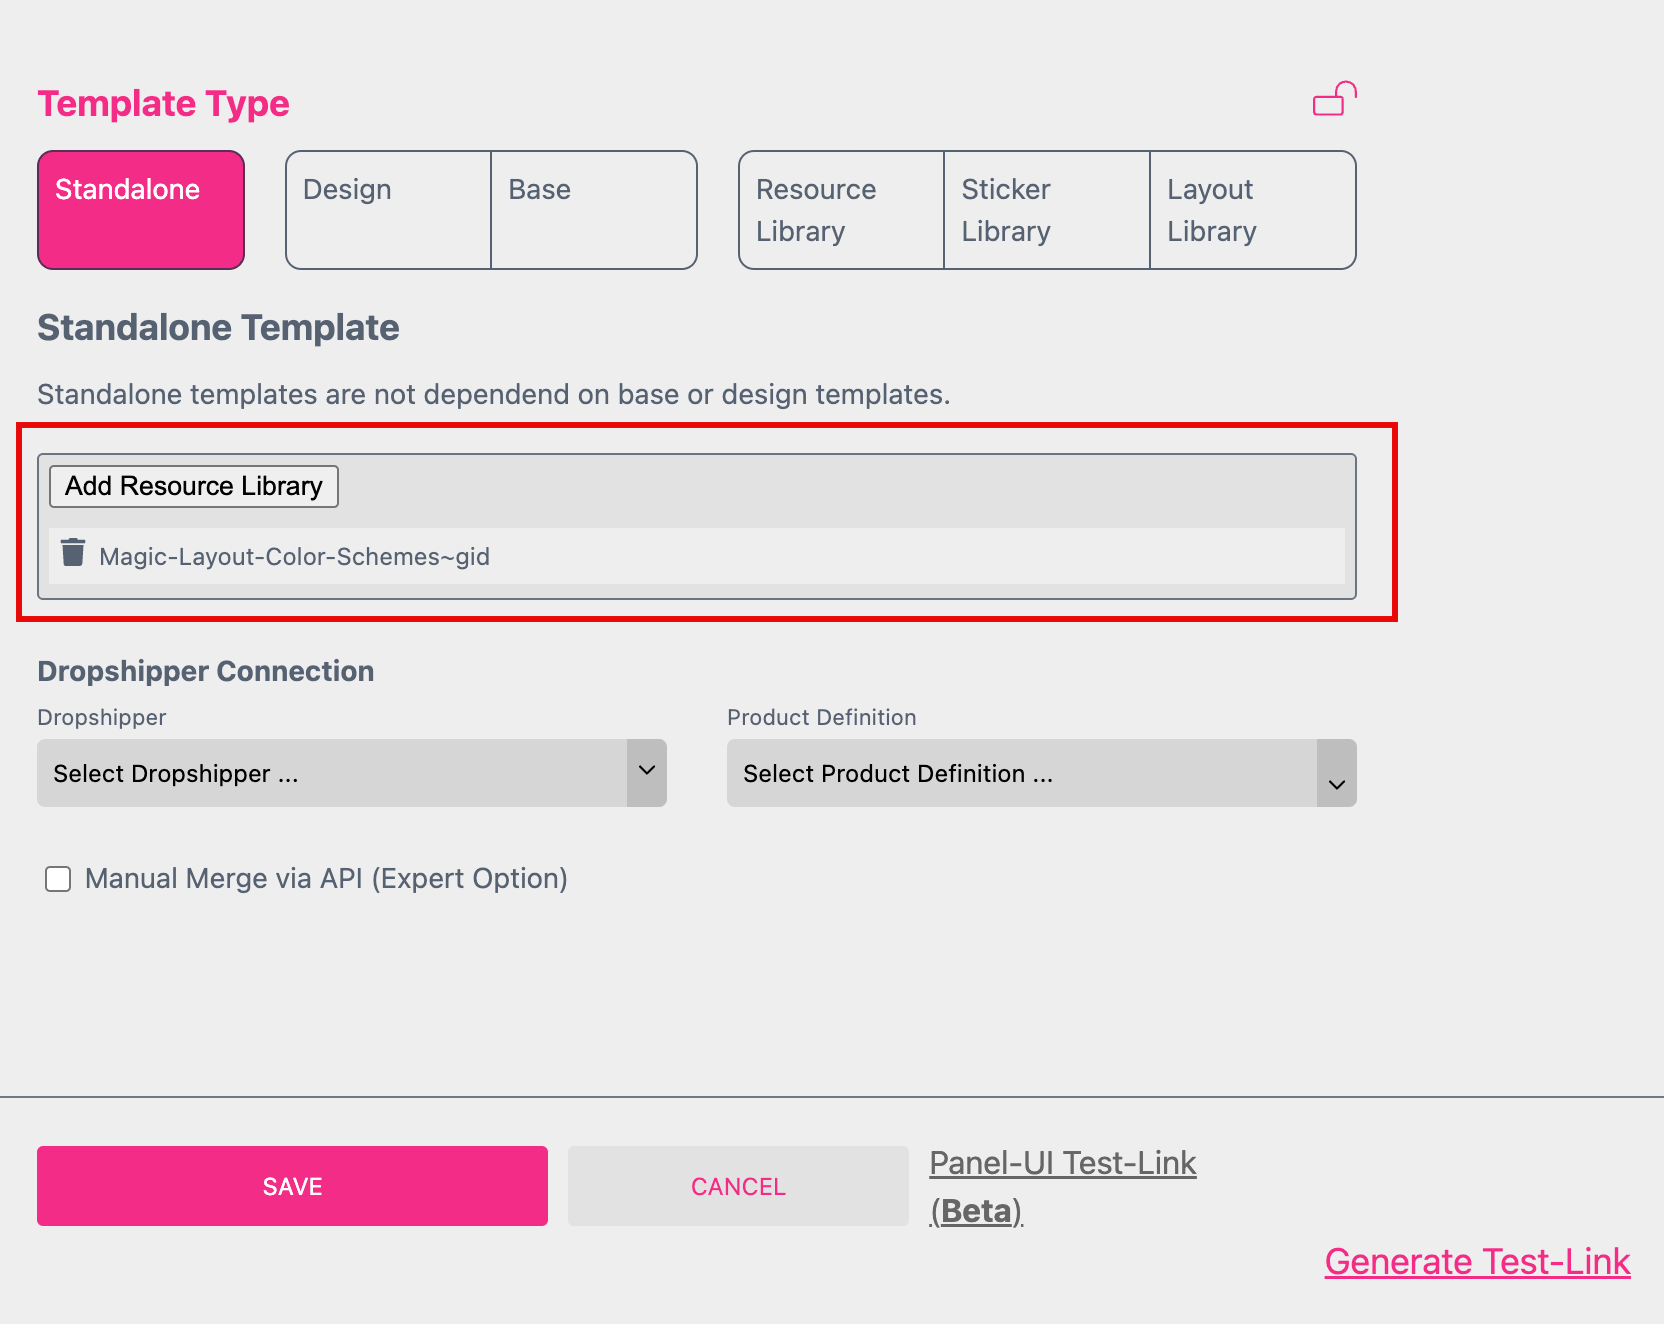
If you click on the Template Type Badge “Standalone” at the Top Menu a dialog will open. Here the default Resource Library “Magic-Layout-Color-Schemes-gid” is automatically assigned to your Template. It includes exactly the same Color Schemes like the assigned Layout Library to make the Magic Photo Book work with these Color Schemes.
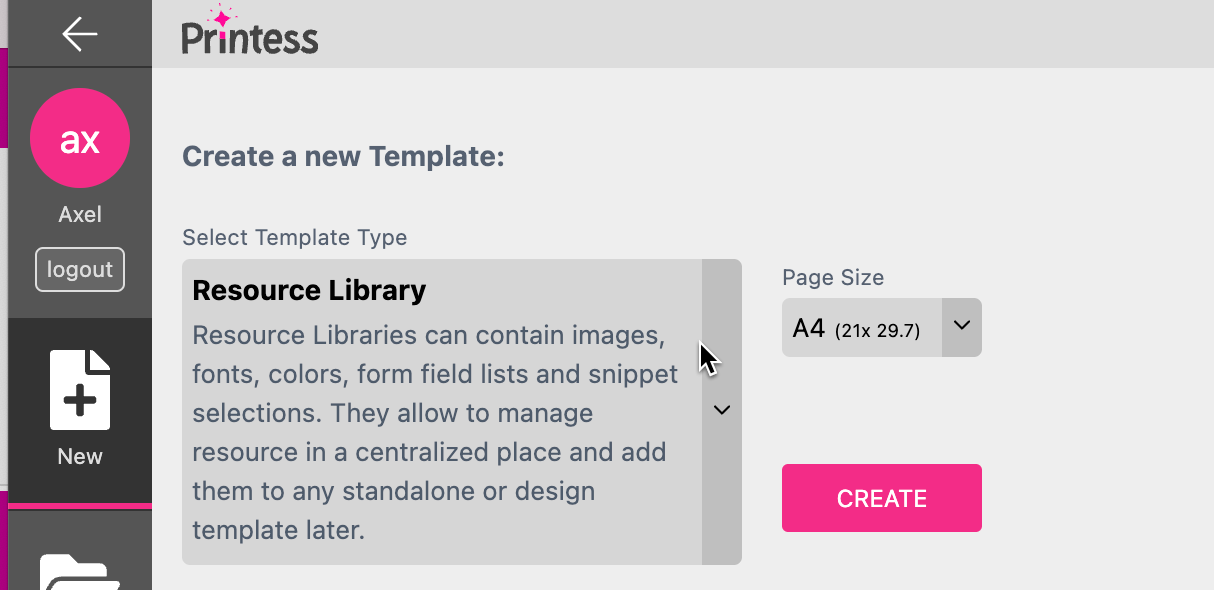
If you are setting up your own Color Schemes you also have to create your own Resource Library to assign it here!
To create a new Resource Library including the Color Schemes of your Layout Library you have to:
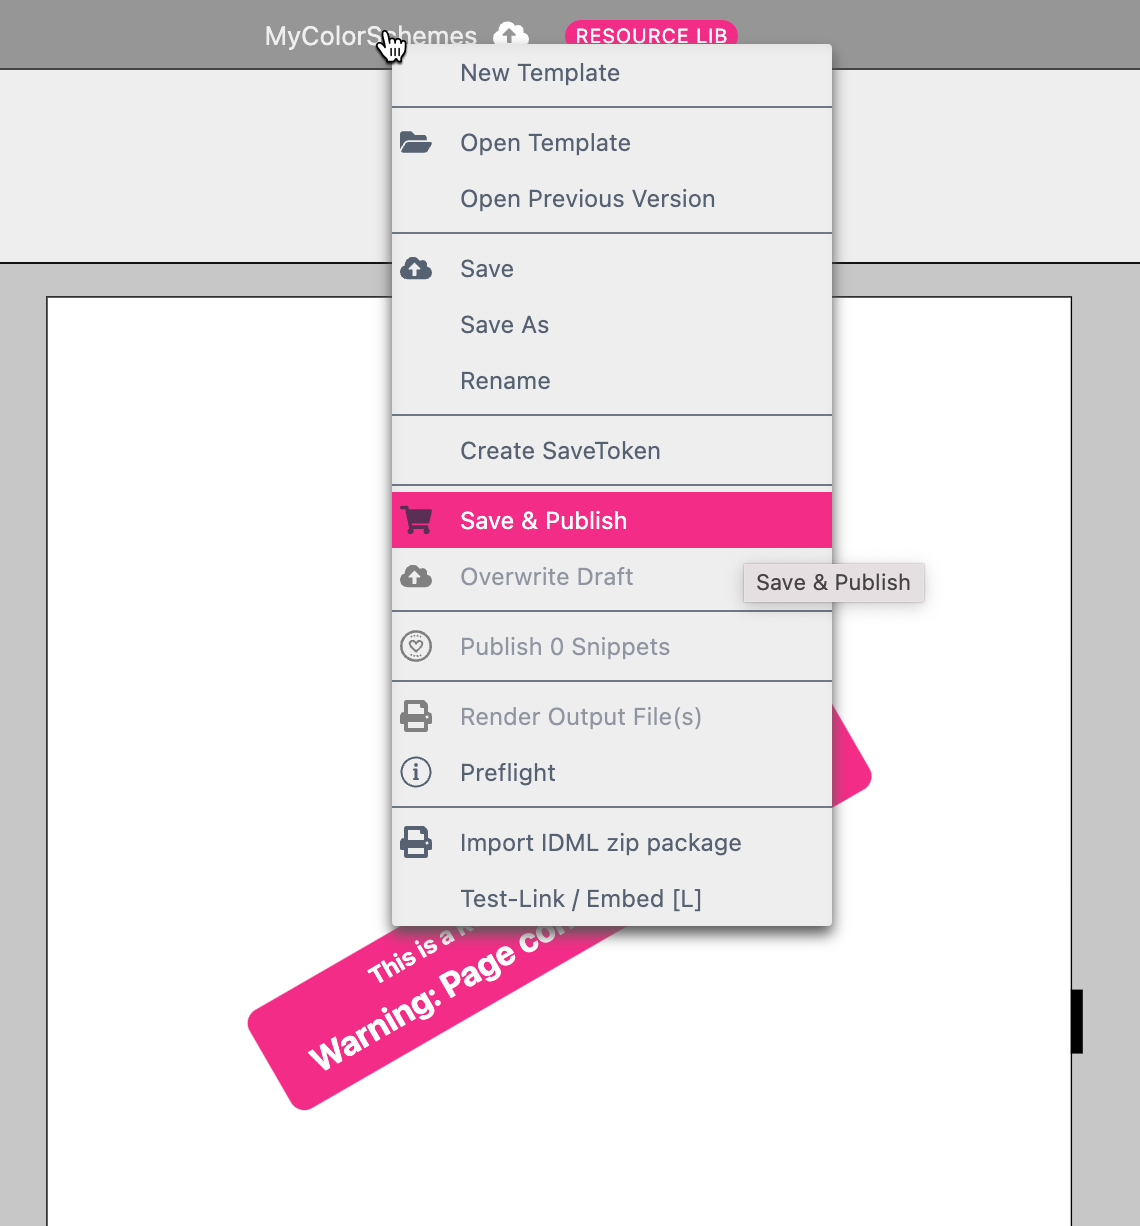
Now you have to assign this Resource Library to your target Template like described above.