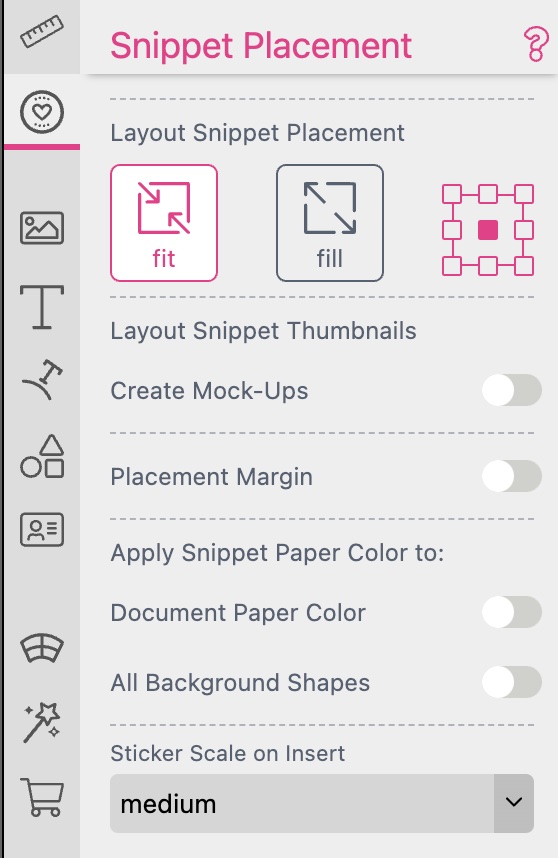
This tab contains settings with regards to Snippets. Snippets are the way how Printess allows buyers to change document layouts or insert Texts, images in the form of Stickers. Read more about Layout Snippets and Sticker Snippets.
Important: This is the tab you see if you are working on a normal document and want to use Snippets.

When Layout Snippets are inserted into a document they will by default be centered and resized until they completly fit the document. With these placement settings, you can change the focal point for insertion as well as the Fit mode (Fit or Fill) in the general document properties.
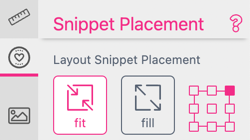
See here for more about Layout Snippets.
Activating the Layout Snippet Placement Margin settings allows you to define where a layout Snippet is placed on the page, as normally layout Snippets automatically fit to the page size.
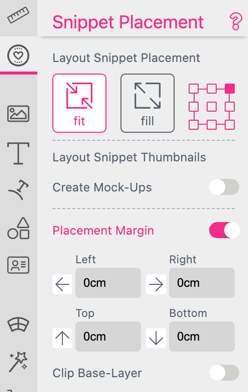
The Placement Margin arrows next to each value input will tell Printess to bypass the Placement Margins in the respective direction for frames which have the Splitter or Dock to Bleed enabled in the Position tab, docking them to the bleed boundary rather than the Placement Margins. This feature can also be used to bypass the Add Gap Around frame border from the Splitter tool.
When Clip Base-Layer is checked, all frames on the base layer will be clipped to the user-defined Snippet placement margins. This enables the placement of Snippets with bleed at page edges or inside margins (without bleed).
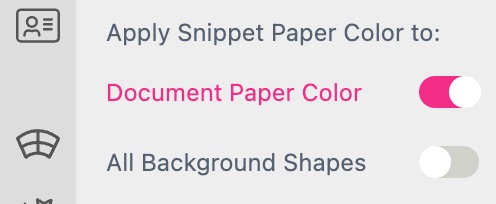
Sometimes a Layout needs control over either the background color (if it needs to be printed e.g. a canvas) of the target document or the paper color (if the product color needs to change but not get printed e.g. a mug).
This can be set by switching one or both options on. Once set the paper color of any applied Layout Snippet will change the target documents paper color/background shape color to the paper color of the Layout Snippet.
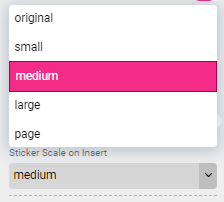
Here you may set the scale at which Sticker Snippets will be added to the Buyer Side.
(Visible for Sticker- or Layout-Snippets)
When creating Layout or Sticker Snippets the Snippets tab will show all settings required beside the design.
Publish All, Publish This These Buttons allow you to directly publish all Snippets documents in this template or just the currently open one.
Tags Here you can set one or more Tag associated with the Snippet which can later get used to define which snippet is available in a document. You can either define a new Tag by entering it or select an existing Tag from the list.
Search Keywords here you can select one or more keywords for your Snippet or enter new ones. The Keyword list are managed in the Account Portal in the Keyword Menu.
Snippet Language here you can set a language for the Snippet. If set the snippet can later get filtered by the set editor language to allow for different snippets for different languages. If no language is set the Snippet is allegeable for all languages.
Exclude for Languages here you can exclude certain languages, so the Snippet will not be available for chosen languages.
Snippet Title here you can set a title for the Snippet.
Price Category if you’d like to sell designs in your shop you can set a price category for this snippet. If the Snippet is than used on buyer side the shop will be notified and can update the product price and pice display. Please learn more about Price display here.
Export as Image Filter Image Filter Snippets are a special kind of Snippet allowing for self designed decorated and powerful image effects. PLease read more about image filter Snippets here.
Filter by Aspect Range choose wether or not a Layout Snippet should be available for certain Aspect Ratios.
Recommended here you can set a Layout Snippet as recommended.
Snippet Insertion choose wether or not a Layout Snippet should repeat of multiple Pages. Learn more about repeating Layouts.
Snippet Thumbnail By default Printess uses the the current design as thumbnail on buyer side. If you’d like to set your own thumbnail for this snippet you can upload it here.
Variant Creation Learn more about Variant Creation.