Via the Account Portal you can get a comprehensive overview of Printess usage data, view and download ordered print files, and manage global settings. Additionally, you can change your subscription type, invite teammates, and update billing information.
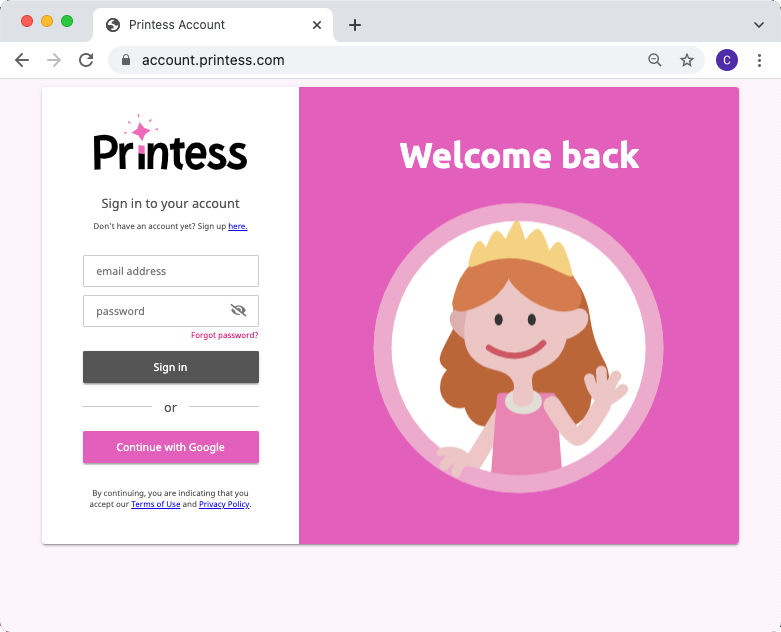
The Account Portal can be accessed at any time by Printess account owners at this address:
https://account.printess.com
Use your Printess credentials to log in to the Portal. If you are unable to log in you might be missing admin rights, and in this case please contact the account owner to provide the needed privileges.
Once logged in, one can see their respective account dashboard.
In the dashboard the following metrics are shown:
Total Usage
This is your current storage usage for Templates and all Template resources.
Order data and customer images are not counted here. By default, order PDFs or uploaded customer images are deleted from the platform after 30 days.
Order data which you set to “not expire” via an API will be counted in your storage usage, so be careful using this function.
Errors
Shows the number of production errors within the last hour. If there are any errors please have a look into the print jobs for a detailed error description which will help you fix them and restart production.
Credits
Here one can see the number of credits used in the current billing phase. This number resets when the next billing phase starts.
The diagram will show any usage independent from your billing phase during the last 30 days.
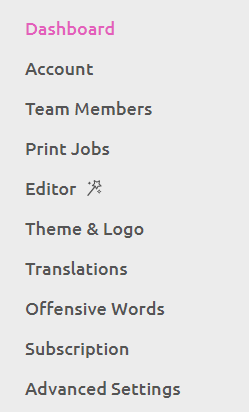
In the Account menu you have access to different Editor and account configuration options.
In this area you can edit the account owner information for the account. Only owners of the account can make edits, others may only view the data.
Please make sure your records are accurate, as we use this data for all invoices, and past invoices will not change if this information is changed. Accounts with incorrect billing information risk getting suspended.
Based on the information provided, we may request additional information such as certificates or copies of your commercial register. We may also need to add local taxes to your invoices when required by international law or our own tax authorities.
User tokens authorize the usage of an API. Printess uses 2 tokens with different abilities:
Shop Token: The shop token allows users to load Templates and Snippets, upload images, and create a save token for the configured product. It is normally used in a shop scenario. The shop token is available to anyone with Design Privileges.
Service Token: The secret service token has access to the production API and can render PDFs or PNGs. It can also be used to retrieve and manipulate any available Templates and Users. This token is needed to retrieve existing orders.
A service token will only be shown to account members with owner-level access and should never be shared with anybody or used in a front-end application.
You can invite additional team members on the Subscription page if you have enough available seats. With any paid plan, additional seats can be added at any time by clicking the Buy Additional Seats button.
Once a seat is available you can invite a new team member by selecting the Invite Member button. A dialogue will open asking for the name, email address, and access settings of the new team member.
Name: The name of the new team member.
E-Mail Address: This is the email address of the new team member (one address cannot be used for multiple accounts).
User Level: Select a level with the intended privileges. Our different access levels are detailed below:
External Designer
Can create, open, modify, and save Templates.
User
Can publish and delete Templates, log in to the account portal, view usage data, and view print jobs.
Owner
Full access. Can change account data, Buyer Side themes, colors, translation settings, offensive word settings, and plans. Additionally, owners can add team members, view the service token, and download invoices.
Select Folder: Here team members can be limited to only accessing a certain folder(s) within your repository.
Once all settings are confirmed, select the Invite button and your new team member will receive an invitation email directing them to set up their Printess account and log in!
As Printess waits for your new friend to finish the account creation process, their seat will be shown as Pending in the Team Member view. In case a wrong email address was entered for the invitation, you can easily cancel it by selecting Remove in the Team Member view.
Owners can change the user level and folder(s) accessible to a team member at any time. Change settings and select Save to apply changes. Certain changes may require the member to log out and in again to be made effective.
Owners can also revoke the membership of team members by clicking Remove. Once the team member is removed one can assign a new team member to the seat or remove the seat altogether (if it was an extra booked seat).
This is where all started production jobs will appear.
The Portal also features live streaming of incoming jobs, allowing your shop to order products in the background. All incoming orders will immediately appear in the list.
Live streaming can be switched off by pressing the Pause Live Job Streaming button. If the connection is lost or live streaming is paused one can show the actual status at any time by selecting Refresh Print Jobs.
One can filter all production jobs by Template name or by extended filter properties. The extended filter properties are made visible by clicking on the small triangle beside the search input box.
Users can also enable or disable columns in this view by clicking the Select Columns button:
You can open an order directly in the Editor by clicking on the Magic Wand icon. If you don’t see this option enable the column Template Name.
If the File column is enabled, all produced output files can be directly downloaded or opened here.
This section displays any submission errors and detailed information for each.
Here you can switch to the Printess Template Editor.
Here you can create new HP Site Flow connections to your Printess Templates as well as view existing connections. You can also create new product definitions sand view existing products and their HP Site Flow connections here. Learn how to integrate HP Site Flow with Printess here!
This section is all about the Buyer Side Editor appearance customization options.
While the Printess Editor is loading, a star animation and the Printess logo are shown. Additionally, a “Powered by Printess” logo is shown in the Editor itself. From our medium plan and up, one can change the logo presented during startup!
This is where you can upload a new logo file as a PNG or animated GIF.
If you upload a static PNG the star animation will still be shown.
If a GIF is uploaded, the star animation will be disabled. Once changed, the Embed Code section will reflect your changes and the preview window will show the new startup sequence.
Note: As we try to reduce requests at Editor startup, it is required to change the embed code for your integration each time a loading animation or logo is changed. This ensures that the Editor is loaded as fast as possible on the Buyer Side.
Loading Animation Embed Code
Here you will find an embed code based on your desired preview settings and the settings chosen for the loading animation. Just copy this code, make sure to alter the Template name/version, and implement your callbacks to receive the save token and thumbnail - and you are ready to go!
To further customize the Buyer Side Editor you can select one of our available bootstrap themes here. Themes change the appearance of buttons, texts, and the background. Additionally, you can select a different font for the UI elements as well as change the colors used to better reflect your business.
Once you’ve changed settings click Save and Preview to observe how your changes will affect the Buyer Side editor. These changes will go live once saved. If you screwed up and want to return to our standard style just select Reset Styles.
For developers with CSS knowledge, we added a custom CSS region to let them change all aspects of the Editor! As a starting point, you can look at our std.CSS from GitHub or simply look up the styles you’d like to change in your browser debugger.
Here you can test drive how the Buyer Side will load a specific Template using the current theme & logo settings. It’s also possible to test out a Template on different Editor versions! Below are the possible settings:
Template: Select one of your available Templates for display. Also specify if you’d like to see the draft or the published version of the Template.
Editor Version: By default, the current stable version (editor.printess.com) is shown. You can also select any of our pinned versions or our nightly build for testing.
Hit preview to fire up the Editor with the given settings. Click Reset Preview Settings to return to default values.
Here you can create custom translation tables that can be used to change translations on Buyer Side or add complete languages. You can also add your own custom translations for input values, labels, step-names, or error messages.
If you would like to add a language code, press the + sign and select a language-region code. Translations are selected by region and language code. If no region code is present then the language code is used to find a translation. The default language is always English (en).
To open and view the Printess Translation Tables select the icon:
You can also find them on our GitHub account.
Learn more about Translation Tables here!
Printess supports offensive language detection. This can be turned on and off individually per each text frame. However, the list of offensive words is normally managed here.
Offensive words can either be automatically replaced with a set replacement word or the user can be prompted to change the text. All words must be separated by a comma ,.
Word replacements are separated by a colon : (e.g. fuck:f**k - means each occurrence of ‘fuck’ will be replaced by ‘f**k’).
Note: Individual offensive language word lists can be implemented via API when attaching an Editor.
In this menu you can manange the subscription settings of the account.
Active Plan
Here Printess shows the active plan for your account as well as its current usage and run length. The small arrows on the top right allow you to review all previous subscriptions.
You can upgrade your subscription at any time by clicking on Change Subscription. Upgrades will take effect immediately and start a new subscription period, while downgrades will be made effective after your current subscription period has ended.
When you start a new subscription your current usage will be transferred to the new subscription period. This allows you to change to a larger plan and avoid paying for any current overage - as long as the new plan covers the overage amount.
Here you can provide a event callback URL that fires whenever Templates are saved, published, deleted, or unpublished.
This lets you set an Editor version that you want your Templates to be built on. This setting prevents your work from being corrupted between Printess versions, as loading Templates back and forth between various versions can potentially destroy them.
To be 100% sure that no changes occur to your perfect Templates, simply select the Printess version to pin. Now whenever someone on your team tries to open a Template in a different version, a warning will be displayed which will conveniently redirect the user to the pinned version: