
All Image settings are located at the Image feature icon in Features Panel. If a frame with the Image feature is selected the tab shows the settings for images.
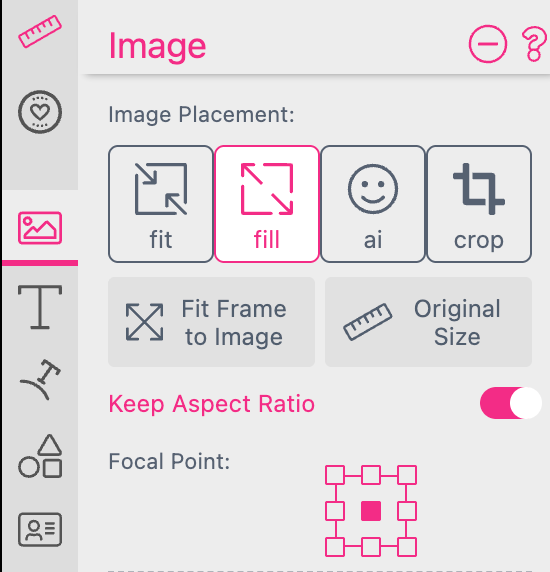
Every image can either fit into a frame fully visible (fit) or fill out a frame entirely (fill). Additionally Printess features an AI based fit mode which is described below. In fill mode you can additionally define if the image should keep its aspect ratio or - if switched off - should get entirely squeezed into the frame potentially squeezing the content (necessary e.g. for Image Filter Snippets). Additionally you can crop an image to apply an individual clipping.
Fit Frame to Image
In both modes you might use the Fit Frame To Image button which will adjust the frame to the size and position of the full image, also removing any cropped area.
Original Size
Scales the Image or PDF Frame to its original size. If the size equals the page size or page size plus bleed the frame is positioned correctly on the entire page.
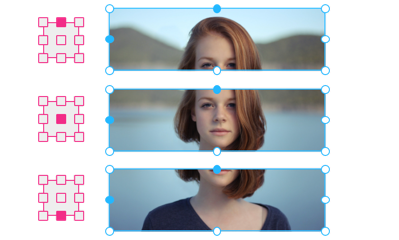
When using the fill option the focal point setting is taken into account. E.g. if set to the center-top it will center the image and move its top to the top of the frame. This ensures that the focal point area stays visible even with differing aspect ratios between frame and image.
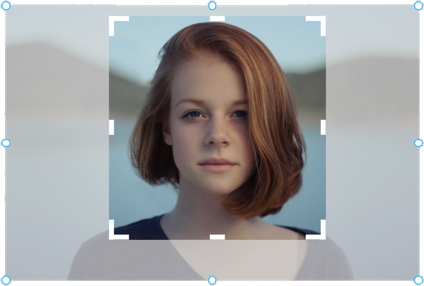
By using the Crop button one can choose the visible area of an image. In crop mode, the frame changes and shows the visible area surrounded by larger white bars and the complete size of the image as a slightly grayed out area with normal frame manipulators. Both frames can be manipulated independently and by clicking the center of the visible area one can also move the image inside the visible area. Press the Close Crop button or use Esc to leave crop mode.
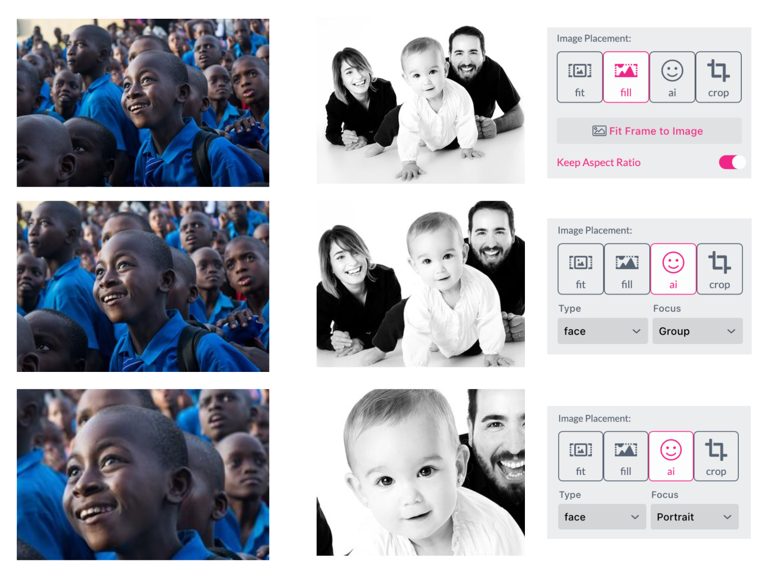
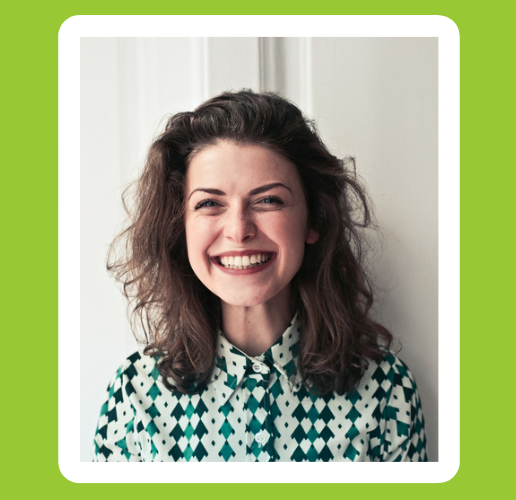
AI mode uses image analysis to set the cropping area for Images. This setting stays active in buyer mode so every buyer uploaded images will be cropped based on this setting. Each AI fit mode also has a possible setting. As a first available analysis option Printess supports AI face detection. This is useful e.g. for photo books where buyer uploaded images should automatically focus faces. Each uploaded Image will undergo an analysis and the crop area will be set based on the face mode:
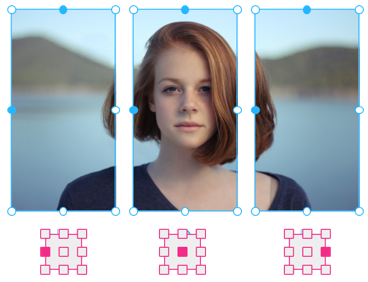
Face - Group Mode Face detection will try to identify all forward looking faces and focus to the bounding box around all detected faces.
Face - Portrait Mode Face detection tries to find the largest face in the image and focus to it.
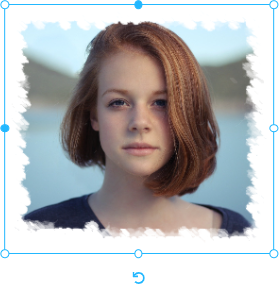
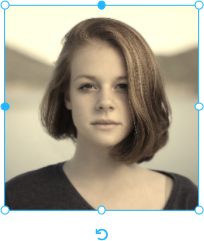
Here is a comparison between fill, Face-Group Mode and Face-Portrait Mode on two images.
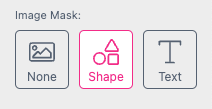
Images can be masked by either a shape or a single line text. To use this option the frame must contain either a Shape or a Single Line frame feature. To switch on masking, click on either the Shape or Text button and the image will be masked with the selected feature. Only the fill area of the feature will be used for masking. If a stroke is present it will be drawn without masking.

Note: ALL AI Image Assign Actions requires:
With the Text To Image feature, you can use the AI Generation to generate images for your layout in the Editor and you can offer this function to your users at the Buyer Side.
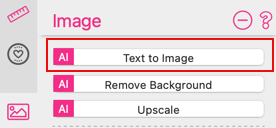
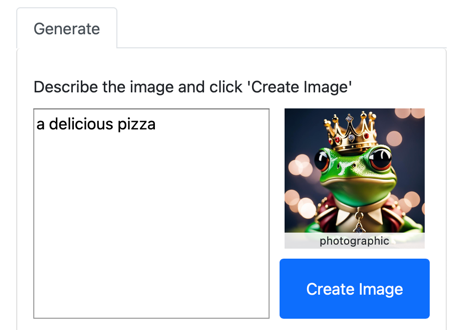
If you click Text To Image a separate dialog will open.
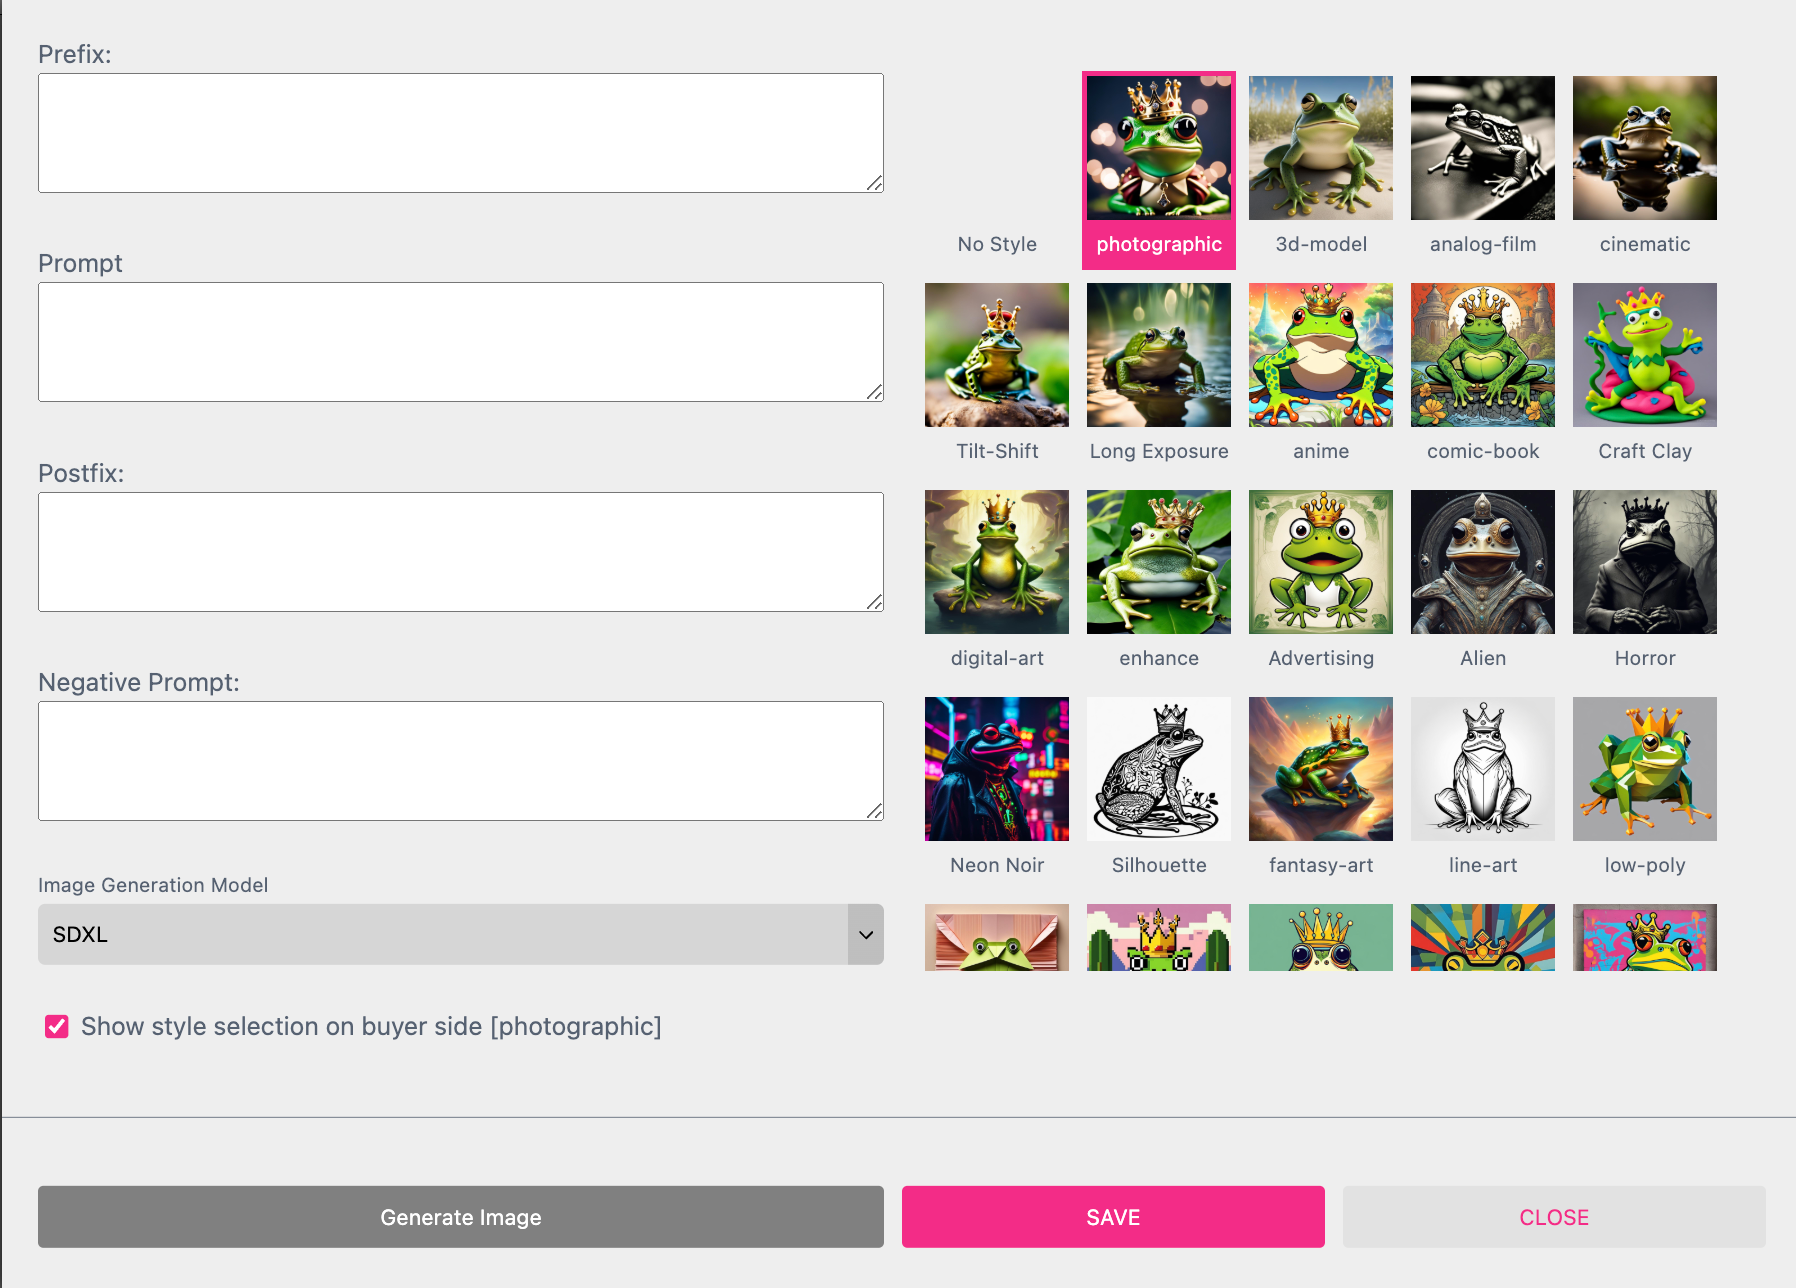
You have four different input fields to define your prompt to get a accurate result. Lets say you would like to get food rendered for your menu card. Therefore you would need an image of a pizza but you need it from a top view and you need a black background to match the design of your layout. In addition you don’t want to have tomatoes on the pizza shown.
You would use the three input fields like this:
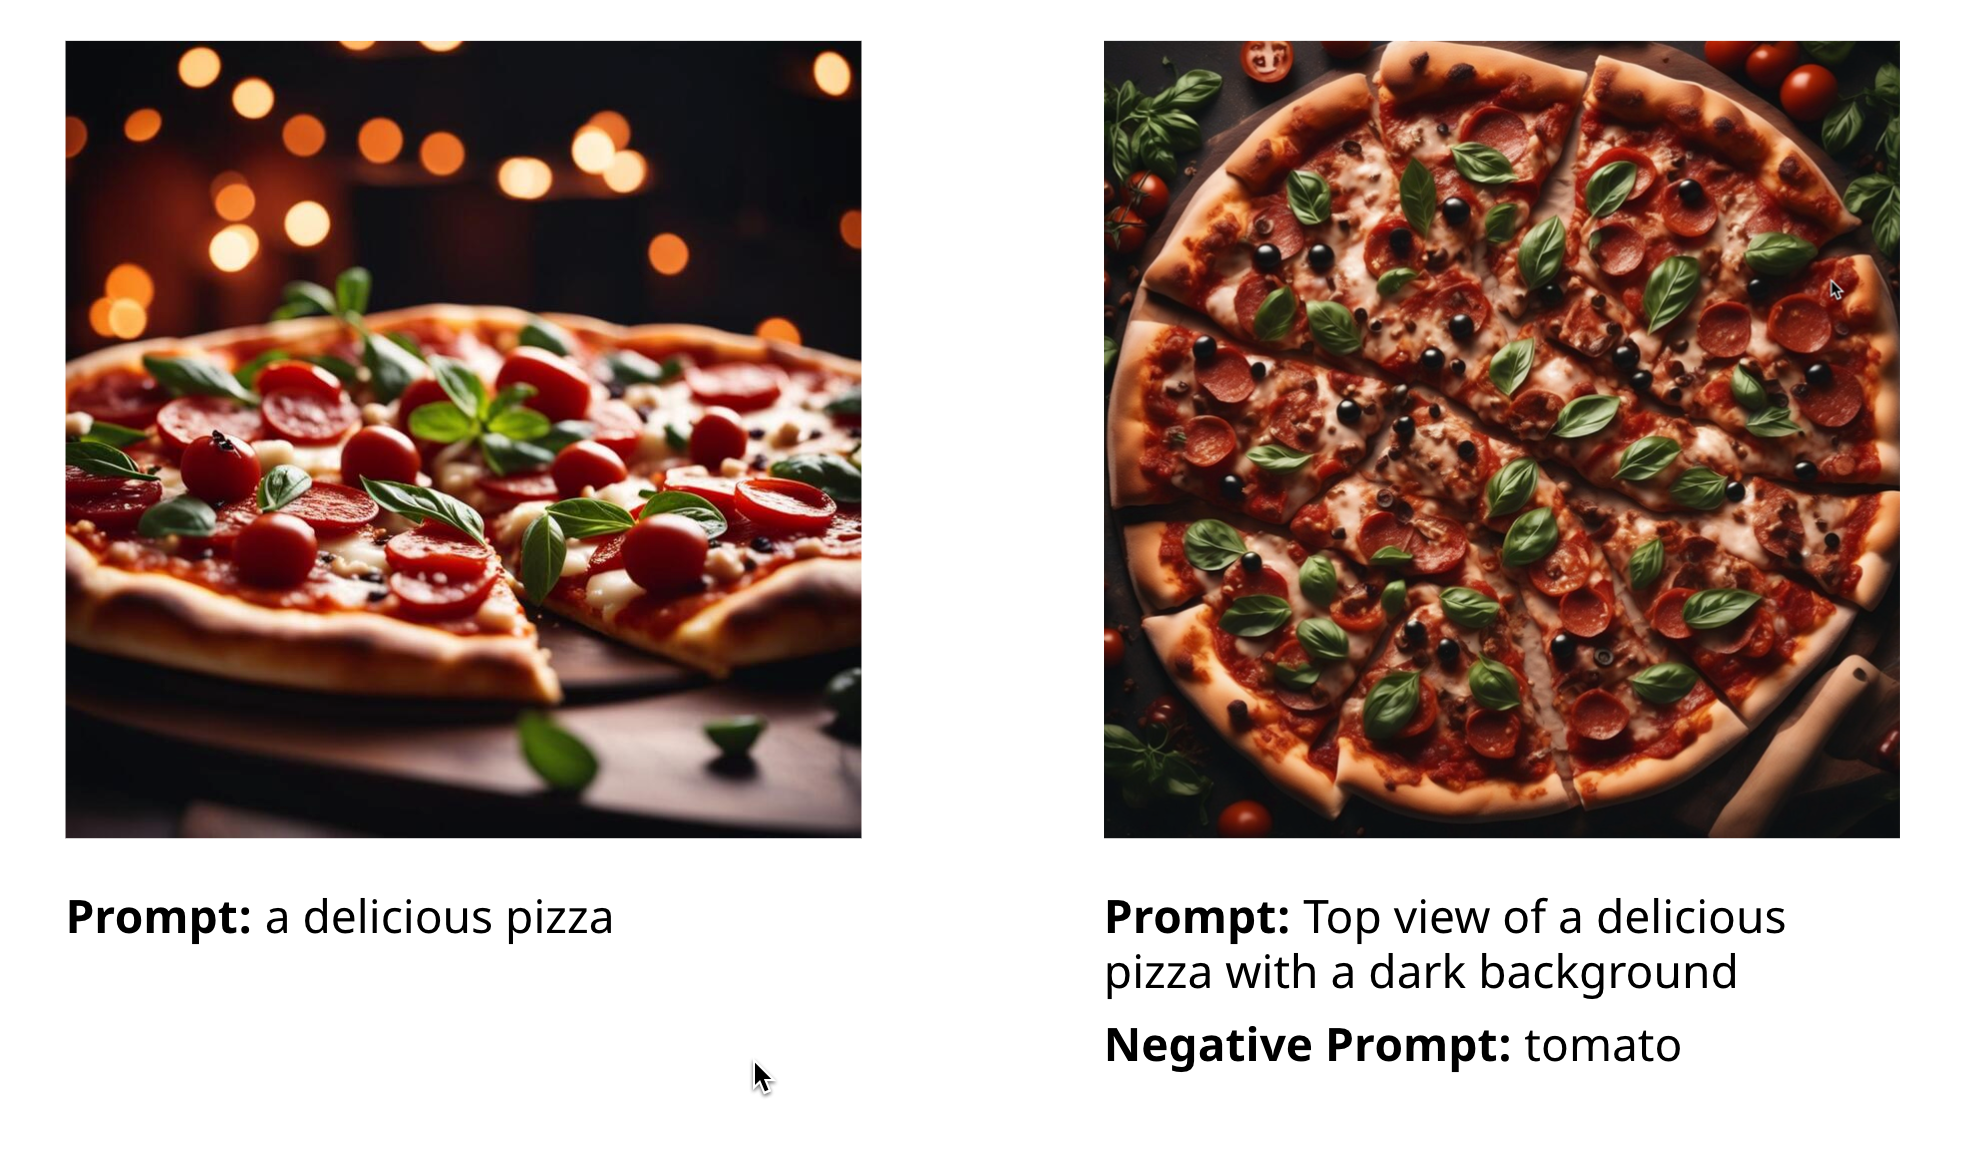
Prefix Top view of
Prompt a delicious pizza
Postfix with a dark background
Negative Prompt tomato
The entire prompt used for rendering is now “Top view of a delicious pizza with a dark background and no tomato”. So you will get a picture of a pizza from the right perspective with the right background rendered and no tomatoes on the pizza.
Notice: Only the Prompt will be available at the Buyer Side. Neither the Prefix, the Postfix nor the Negative Prompt will be shown there. They could be defined by you only.
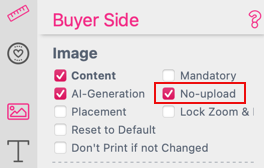
To make Text To Image available at the Buyer Side please don’t forget to activate the check box AI Generation at the Buyer Side settings of the image frame.
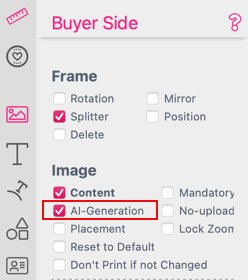
This will activate this feature for this particular frame.
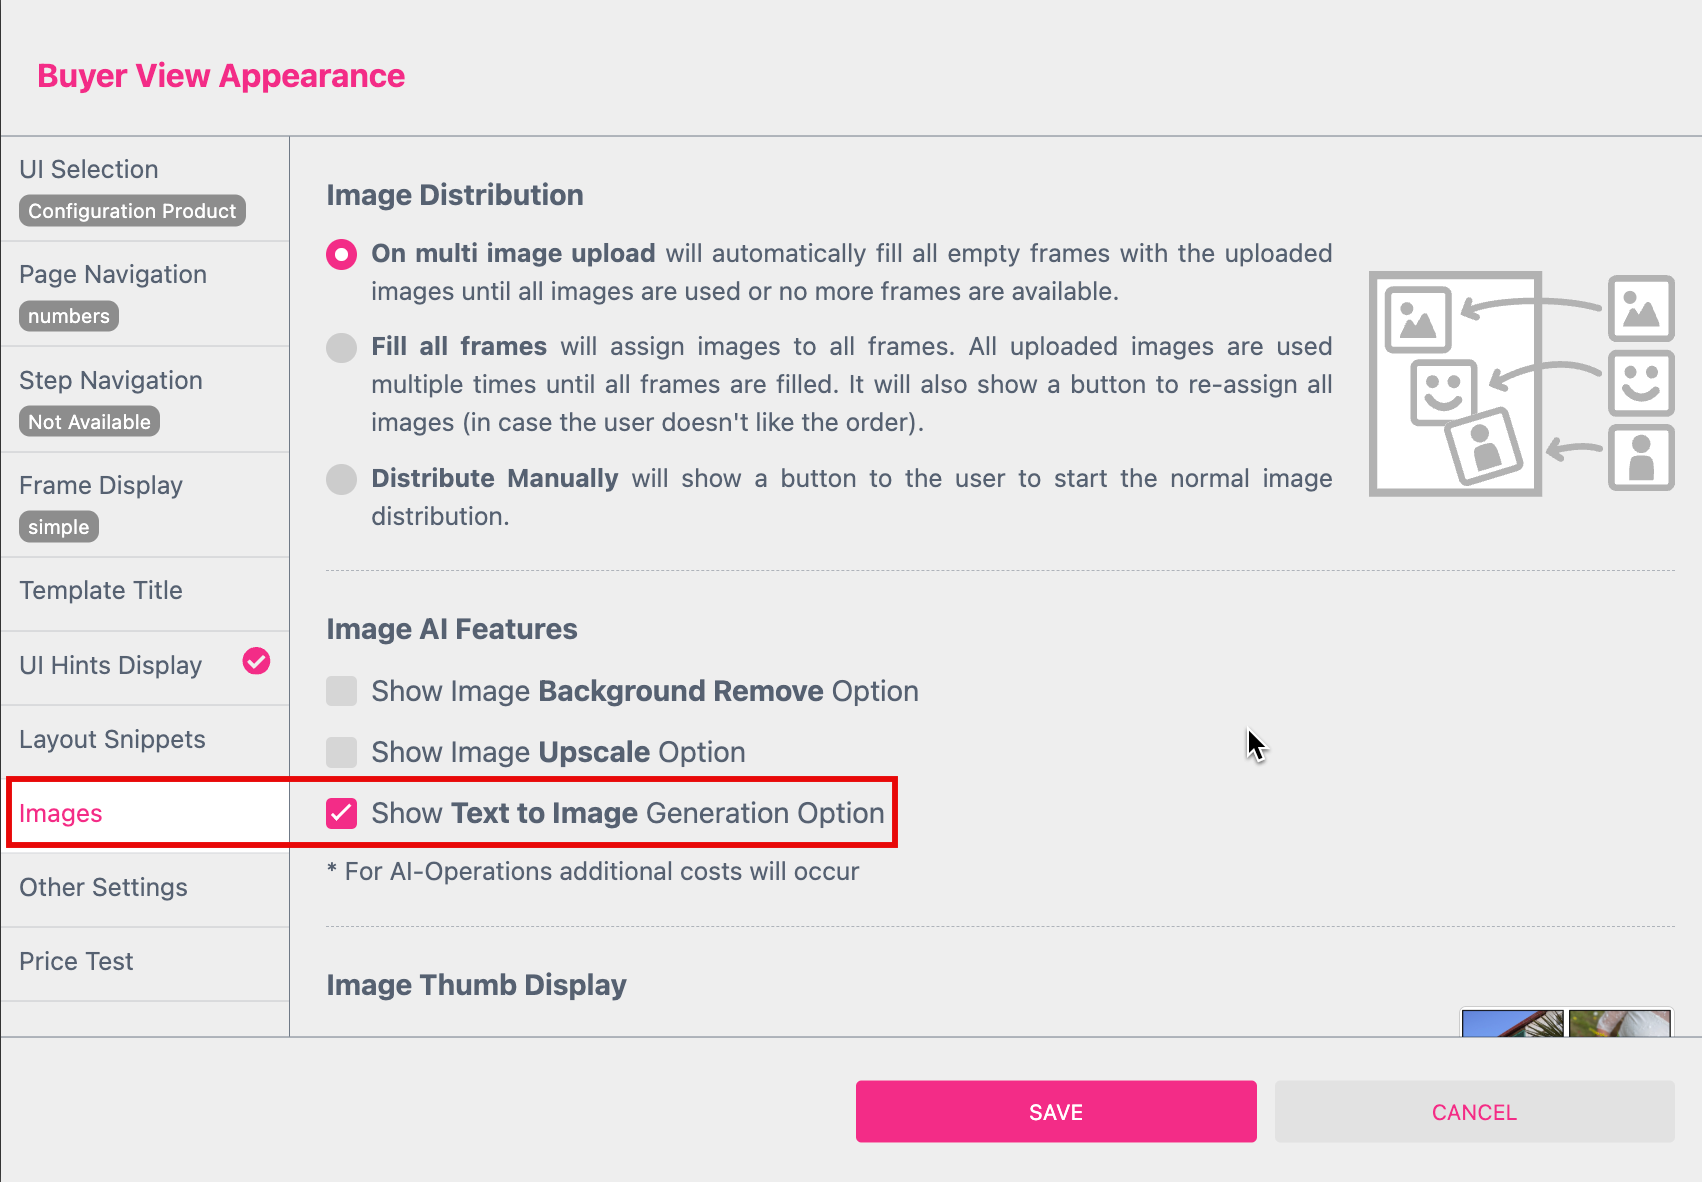
If you would like to activate that option for any image frame of your Template you can activate the option “Show Text to Image Generation Option” in the Buyer View Appearance Settings at the “Images” Tab.
With the Bootstrap UI the Buyer has to upload an image first to access this feature. With the Panel UI an image frame even don’t has to be selected to use it. In this case Printess will automatically place an additional image frame on the page as soon as the AI image is generated. This feature will always use the SDXL Mode for the image generation.
But don’t forget to set the Buyer Side Settings of the image frames to “Content” to make it work.
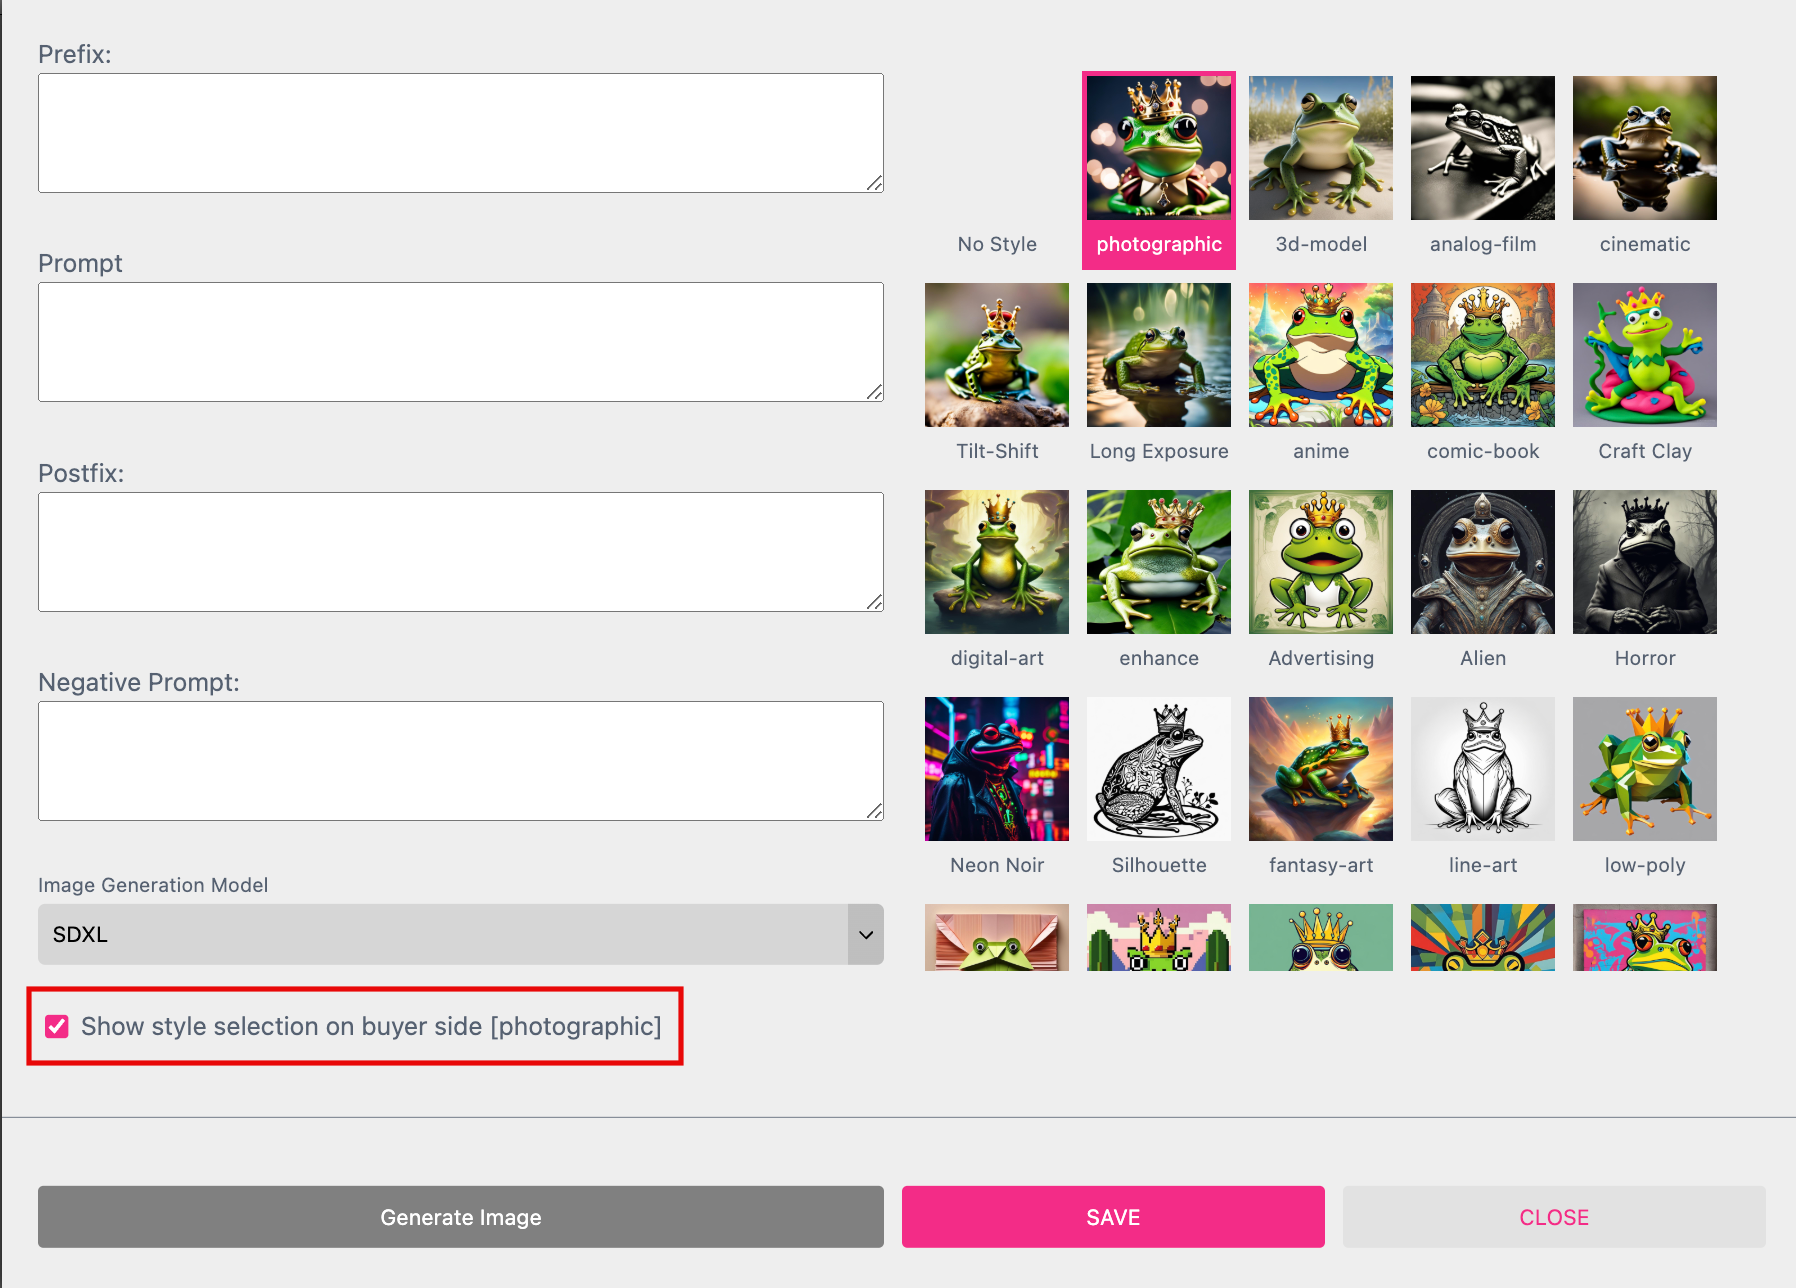
You can choose from different Image Generation Models here. Only the SDXL Mode includes the option to choose different Styles in addition.
SDXL Style Selection On the right hand side of the dialog window you can choose from different image styles like photographic, comic, line art etc. If you click the check box Show style selection on buyer side this selection is also available at the Buyer Side.
Prevents the buyer from uploading their own images. This option is therefore only available if AI-Generation is activated.
Note: ALL AI Image Assign Actions requires:
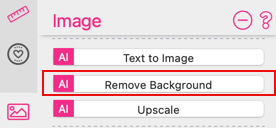
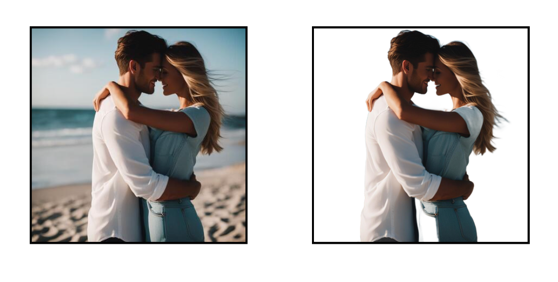
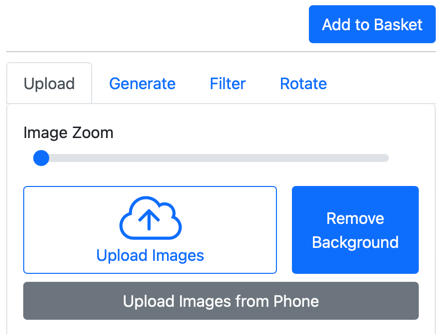
Before you can use this action an image has to be placed in an activated image frame. Then you can just hit the button Remove Background and the AI will start the rendering process.
The result is an object in front of a transparent background.
If you want to enable this function at the Buyer Side activate the option Show Image Background Remove Option at the Buyer View Appearance dialog.
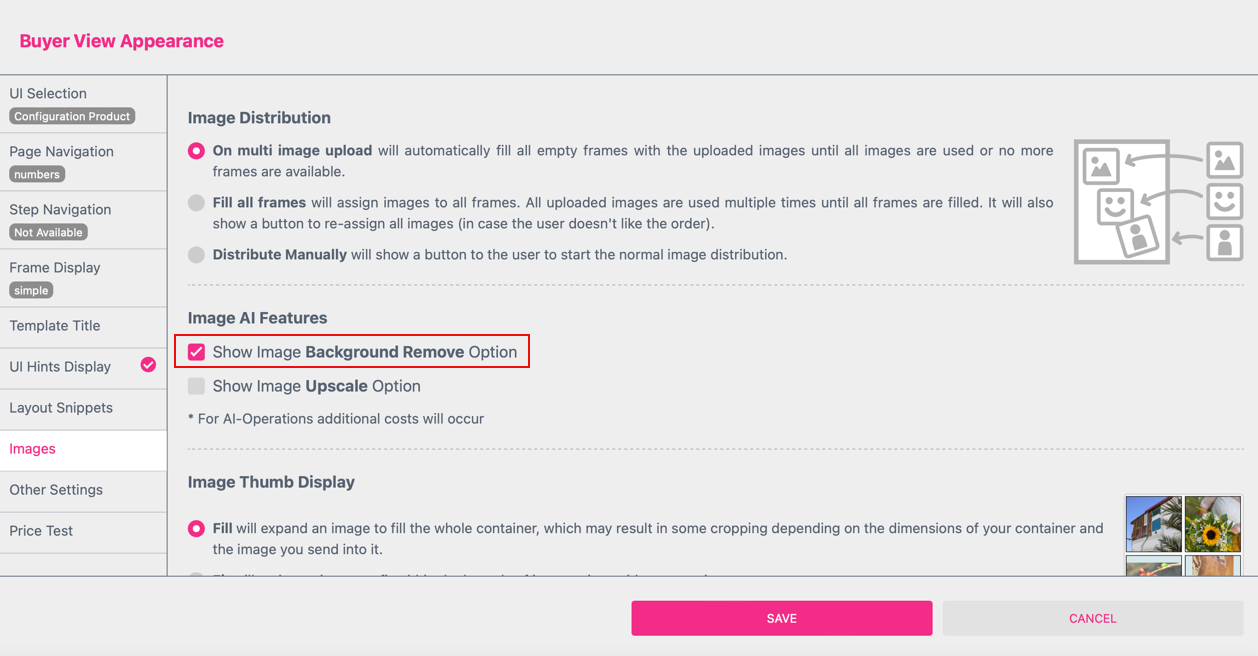
This is a global setting for all image frames of your template which do have the option Content activated. At the Buyer Side the button Remove Background will appear.
Note: ALL AI Image Assign Actions requires:
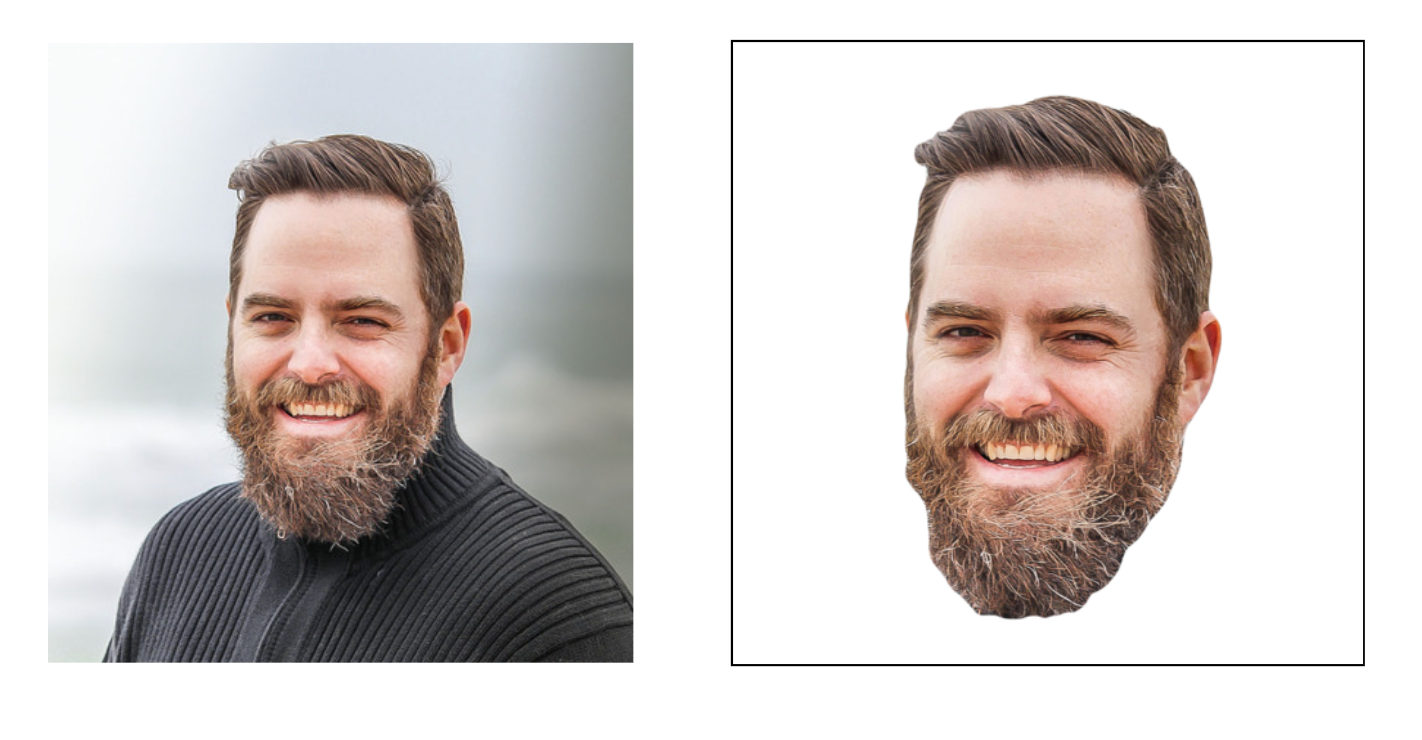
Before you can use this action an image has to be placed in an activated image frame. Then you can just hit the button Segment Face and the AI will remove the background from the image.
The result is separated face on transparent background.
If you press the AI Segment Face button you will be ask which model you would like to use for this action.
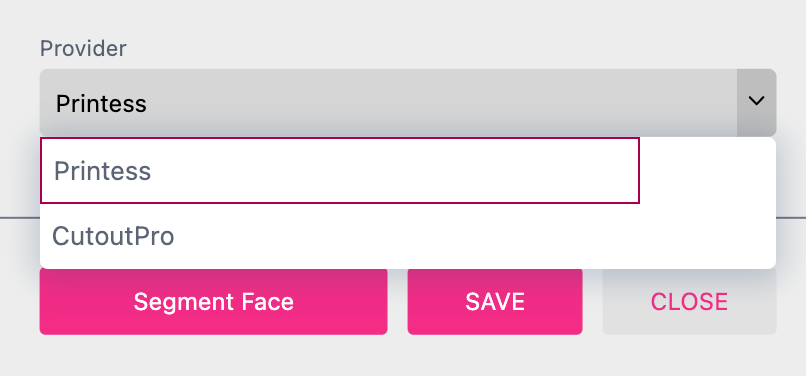
Here you can choose between the Printess and the CutOutPro model to then execute the action by pressing the Segment Face button.
For using the CutOutPro model you need to add a key at the Account Portal first. Otherwise you will get this message displayed:
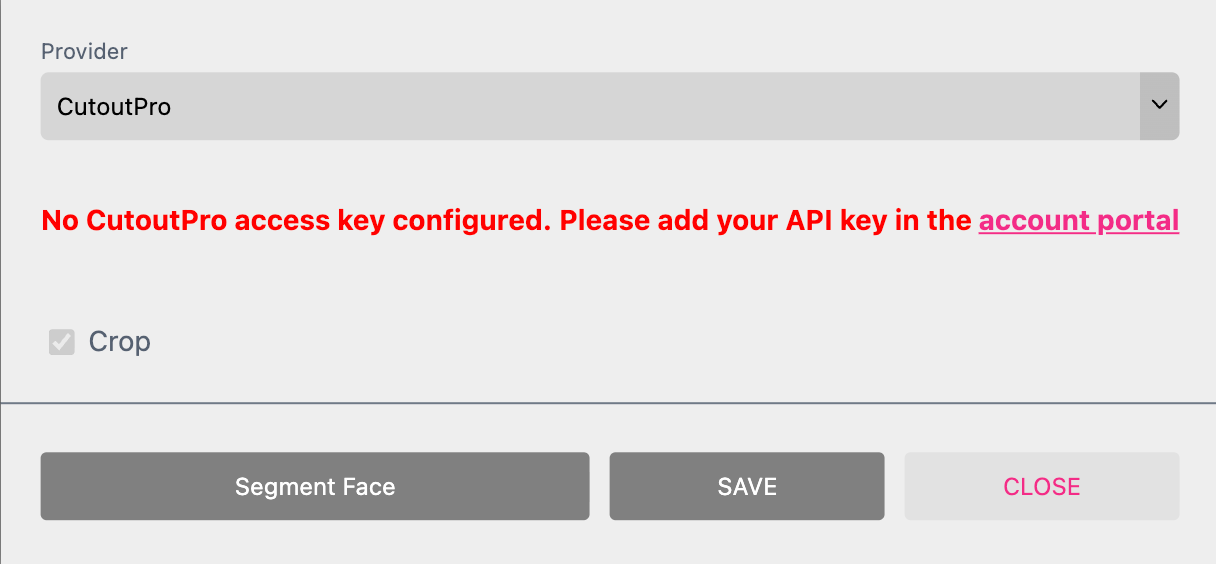
Learn more about the CutOutPro Key
The CutOutPro model leads to similar results like the Printess model for human beings. But for pets the the CutOutPro model is the better choice.
Note: ALL AI Image Assign Actions requires:
If the resolution of a placed image is not good enough for print you can increase the resolution buy using the option Upscale.
If you want to enable this function at the Buyer Side activate the option Show Image Upscale Option at the Buyer View Appearance dialog.
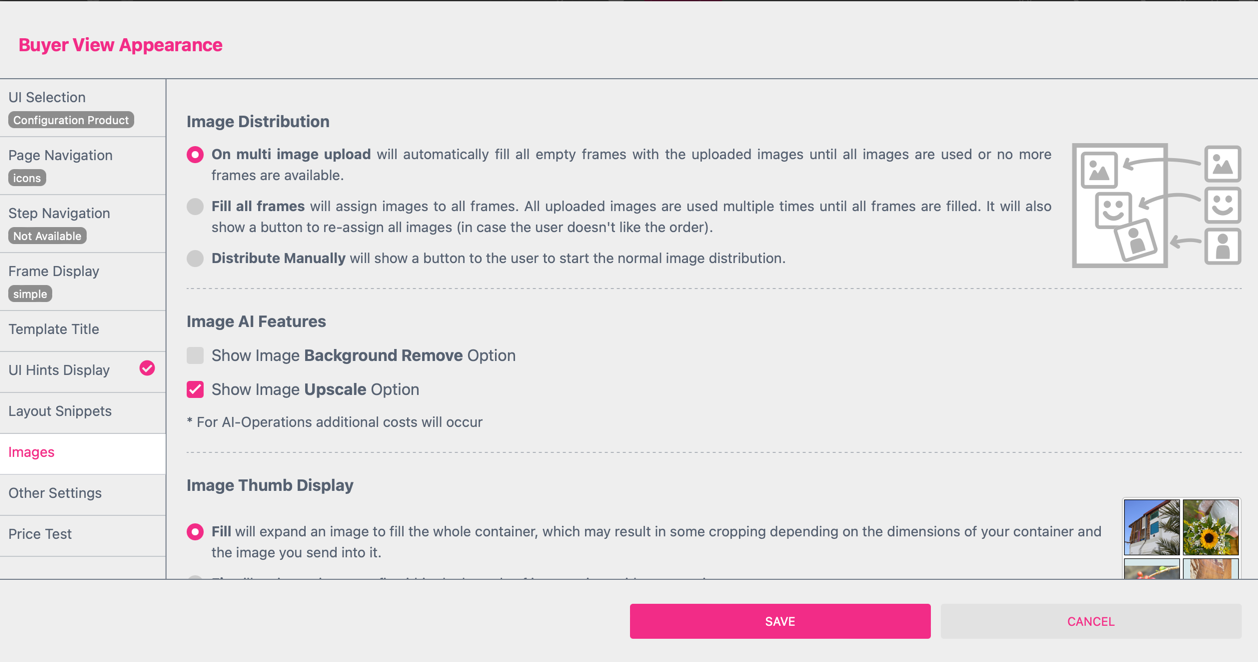
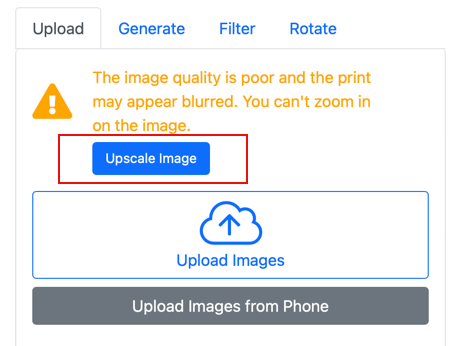
This is a global setting for all image frames of your template which do have the option Content activated. At the Buyer Side the button Upscale Image will appear. But only if the uploaded image will undercut the defined resolution for the document.
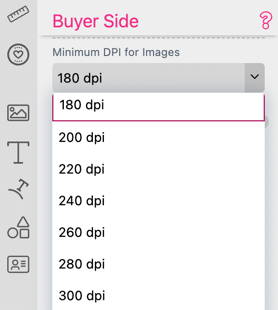
You define the minimum image resolution for your document at the Buyer Side Feature Panel at the Document Settings.
Note: ALL AI Image Assign Actions requires:

This feature will add a white outline at the edges of the image.
If you want to enable this function at the Buyer Side you have to activate the Ai Image Assign Action “Contour” to this frame.
Note: ALL AI Image Assign Actions requires:
Not safe for work filtering uses AI to detect and block inappropriate or explicit images.

If a frame with an image feature is selected, you can also change the image shown by clicking on one of the loaded images in the Change Image area. If the former image had crop selected the frame will automatically switch to fill mode to ensure the new image is not distorted. If Fit or Fill was selected the setting will stay.
![]()
Pixel Mask halftone masks a given image by stretching the set Mask-Image to cover the entire image, then masks the Frames-Image with it either with Inverse switched off (white = image visible, black =image not visible) or the inverse of this, when Inverse is switched on. Additionally, one can select between masking by image content (Masking Channel = image) or by its alpha channel (Masking Channel = alpha). If image is selected and the mask image is a color image the combined color channels will be reduced to a gray image before masking.
This mode is for images used in monochrome engraving which should be full color above a certain threshold. It also uses the set engraved/not engraved color for displaying on buyer side.
Check out our Engraving example to see this powerful feature in action!
Printess allows users to easily change basic image properties like brightness, contrast or saturation directly in the Image tab.

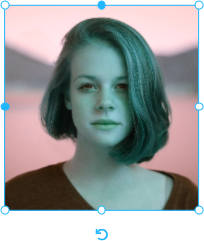
Additionally, one can use an adjustable sepia effect or rotate the hue of the image, effectively rotating all colors in the image:
This allows for Gamma changes of the image either for all or for separate channels. This filter is especially useful to change light color like skin tones. Have a look at our Avatar example where this feature is used extensivly.
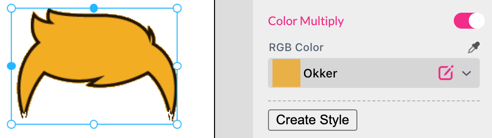
Color multiply simply multiplies a given (RGB) color onto an image. This comes in handy in case you’d like to color comic elements like hair, skin etc. all white areas will become the selected color, all black areas simply stay black.
This is a special feature only for SVG graphics. It lets you replace up to three different colors in a SVG graphic.
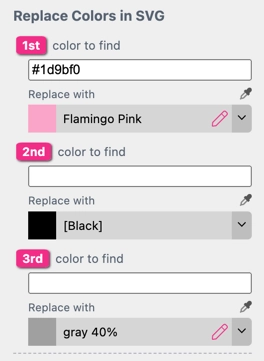
First put the HEX-Code of the color you want to replace in the Form Field “…color to find”. To read the HEX-Code of your svg you have to put it into a text editor first to get the right values.
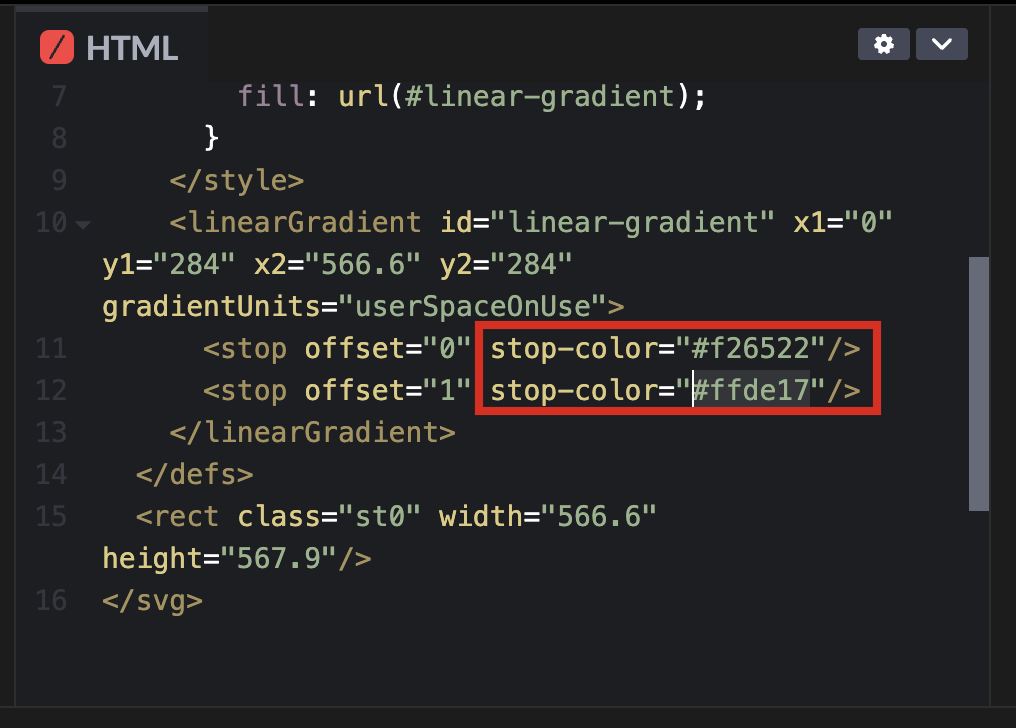
Do not pick the color values from any DTP software. Always read the values from a text editor to make sure that it works.
Then define a color to replace the one coming from your svg.
Notice: Be aware that this feature will replace the HEX-Codes inside the SVG file. So it will only work properly, when given the exact HEX-Value. For example: If the HEX-Code inside the SVG file had six digits (#000000), using a three digit code (#000) would not work.