Printess knows that concepts for selling, editing and finally production of a personalized product are different for each product, business concept and production workflow. That’s why we did not implement a one size fits all workflow and are flexible from the core to match every detail of the necessary workflow. This is especially important if thousands of templates need to be created and maintained.
In this Chapter we will discuss the following options to shape the workflow for your project or product type.
Printess allows for customization of the buyer side editor on different levels.
The most easy and hassle-free approach is the customization options in the Account Portal (read more).
There you can set a style, define colors and up from the medium plan even change the editors branding & startup animation.
The styles are based on well known bootstrap themes so that every web developer can even do further customizations by providing a custom css file.
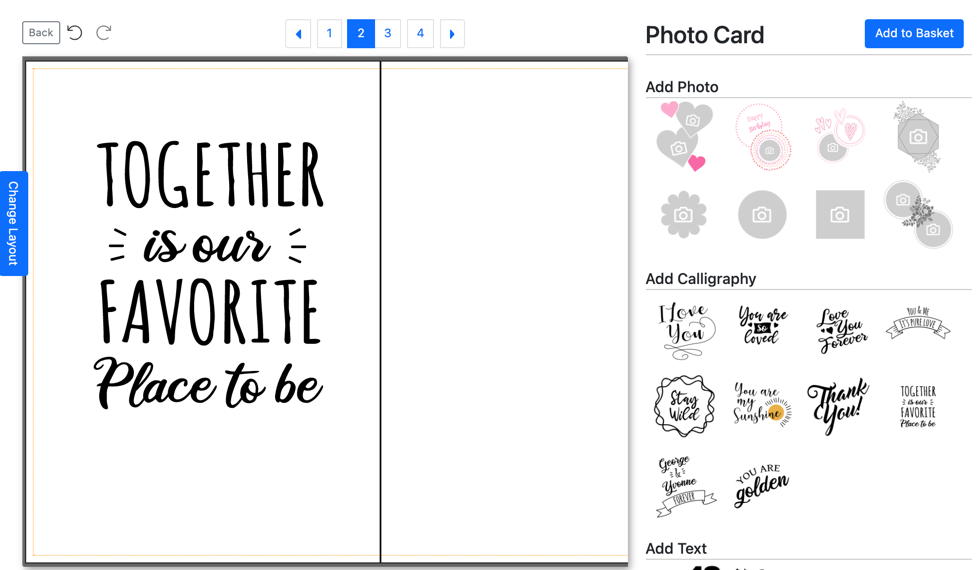
Here is an example of a styled buyer side interface:
If that is not customized enough, you can even build your complete custom UI using the editor as a view port only. For this Printess has built a complete editor API (JS-API) which will raise an event in cases where a user selected an editable element and will tell exactly what can get changed. Please have a closer look on how to build your own UI for the Buyer Side here
The right customization approach depends on the product and your user base. Thats why Printess features different approaches for configurations and allows to test them fast.
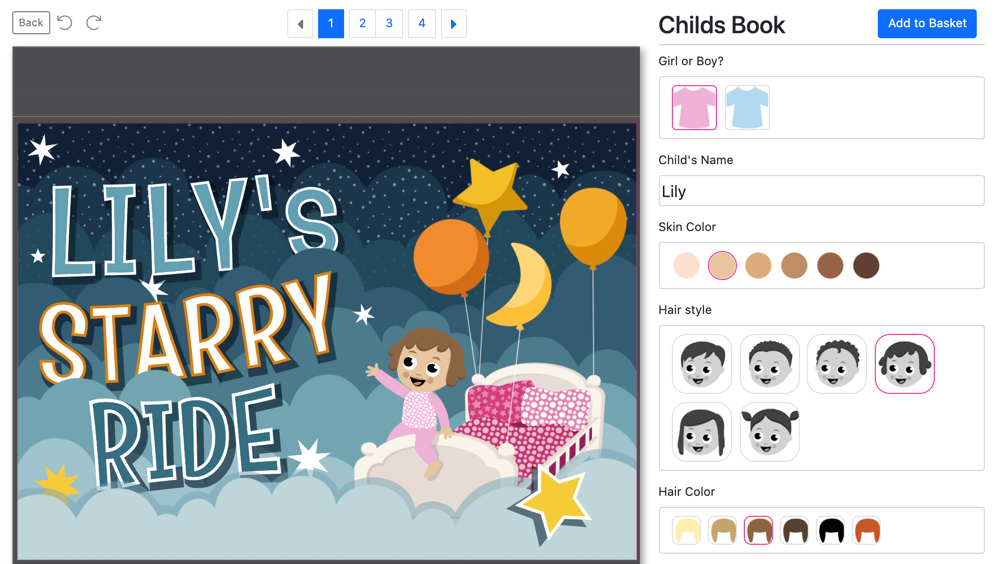
Define input fields for the values used in a document. This is especially useful if one value gets used several times across a document or the document has a lot of global configurations anyways. Please also see chapter Styles & Form Fields and Chapter Buyer Side.
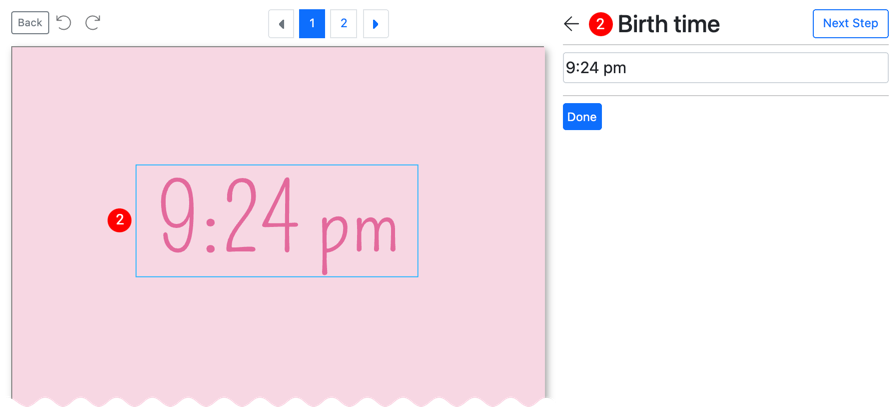
Sometimes a step by step approach is a good way to make sure a document is configured in full - especially if it has non-obvious configuration elements. The step by step configuration option will not only guide the user through the configuration, it will also zoom to the currently configured point of interest. This is especially useful on space limited mobile devices. Steps can also be set to switch between documents. This allows configuring a document before it is placed in e.g. an Avatar. Another use case is using the steps method to configure a document and in the last step switch to a preview document showing a photorealistic preview of the product. Learn more about step based configuration in the Buyer Side chapter.
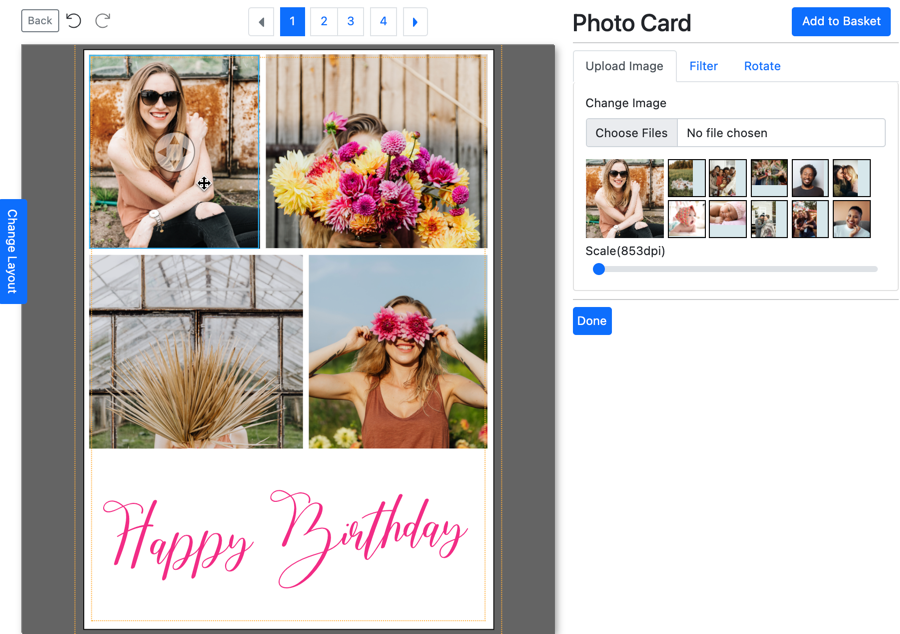
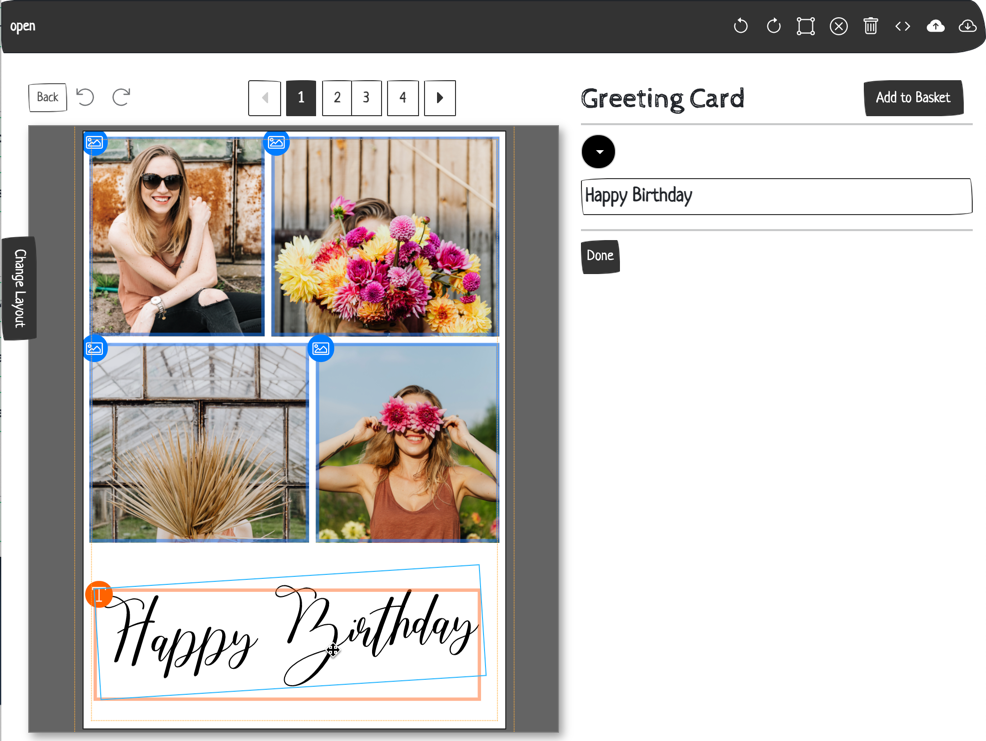
Documents with obvious configuration works best by simply selecting an element and then customize the selected element. This is a useful approach for documents with many configuration points on the pages. Except for multi line text editing in the desktop interface, configuration options for the selected element will be shown depending on the allowed changes for the selected element or group. Learn more about buyer side configuration options and groups in the Buyer Side chapter
Snippets can either be used as the basic building blocks like text frames, images or special headlines. Or they can be used as complete configurable design elements - so called sticker snippets - a user can insert on a page. Snippets are ideal if one would like to present a free design option to buyers which is still easy to use but creates good looking products.
Another way of using Snippets are the so called layout snippets which define complete layout options for a page e.g. for Greeting Card inside pages or Photo Book pages.
Learn more about Sticker Snippets and Layout Snippets in their respective General Concept chapters.
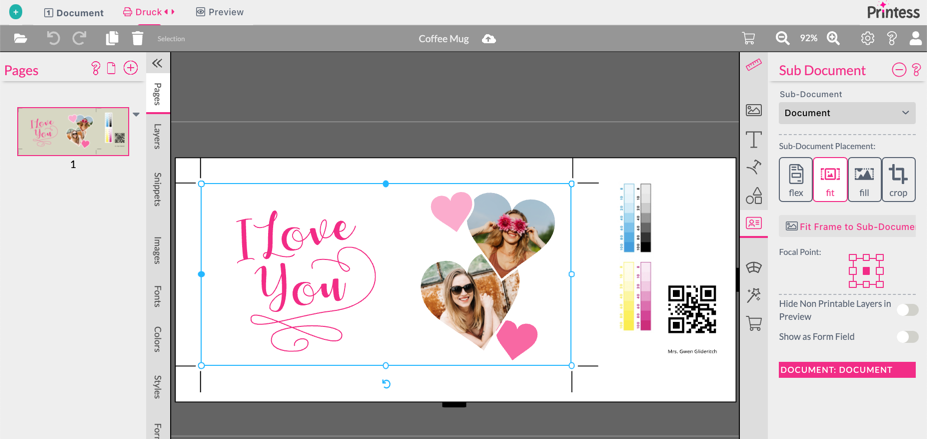
The simplest configuration - one configurable primary document in a template - offers already a lot of options. Whenever configuration gets more complex e.g. configured elements gets used on several pages, special output documents are necessary, photo realistic previews should be shown - Printess has several options to conquer these complex needs. Using the sub document feature you can use other documents on pages - much like an image - but these sub-documents are still configurable. With the steps interface such sub documents can even be set up in first to get the get used the main document. Learn about Sub Documents here!
Design, Base and Resource Templates allow to separate the different elements of a large template library. You only have one Base template per SKU/Product which contains all the necessary size and layout settings, Preview and Production documents.
Designers then only need to build simple Design Templates which will then be merged into this Base Template.
Additionally Base Templates can merge with Resource Libraries to have one central point where you maintain colors, available fonts and stickers.
This can be a live saver for maintainer of a large repository and remove tons of unnecessary tasks - like changing 1000 templates just because you add a new selectable font to your library.

Learn more about creating Base, Design and other template types here.
Especially in B2B portals documents sometimes need to get prefilled with data. This is the workflow of choice if data is already known or asked before configuring of the document happens. In these cases a document can be build with Form Fields and these Form Fields can be prefilled when starting the editor. Learn more about writing and reading form field values here.
Example Business card document portal:

Customized products are often sold via platforms which do not allow to integrate an editor. In this case the personalization workflow must be based on pure data input.
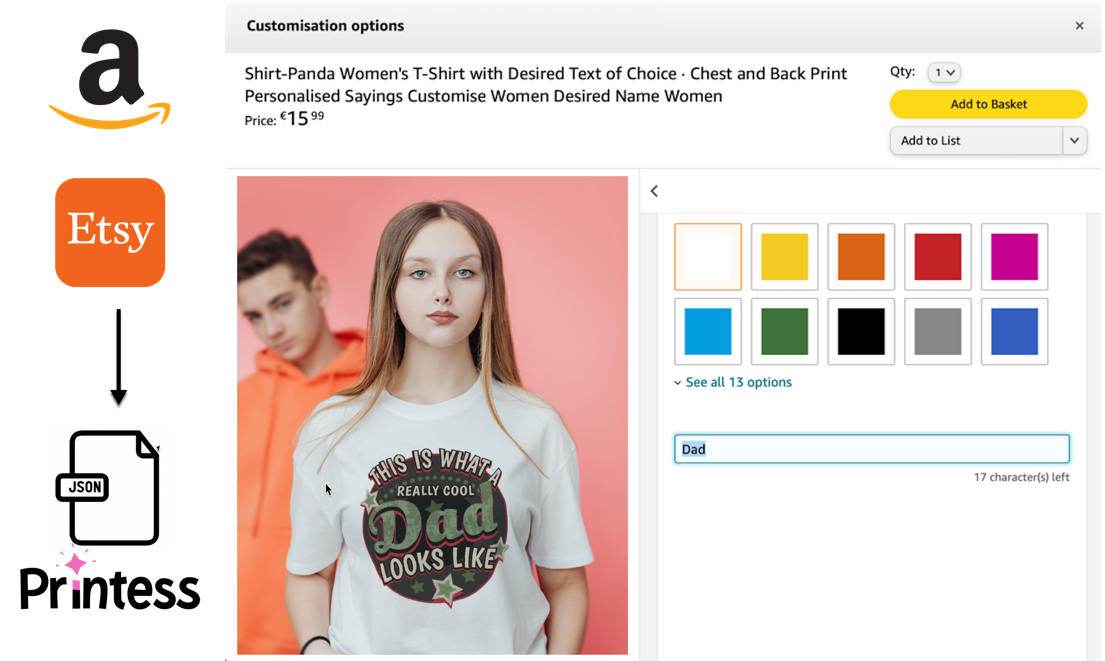
If you are allowed a preview image then rendering this via the Printess backend is an option to at least show the result after customization. If multiple channels with different abilities should get served one can also build templates which are dual use - they can get either configured graphically via the editor or used in ‘trade-mode’ and get filled by form field data. This avoids maintaining several graphically identical documents just because different customization methods are needed.
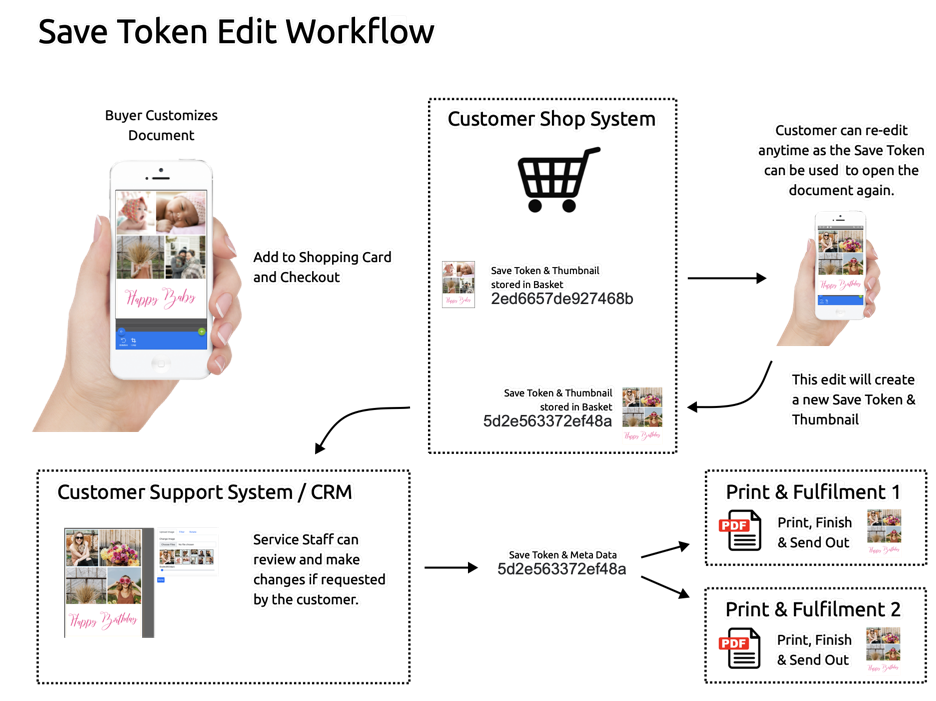
The Save Token Workflow as illustrated above makes it easy to integrate Printess into any desired workflow and systems. Whenever a document is edited on buyer side the editor will return a save token and if needed a thumbnail of the final state when exited. This save token can be used to create high resolution print files or it can be used to reopen the configured state in the editor either from the shopping card by the customer or in case of a customer complaint in the service department. In any case the document can then be saved again creating a new version and a new save token.
The Save Token and the uploaded images of the Buyer will be stored for 30 days only by default. But you can change this in the Backend API Settings.
Learn more about the Backend API Setting here.
In Printess Design can get separated from Output. With the use of sub documents one can directly place a design into a separate print document which might look different or has additional elements to it. Using a Sub Document the output of the print document will always represent the customized or designed artwork.
Much like in editing documents can get merged onto a production master document which may add barcodes, production markers and will also define size, bleed, and other important output properties. This is done prior to rendering so these merged documents can still contain variable elements.
Some data, such as the order number of a product, simply do not exist at editing time so it needs to get added at production time. This can get achieved by adding Form Fields to the document which can get filled at production time when the order number is known.
After rendering the output pages can be rearranged, combined or rotated to create ready to print documents. This is useful if you want to output portrait greeting cards rotated or whenever the edited document orientation does not match the necessary output.
Connecting your shop floor software to Printess can be done by implementing a few easy commands and callbacks. Every job in Printess is handled completely asynchronous. So once a production order is placed your shop floor software will receive a callback once the job finished. Output data will be held in the cloud and can therefore easily get distributed between different fulfillment centers keeping your internal network load low. Click here to learn more here about our backend API and commands.